Advertisement
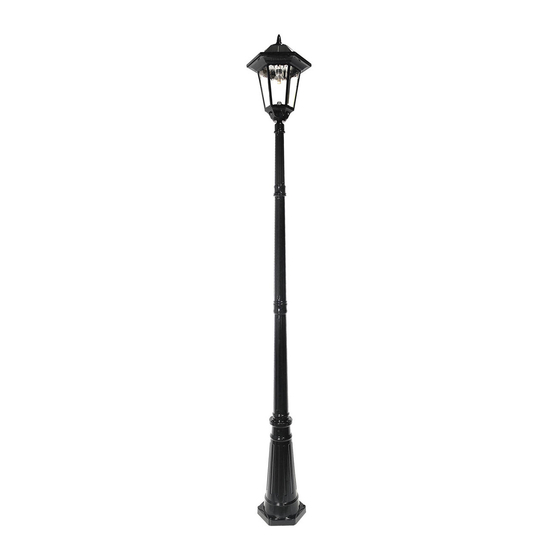
WINDSOR BULB SOLAR LAMP POST
US Patent # 7172307
US Patent # 9458970
Instruction Manual
Model: GS-99B-S
Introduction
Thank you for your purchase!
® solar charged accent lighting eliminates
GAMA SONIC
the problems associated with most solar lighting available today.
® solar
GAMA SONIC
charged lights are brighter and last all night with a typical solar charge. Unique
design, superior light output and numerous installation options confirm the
outstanding value of our product.
® has been recognized as a worldwide leader in the lighting industry for
GAMA SONIC
over 20 years. The company also offers unique multi-purpose rechargeable products
that range from party lights to emergency lighting products.
Technical Assistance/Warranty Claims/Replacement Parts
Toll Free Number: +1-800-835-4113 (only within the US) or
www.gamasonic.com
Visit our website or download the latest version of your instruction manual:
www.gamasonic.com
or
www.gamasonic.com/user-guides
1
Advertisement
Table of Contents

Related Manuals for Gama Sonic GS-99B-S


Summary of Contents for Gama Sonic GS-99B-S
- Page 1 WINDSOR BULB SOLAR LAMP POST US Patent # 7172307 US Patent # 9458970 Instruction Manual Model: GS-99B-S Introduction Thank you for your purchase! ® solar charged accent lighting eliminates GAMA SONIC the problems associated with most solar lighting available today.
- Page 2 WARNING: GAMA SONIC® Light bulbs are built and designed for Gama Sonic products only. They are not designed to be used in other electrical sockets. For the same reason, regular AC and/or Low Voltage bulbs cannot be used in Gama Sonic products.
- Page 3 (Fig. 3). 7. Screw lamp finial into the top of the lamp. 8. Screw in provided A-60 Gama Sonic bulb while gripping the base only see (Fig. 4); re-attach fixture top. 9. Attach the lamp to the pole by twisting the mount clockwise to Part (D).
- Page 4 (Fig. 6) 3. Replacing the Batteries (After several years of use, the batteries may need replacing). 1. Make sure the ON/OFF switch is in the “OFF” position. 2. Unscrew the two screws on the upper part to detach it from the lamp (Fig. 6). 3.
Need help?
Do you have a question about the GS-99B-S and is the answer not in the manual?
Questions and answers