Advertisement
IS5G4PHSS/UK
IS5G4PHSS/UK
IS5G4PHSS/UK
Operating Instructions
EN
COOKER AND OVEN
Contents
Start-up and use, 10
Installation, 15
Advertisement

Related Manuals for Indesit IS5G4PHSS/UK


Summary of Contents for Indesit IS5G4PHSS/UK
-
Page 1: Table Of Contents
Operating Instructions COOKER AND OVEN Contents Safety Instructions, 2 IS5G4PHSS/UK IS5G4PHSS/UK IS5G4PHSS/UK Description of the appliance, 6 Installation tips, 7 Start-up and use, 10 Care and maintenance, 13 Installation, 15... -
Page 2: Safety Instructions
unless continuously supervised. Children from 8 years old and above and persons with reduced SAFETY INSTRUCTIONS physical, sensory or mental capabilities or lack of experience and knowledge can use this appliance IMPORTANT TO BE READ AND OBSERVED only if they are supervised or have been given These instructions are valid if the country instructions on safe use and understand the symbol appears on the appliance. - Page 3 Use pots and pans with bottoms the same extended. Once the connection has been made, width as that of the burners or slightly larger (see make sure that the flexible metal pipe does not specific table). Make sure pots on the grates do touch any moving parts and is not compressed.
- Page 4 use the appliance safely and correctly in all the It must be possible to disconnect the appliance from the power supply by unplugging it if additional countries plug is accessible, or by a multi-pole switch Use pressure regulators suitable for the gas installed upstream of the socket in accordance pressure indicated in the instructions.
- Page 5 taken to an appropriate collection centre for the recycling of electrical and electronic equipment. ENERGY SAVING TIPS Only preheat the oven if specified in the cooking table or your recipe. Use dark lacquered or enamelled baking trays as they absorb heat better. DECLARATIONS OF CONFORMITY This appliance meets Ecodesign requirements of European Regulation 66/2014 in compliance with the European standard EN 60350-1.
-
Page 6: Description Of The Appliance
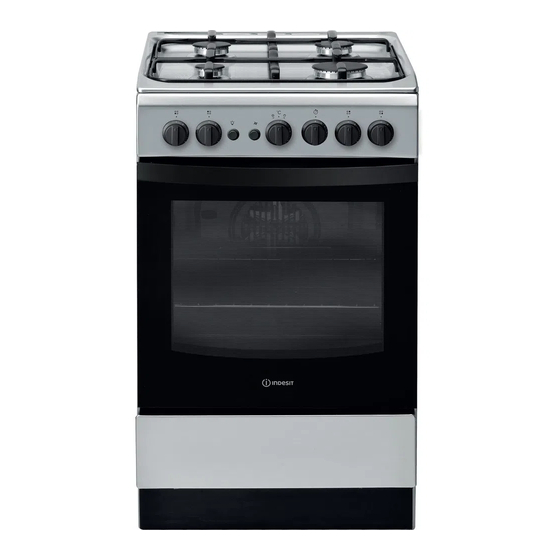
Description of the appliance Overall view Control panel THERMOSTAT indicator light Hob BURNER Hob BURNER control knobs control knobs TIMER knob TIMER knob TIMER knob SELECTOR THERMOSTAT Electronic Lighting for Hob Burners knob knob... -
Page 7: Installation Tips
Installation tips ! This procedure must be performed by a qualified technician who has been authorised by the manufacturer. Electrial connection Green & Yellow - Earth Power supply voltage and frequency: 230-240V a.c. Blue - Neutral 50/60 Hz. Brown - Live ! ! ! ! ! The supply cable must be positioned so that it If the colours of the wires in the mains lead do not never reaches at any point a temperature 50°C... - Page 8 Adapting to different types of gas After installing the power cable, screw the metal cover with three screws. It is possible to adapt the appliance to a type of gas other than the default type (this is indicated on the rating label on the cover).
- Page 9 23 cm compartment Power supply voltage and see data plate frequency may be adapted for use with any IS5G4PHSS/UK IS5G4PHSS/UK IS5G4PHSS/UK type of gas shown on the data plate, which is located inside the Burners flap or, after the oven compartment has been opened, on the left-hand wall inside the oven.
-
Page 10: Start-Up And Use
Start-up and use Using the hob Practical advice on using the burners For the burners to work in the most efficient way Lighting the burners possible and to save on the amount of gas For each BURNER knob there is a complete ring showing the strength of the flame for the relevant Burner ø... - Page 11 THERMOSTAT indicator light mode When this is illuminated, the oven is generating heat. It switches off when the inside of the oven For cooking stuffed roasting joints and fillets of meat reaches the selected temperature. At this point the on a single shelf. To use the ECO cycle and therefore light illuminates and switches off alternately, optimize power consumption, the oven door should not indicating that the thermostat is working and is...
- Page 12 Practical cooking advice PIZZA ! In the GRILL cooking mode, place the dripping • Use a light aluminium pizza pan. Place it on the pan in position 1 to collect cooking residues (fat rack provided. and/or grease). For a crispy crust, do not use the dripping pan as it prevents the crust from forming by extending GRILL the total cooking time.
-
Page 13: Care And Maintenance
If this occurs, the tap must be replaced. ! This procedure must be performed by a qualified technician who has been authorised by the manufacturer. A complete product specification, including the energy efficiency ratings for this oven, can be read and downloaded from our website www.indesit.com... - Page 14 REMOVING AND REFITTING THE DOOR To remove the door, open it fully and lower the After removing the door and resting it on a soft catches until they are in the unlock position. surface with the handle downwards, simultaneously press the two retaining clips and remove the upper edge of the door by pulling it towards you.
-
Page 15: Installation
Min. 600 mm Min. 650 mm Min. 700 mm Min. 200 mm = mm... - Page 16 Whirlpool EMEA S.p.A. Via Carlo Pisacane n.1 20016 Pero (MI), Italy 07/2018 W11256052 W11256052 XEROX FABRIANO VAT number: IT00693740425 www.indesit.com >50°C...
Need help?
Do you have a question about the IS5G4PHSS/UK and is the answer not in the manual?
Questions and answers