Table of Contents
Advertisement
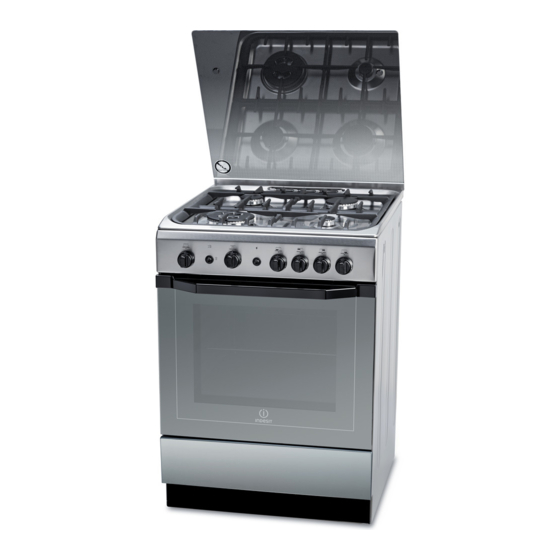
I6MG1G / EX
I6GG10G /EX
I6TG1G.K / EX
I6TG1G /EX
I6TG1G GH / EX
English
GB
Operating Instructions
COOKER AND OVEN
Contents
Operating Instructions,1
Description of the appliance-Overall view,2
Description of the appliance-Control Panel,3
Installation,4
Start-up and use,10
Precautions and tips,13
Care and maintenance,14
Assistance,14
Français
FR
Mode d'emploi
CUISINIERE ET FOUR
Sommaire
Mode d'emploi,1
Description de l'appareil-Vue d'ensemble, 2
Description de l'appareil-Tableau de bord, 3
Installation,16
Mise en marche et utilisation,22
Précautions et conseils, 25
Nettoyage et entretien,26
Assistance,27
Español
ES
Manual de instrucciones
COCINA Y HORNO
Sumario
Manual de instrucciones,1
Descripción del aparato-Vista de conjunto,2
Descripción del aparato-Panel de control,3
Instalación,28
Puesta en funcionamiento y uso,34
Precauciones y consejos,37
Mantenimiento y cuidados,38
Asistencia,38
PT
Português
Instruções para a utilização
FOGÃO E FORNO
Índice
Instruções para a utilização,1
Descrição do aparelho-Vista de conjunto,2
Descrição do aparelho-Painel de comandos,3
Instalaçao,40
Início e utilizaçao, 46
Precauçoes e conselhos,49
Manutençao e cuidados,50
Assistencia técnica,50
ﺗﻌﻠﻴﻤﺎت اﻟﺘﺸﻐﻴﻞ
1
ﺗﻌﻠﻴﻤﺎت اﻟﺘﺸﻐﻴﻞ
وﺻﻒ اﻟﺠﻬﺎز
2
ﻧﻈﺮة ﻋﺎﻣﺔ
3
اﻟﺘﺸﻐﻴﻞ واﻻﺳﺘﺨﺪام
وﺳﺎﺋﻞ ﺣﺬر وﻧﺼﺎﺋﺢ
اﻟﻌﻨﺎﻳﺔ واﻟﺼﻴﺎﻧﺔ
AR
ﻃ ﺒ ّﺎخ
اﻟﻤﺤﺘﻮﻳﺎت
ﻟﻮﺣﺔ اﻟﺘﺤﻜﻢ
اﻟﺘﺮﻛﻴﺐ
Advertisement
Table of Contents


Need help?
Do you have a question about the I6MG1G / EX and is the answer not in the manual?
Questions and answers