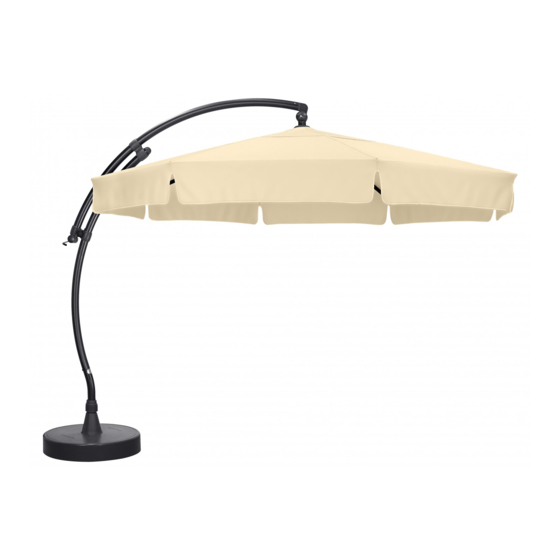
sun garden Easy Sun Repair Instructions
Ball joint
Hide thumbs
Also See for Easy Sun:
- Operation manual (48 pages) ,
- Assembly instruction manual (19 pages) ,
- Repair instructions (12 pages)
Table of Contents
Advertisement
Quick Links
The repair instructions describe replacing the
• ball joint
Easy Sun
in the
sunshade.
Included in delivery
➀
Ball joint; consisting of:
fixing screw, M6 x 45
Ball joint upper part
Axle
Deflector pulley
Ball joint lower part
fixing screw, M6 x 45
➂
Cover for cable seat
Safety note
Caution: Risk of trapping!
There is increased risk of trapping at all
sunshade frame joints.
• Bear these hazard locations in mind
while working.
Issue: 04.2004
PARASOL Hanging
Brake
lever
Brake
block
Subject to alterations due to technical improvements.
R
These repair instructions are intended only for persons
with experience of using the tools required.
Please read the instructions carefully through before
working. Damages caused by non-observance of the
instructions are excluded from any liability and guarantee
The repairs described below should be carried out by
two people.
Tools required
❏
Screwdriver; blade width: 3.5 mm
❏
Screwdriver; blade width: 7 mm
❏
Phillips screwdriver No. 2
Contents
Installation
1.0 Removing sunshade cover ___________ 2
2.0 Releasing the cable ________________ 3
3.0 Removing the sunshade frame ________ 4
4.0 Remove ball joint __________________ 4
5.0 Assembling the ball joint ____________ 5
6.0 Assembling the guide tube ___________ 7
7.0 Assembling the sunshade frame ______ 8
8.0 Threading and fixing the cable ________ 8
9.0 Refitting the sunshade cover __________ 9
10.0 Final check _______________________ 9
EPAIR INSTRUCTIONS
B
ALL JOINT
:
Page 1
Advertisement
Table of Contents

Related Manuals for sun garden Easy Sun


Summary of Contents for sun garden Easy Sun
-
Page 1: Table Of Contents
These repair instructions are intended only for persons with experience of using the tools required. • ball joint Please read the instructions carefully through before working. Damages caused by non-observance of the Easy Sun PARASOL Hanging in the instructions are excluded from any liability and guarantee sunshade. -
Page 2: Removing Sunshade Cover
EPAIR INSTRUCTIONS ALL JOINT Installation 1.0 Removing sunshade cover ➭ Open the sunshade about half-way. ➭ Release all material velcro bands on the sunshade frame from the inside. Sunshade frame Velcro band ➭ Close sunshade and remove all screws in ➭... -
Page 3: Releasing The Cable
EPAIR INSTRUCTIONS ALL JOINT Note To continue repair work lay sunshade on floor. To protect sunshade against damage you should place it on a suitable Cable seat position underlay (cardboard, carpet roll etc.). Cable Cable seat 2.0 Releasing the cable The seat for the cable is located on the lower Lower frame seat. -
Page 4: Removing The Sunshade Frame
EPAIR INSTRUCTIONS ALL JOINT 3.0 Removing the sunshade frame Upper frame seat position Locking screw ➭ Loosen and remove side fixing screws Phillips screwdriver between protective cap and upper frame Push seat with Phillips screwdriver. downwards ➭ Unscrew the guide bush locking screw Loosen Loosen located on the side of the guide tube. -
Page 5: Assembling The Ball Joint
EPAIR INSTRUCTIONS ALL JOINT ➭ Remove brake lever and brake block from Articulated ball joint lower part. joint part Rermove brake part Ball joint lower part Brake block Brake lever ➭ Withdraw ball joint lower part from Articulated Remove articulated joint part. joint part Deflector ➭... - Page 6 EPAIR INSTRUCTIONS ALL JOINT Locate and ➭ Place deflector pulley in articulated joint part Articulated thread cable and thread cable in the deflector pulley guide joint part Deflector pulley groove. ➭ Set the lower part provided with an axle into the articulated joint part and insert the axle into the deflector pulley.
-
Page 7: Assembling The Guide Tube
EPAIR INSTRUCTIONS ALL JOINT 6.0 Assembling the guide tube Centring bush ➭ Insert brake tube into guide tube. Brake tube Please give special attention to the following: Guide tube • ensure that the supporting roller is located in the brake wedge (see Detail 1). •... -
Page 8: Assembling The Sunshade Frame
EPAIR INSTRUCTIONS ALL JOINT 7.0 Assembling the sunshade frame Locking screw Phillips screwdriver ➭ Push protective cap and upper sunshade frame Push frame seat onto guide tube as far as the stop. upwards ➭ Align the side bores in the upper frame seat Tighten with the fixing bores in the Fixing... -
Page 9: Refitting The Sunshade Cover
EPAIR INSTRUCTIONS ALL JOINT 9.0 Refitting the sunshade cover Top cover fixing Closing tape Note Before refitting the sunshade cover place the sunshade in the sunshade stand. Use a ladder to refit the cover. Bottom cover fixing Sunshade ➭ Push the sunshade cover onto the sunshade cover frame from below.
Need help?
Do you have a question about the Easy Sun and is the answer not in the manual?
Questions and answers