Advertisement
Advertisement
Table of Contents

Related Manuals for PERFECTPRO Workman 2


Summary of Contents for PERFECTPRO Workman 2
- Page 1 INSTRUCTION MANUAL...
-
Page 2: Important Safety Instructions
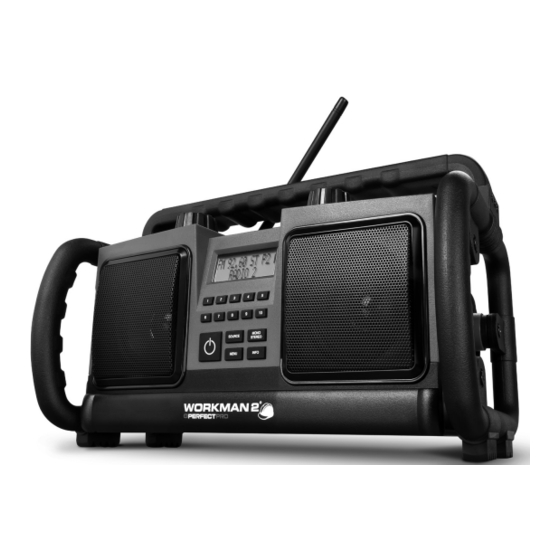
CONTENTS IMPORTANT SAFETY INSTRUCTIONS Read these instructions. IMPORTANT SAFETY INSTRUCTIONS ……………....…………………….. p.2 Keep these instructions. Heed all warnings. CONTROLS …………………………………………….....……………………… p.3 Follow all instructions. Clean only with dry cloth. Do not block any ventilation openings. Install in accordance with the instructions. POWER SUPPLY ……………………………………....……………………….. - Page 3 Front View Back View LCD display 11. Battery cover fixtures Preset buttons 12. Battery compartment Power On/Off (Standby) 13. Power cord storage Audio source button Menu button Side View Info button Mono/Stereo button Top View Volume / Tone Control knob 14. Aux-in socket and rubber cover Flexible FM antenna 10.
-
Page 4: Power Supply
POWER SUPPLY SETTING CLOCK Battery operation The clock can only be set when the radio is in standby mode. If no buttons are pressed for 5 seconds, the radio will exit the clock setup and the setting is cancelled. To open the battery compartment, first turn the battery cover fixtures anti-clockwise Press and hold the Tuning Control knob for 12 seconds until the hour digits flash to loosen and pull down the battery cover. -
Page 5: Operating The Radio - Fm
Recall Stations from Preset Memories OPERATING THE RADIO – FM Press the Power On/Off button to turn on the radio. USING THE RADIO FOR THE FIRST TIME Select the FM waveband by pressing the Source button. Briefly press the required Preset button, the display will show the preset number Place the radio on a flat surface. and station frequency. Carefully extend the antenna located on the top of the radio. - Page 6 OPERATING THE RADIO – AUX IN LANGUAGES A 3.5mm stereo Aux In socket is provided on the side behind the rubber cover, for The menu of the radio can be configured to various languages. connecting an external audio device such as MP3 player or CD player (not included). Connect a stereo or mono audio source to the Aux In socket. Press the On/Off button to turn on the radio.
-
Page 7: Warranty
Power supply WARRANTY Mains operation: AC 230 V ~, 50/60Hz This radio has a 2 year limited warranty. Battery operation: WARNING ! Warranty becomes void once the radio cabinet has been opened or 6 x 1,5V (Alkaline Type IEC LR20 / UM-1 / D-size) any modifications to the radio have been made ! Batteries for Back up: The terms of the warranty of this radio do not cover the following:...
Need help?
Do you have a question about the Workman 2 and is the answer not in the manual?
Questions and answers