Table of Contents
Advertisement
WARNING
Read Operator's Manual before setting up, operating, or maintaining
sprayer. Failure to follow safety precautions in this manual an in labels
on the product could result in serious injury or death to the operator or
bystanders.
Keep manual nearby for futher reference. If manual is demaged or
illegible, contact your Jacto dealer or Jacto at the address below for a
replacement.
EDITION - 12/2012
CODE - 907220
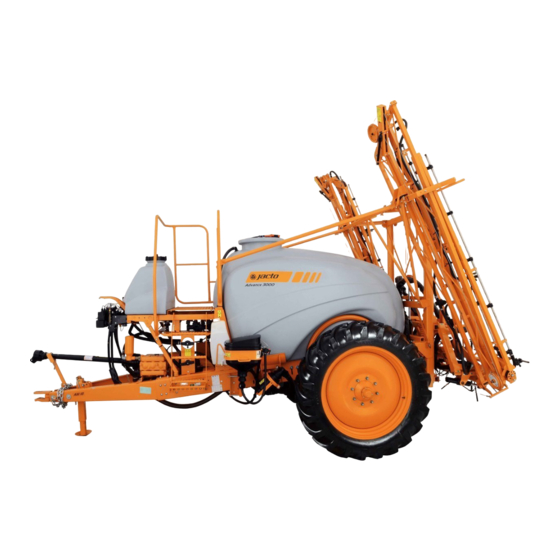
Operator's Manual
ADVANCE 3000 AM-18
ADVANCE 3000 VORTEX
English version - MI_USA-0350
JACTO INC.
th
19217 SW 119
Ave
Tualatin, Oregon 97062
Tel.: (503) 885-8723
Fax: (800) 511-3671
Toll Free: (800) 522-8610
E-mail: info@jacto.com
Home page: www.jacto.com
Advertisement
Table of Contents


Need help?
Do you have a question about the ADVANCE 3000 AM-18 and is the answer not in the manual?
Questions and answers