Cisco VG202 Quick Start Manual
Voice gateways
Hide thumbs
Also See for VG202:
- Hardware installation manual (50 pages) ,
- Software configuration manual (50 pages) ,
- Manual (10 pages)
Table of Contents
Advertisement
Q
S
G
UICK
TART
Cisco VG202, Cisco VG202XM, Cisco VG204, and Cisco VG204XM
Voice Gateways
INCLUDING LICENSE AND WARRANTY
1
Cisco 90-Day Limited Hardware Warranty Terms
2
Obtaining Documentation and Submitting a Service Request
3
Safety Information
4
Voice Gateways Description
5
Equipment, Tools, and Accessories
6
Accessibility
7
Installing the Voice Gateway Chassis
8
Connecting the Cables
9
Powering On the Voice Gateway
10
Performing the Initial Configuration
UIDE
Advertisement
Table of Contents

Subscribe to Our Youtube Channel
Related Manuals for Cisco VG202


Summary of Contents for Cisco VG202
- Page 1 UICK TART UIDE Cisco VG202, Cisco VG202XM, Cisco VG204, and Cisco VG204XM Voice Gateways INCLUDING LICENSE AND WARRANTY Cisco 90-Day Limited Hardware Warranty Terms Obtaining Documentation and Submitting a Service Request Safety Information Voice Gateways Description Equipment, Tools, and Accessories...
-
Page 2: Cisco 90-Day Limited Hardware Warranty Terms
Subscribe to the What’s New in Cisco Product Documentation as a Really Simple Syndication (RSS) feed and set content to be delivered directly to your desktop using a reader application. The RSS feeds are a free service and Cisco currently supports RSS version 2.0. - Page 3 Warning This product relies on the building’s installation for short-circuit (overcurrent) protection. Ensure that the protective device is rated not greater than: 120 VAC, 15A (240 VAC, 10A international) Statement 1005 Warning This unit is intended for installation in restricted access areas. A restricted access area can be accessed only through the use of a special tool, lock and key, or other means of security.
- Page 4 Warning Before performing any of the following procedures, ensure that power is removed from the DC circuit. Statement 1003 Warning This equipment needs to be grounded. Use a green and yellow 12 to 14 AWG ground wire to connect the host to earth ground during normal use.
-
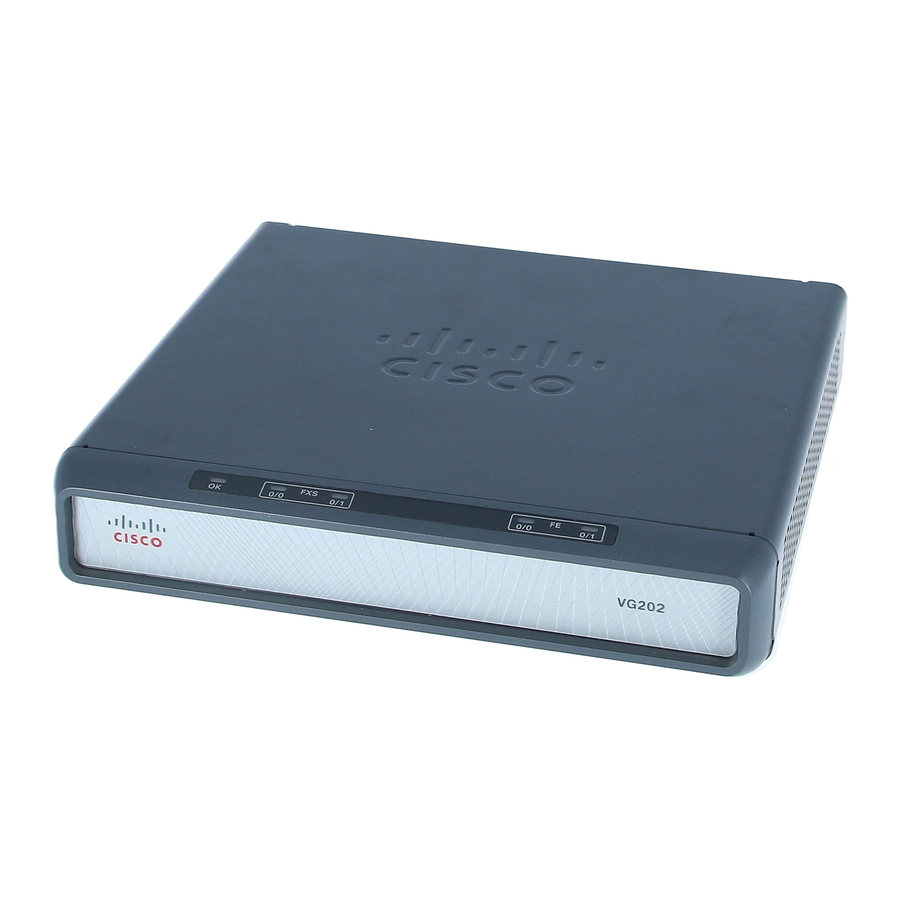
Page 5: Front Panel Description
Figure 1 shows the front panel of the Cisco VG202 voice gateway chassis. The Cisco VG202 and the Cisco VG202XM chassis are identical. The only difference is the model number on the front Note right. On the Cisco VG202 chassis, the faceplate label says VG202. On the Cisco VG202XM chassis, the faceplate label... -
Page 6: Back Panel Description
V G 2 0 4 Back Panel Description The Cisco VG202 voice gateway supports two RJ-11 ports and supports two FXS voice ports with two 10/100 Fast Ethernet ports. Figure 3 shows the interfaces and ports on the Cisco VG202 voice gateway. All interface ports are on the back of the chassis. -
Page 7: Led Description
Chassis ground connection Kensington security slot LED Description For the Cisco VG202, Cisco VG202XM, Cisco VG204, and Cisco VG204XM voice gateways, the LEDs are on the front of the chassis. Figure 5 shows the LEDs on the Cisco VG204 chassis. -
Page 8: Product Serial Number Location
Product Serial Number Location The serial number labels for the Cisco VG202, Cisco VG202XM, Cisco VG204, and Cisco VG204XM voice gateways are located on the bottom of the chassis, near the compliance label. The serial number label is 0.25 x 1 inch (0.635 x 2.54 cm). It has the letters “SN:”... - Page 9 This product uses a command-line interface (CLI). Because it is text based and relies on a keyboard for navigation, the CLI conforms to code 508. All functions of the router can be configured and monitored through the CLI. To view Cisco accessibility guidelines and product adherence, see Cisco Accessibility Products at the following URL: http://www.cisco.com/web/about/responsibility/accessibility/products Installing the Voice Gateway Chassis •...
-
Page 10: Mounting The Chassis Onto A Wall
8-mm drill bit) to secure the screws. If the screws are not properly anchored, the strain of the network cable connections could pull the chassis from the wall. Figure 6 Mounting-Screw Slots for Wall-Mounting the Cisco VG202, Cisco VG202XM, Cisco VG204, or Cisco VG204XM Voice Gateway Chassis Rubber feet... - Page 11 Place the power supply on a horizontal surface. Step 3 Figure 7 Mounting the Cisco VG202, Cisco VG202XM, Cisco VG204, or Cisco VG204XM Voice Gateway Chassis on a Wall Two number-six, 3/4-in. screws Distance between the two screws (5 7/16 in. [13.81 cm])
-
Page 12: Grounding The Chassis
Grounding the Chassis You must connect the voice gateway chassis to a reliable earth ground; the ground wire must be installed in accordance with local electrical safety standards. • For NEC-compliant grounding, use size AWG 14 (2 mm ) or larger wire and an appropriate user-supplied ring terminal. •... -
Page 13: Connecting The Cables
• Connecting the Voice Cable About Connecting the Cables Figure 9 shows the cables needed for LAN and administrative access for a Cisco VG202, Cisco VG202XM, Cisco VG204, or Cisco VG204XM voice gateway. Figure 9 LAN and Administrative Access Cables... -
Page 14: Powering On The Voice Gateway
Powering On the Voice Gateway Before You Begin Before you power on your Cisco VG202, Cisco VG202XM, Cisco VG204, or Cisco VG204XM voice gateway, ensure that it meets these requirements: • The chassis is securely mounted. • The power and interface cables are connected. -
Page 15: Performing The Initial Configuration
Performing the Initial Configuration You initially configure your voice gateway by using the Cisco IOS CLI. Then you use the setup command which guides you through the configuration process by prompting you for the specific information that is needed to configure your system. After creating the initial configuration file, you can use the Cisco IOS CLI to perform further configuration. - Page 16 You must change the username and password before you log off the voice gateway. You cannot use the Note username cisco or password cisco after you log off from this session. To change the username and password, enter the following at the prompt:...
- Page 17 Default settings are in square brackets '[]'. Basic management setup configures only enough connectivity for management of the system, extended setup will ask you to configure each interface on the system Would you like to enter basic management setup? [yes/no]: yes Enter a hostname for the voice gateway: Step 4 Configuring global parameters:...
-
Page 18: Verifying And Saving Your Configuration
Cisco Systems International BV Amsterdam, San Jose, CA Singapore The Netherlands Cisco has more than 200 offices worldwide. Addresses, phone numbers, and fax numbers are listed on the Cisco Website at www.cisco.com/go/offices. Printed in the USA on recycled paper containing 10% postconsumer waste. OL-xxxxx-xx...
Need help?
Do you have a question about the VG202 and is the answer not in the manual?
Questions and answers