
Related Manuals for EemaX LavAdvantage SPEX1812T


Summary of Contents for EemaX LavAdvantage SPEX1812T
- Page 1 INSTALLATION GUIDE AND OWNER’S MANUAL LavAdvantage™ ELECTRIC INSTANTANEOUS WATER HEATERS...
-
Page 2: Table Of Contents
BEFORE ATTEMPTING ANY INSTALLATION, MODIFICATION OR SERVICE OF THIS HEATER, MAKE SURE THE ELECTRICAL POWER IS DISCONNECTED. Read and understand these instructions thoroughly before attempting the installation or service of this water heater. Failure to follow these instructions can result in serious injury, death and/or property damage. The warranty of this water heater will depend upon the proper installation according to these instructions. -
Page 3: General
For best performance, the heater should be BELOW the point-of-use. Failure to do so may void the warranty. Contact your Eemax representative for further information. -
Page 4: Mounting The Unit To The Wall
1) MOUNTING THE UNIT TO THE WALL THIS HEATER MUST BE INSTALLED IN A LOCATION WHERE IT IS NOT SUBJECT TO FREEZING TEMPERATURES. The heater should be mounted under the sink as close to the point-of-use as possible. Ideal position is fittings pointed down, but the heater can be mounted in any orientation. -
Page 5: Plumbing Hook-Up
DAMAGE TO THE HEATER WILL RESULT. DOING THIS WILL VOID THE WARRANTY! Eemax strongly recommends that the heater be supplied directly from the main cold water trunk line when possible. This helps to avoid a potential water flow interruption to the heater which could lead to a failure of the heating element. - Page 6 Remove the cover. Connect the pre-assembled inlet and outlet pipes to the heater (do not overtighten compression fittings) and fully open the inlet and outlet ball valves. Check the system for water leaks at all plumbing connections. If a leak is present at the compression fitting, slowly tighten compression nut until it stops –...
-
Page 7: Electrical Hook-Up
3) ELECTRICAL HOOK-UP BEFORE BEGINNING ANY WORK ON THIS INSTALLATION, BE SURE THAT THE ELECTRICAL BREAKER IS “OFF” AND THAT ALL MOUNTING AND PLUMBING WORK HAS BEEN COMPLETED PER THESE INSTRUCTIONS. This heater must have its own independent circuit using insulated, UL listed, 2 wire cable (2 wire plus ground) of the appropriate size suitable for up to 75°C and protected by the correctly rated circuit breaker. -
Page 8: Commissioning The Heater
The power leads are to be secured to the L1 and L2 or L and N connectors on the terminal block or relay. The ground lead is to be secured to the GND connector on the block or the green ground wire with the provided wire nut. FAILURE TO GROUND THE SYSTEM MAY RESULT IN SERIOUS INJURY, DEATH AND/OR PROPERTY DAMAGE. - Page 9 Display turns on when water flows through heater or if either pushbutton is pressed. Congratulations! Your Eemax tankless electric water heater is fully installed and ready for use! MAXIMUM TEMPERATURE RISE AT SPECIFIED FLOW RATE, °F Model 0.35...
-
Page 10: Unit Operation
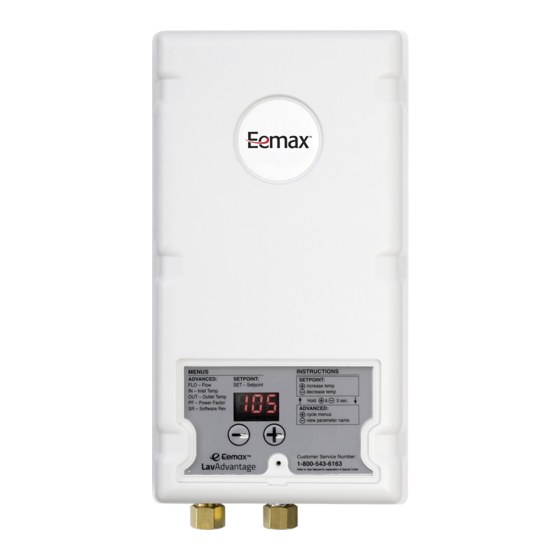
Remove screw to access user interface Using the Eemax LavAdvantage Control Functions Using the Eemax LavAdvantage is EASY. There are only 2 buttons: “–“and “+”. Moving through the functions requires a minimum of effort – just follow along! During operation the unit will show the current setpoint temperature and will display this temperature for 5 minutes after the unit is active. - Page 11 POWER FACTOR (how hard the heater is ‘working’ shown as a percentage) SOFTWARE REVISION (For Eemax Technical Service use only) Pressing both “+” and “–“ at any time for 3 seconds returns the display to the temperature set point, or just let the heater return to set point display on its own (120 seconds timeout).
-
Page 13: Troubleshooting
6) TROUBLESHOOTING CAUTION: Make certain power to unit is “OFF” before removing protective cover FOR ANY REASON. For status code details, please consult the table below. Code Name Possible causes Heater response Possible solutions - element failure Heating will be disabled after - measure element - ECO tripped/malfunctioning 30 seconds of continuous no... -
Page 14: Periodic Maintenance
Default parameters: Status code Model suffix Default values T, ML Trip 170°F Reactivation 140°F Trip 100°F Reactivation 95°F Trip 195°F Reactivation 165°F T, ML, EE, S 65°F 7) PERIODIC MAINTENANCE This heater is designed for many years of care free use. In order to maintain consistent water flow, it may be necessary to periodically clean the faucet aerator or the filter screen located in the brass inlet fitting at the heater. -
Page 15: Part Numbers For Fittings, Aerators And Aerator Adaptors
If you need any assistance from our Technical Service Department, make sure you can identify this water heater by having the model no:____________________ and serial number:_____________________. 203-267-7890 800-543-6163. Call or toll free: Eemax Inc., 400 Captain Neville Drive, Waterbury, CT 06705 Tel: 800-543-6163, 203-267-7890, Fax: 203-267-7975, email: support@eemaxinc.com... - Page 16 Notes: Eemax Inc., 400 Captain Neville Drive, Waterbury, CT 06705 Tel: 800-543-6163, 203-267-7890, Fax: 203-267-7975, email: support@eemaxinc.com EX07200-81 Rev B...
Need help?
Do you have a question about the LavAdvantage SPEX1812T and is the answer not in the manual?
Questions and answers