Lantronix UDS1100 Programming Manual
Connecting to adaptive led displays
Hide thumbs
Also See for UDS1100:
- User manual (85 pages) ,
- Quick start manual (12 pages) ,
- Quick start manual (8 pages)
Table of Contents
Advertisement
Quick Links
Introduction
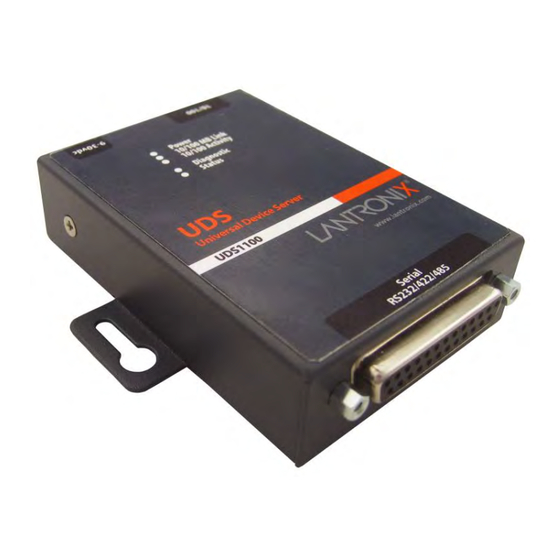
This document outlines the procedures for connecting the Lantronix UDS1100, a single-port serial-to-
Ethernet device server, to Adaptive LED displays. It also goes through the steps involved in basic setup
and programming.
Connecting RS485 Cable to the RS485 Serial Port
1. Figure 1 illustrates the pin connections and wire colors for the RS485 screw terminal block on the
Lantronix UDS1100 device. Strip 1⁄4 inch of the insulation from the wires and insert the wires into
their proper terminals. Do not over-tighten the screws. Only light pressure is necessary.
Figure 1
Adaptive Micro Systems • 7840 North 86
Adaptive is a registered trademark of Adaptive Micro Systems. AlphaEclipse, Excite, EzView, RoadStar, and StreetSmart are trademarks of Adaptive Micro Systems.
December 3, 2010
Lantronix UDS1100: Connection
and Device Programming Guide
© 2010 Adaptive Micro Systems LLC. All rights reserved.
th
Street • Milwaukee, WI 53224 • 800-558-7022 • 414-357-2020 • 414-357-2029 (fax) • http://www.adaptivedisplays.com
All other brand and product names are trademarks or registered trademarks of their respective companies.
PN 9719-7031B
Advertisement
Table of Contents

Related Manuals for Lantronix UDS1100


Summary of Contents for Lantronix UDS1100
- Page 1 1. Figure 1 illustrates the pin connections and wire colors for the RS485 screw terminal block on the Lantronix UDS1100 device. Strip 1⁄4 inch of the insulation from the wires and insert the wires into their proper terminals. Do not over-tighten the screws. Only light pressure is necessary.
-
Page 2: Troubleshooting
EVICE ROGRAMMING UIDE 2. Connect the RS45(+) wire from the sign to TX+ connector on the Lantronix UDS1100 Device (see inset on Figure 2). 3. Connect the RS45(-) wire from the sign to TX– connector on the Lantronix device. 4. Connect shield from the sign to GND connector on the Lantronix device. - Page 3 Click “OK”. Make the loopback connections on the RS485 screw terminal connections located on the UDS1100 Lantronix Device. With two short lengths of wire, connect the terminals TX+ to RX+ and TX- to RX-. See Figure 7. Type on screen – characters should echo back to screen.
- Page 4 2. Click on “Assign IP” to go to the “Device Identification” window. (Figure 9). 3. Enter the hardware address of the UDS1100. (Figure 9) The hardware address (MAC Address) is typically printed on the back panel of the UDS1100, and is formatted like “12- 34-56-78-9A-BC.” Then click on “Next”.
- Page 5 UDS1100: C (PN 9719-7031B) ANTRONIX ONNECTION AND EVICE ROGRAMMING UIDE 5. At the next window (Figure 11), enter your Static IP Address, Subnet Mask and Gateway, and click “Next”. 6. At the next window (Figure 12), click “Assign”. Figure 11 Figure 12 7.
- Page 6 (Figure 15). Figure 15 10. This will open the User Name and Password window (Figure 16) for the UDS1100 device to which you have just assigned an IP Address. There is no username or password required.
- Page 7 Apply Settings to save the new settings. Exit out of Lantronix DeviceInstaller. Figure 19 14. To check the settings, completely exit Lantronix DeviceInstaller. Turn off and then turn on power to the UDS1100. Restart Lantronix DeviceInstaller. Check all the settings you...
Need help?
Do you have a question about the UDS1100 and is the answer not in the manual?
Questions and answers