Advertisement
Advertisement
Table of Contents

Related Manuals for Magnavox MM435


Summary of Contents for Magnavox MM435
- Page 2 WARNING: TO REDUCE THE RISK OF FIRE OR ELECTRIC SHOCK, DO NOT EXPOSE THIS PRODUCT TO RAIN OR MOISTURE. TO REDUCE THE RISK OF FIRE OR ELECTRIC SHOCK, AND ANNOYING INTERFERENCE, USE THE RECOMMENDED ACCESSORIES ONLY.
-
Page 7: Location Of Controls
LOCATION OF CONTROLS... - Page 8 1. CD DOOR (Next/Skip Forward) Button ■ 2. LCD Display (Stop) Button 3. AL.SET (Alarm Set) Button (Play/Pause) Button 4. TIME (Set) Button 17. TUNING Knob 5. POWER Indicator 18. HOUR (Set) Button 6. DBBS (Dynamic Bass Boost System) Indicator 19.
- Page 9 Battery Door (Play/Pause) Button (Next/Skip Forward) Button ■ (Previous/Skip Backward) Button (Stop) Button 5. REPEAT Button 6. Battery Holder...
-
Page 10: Power Source
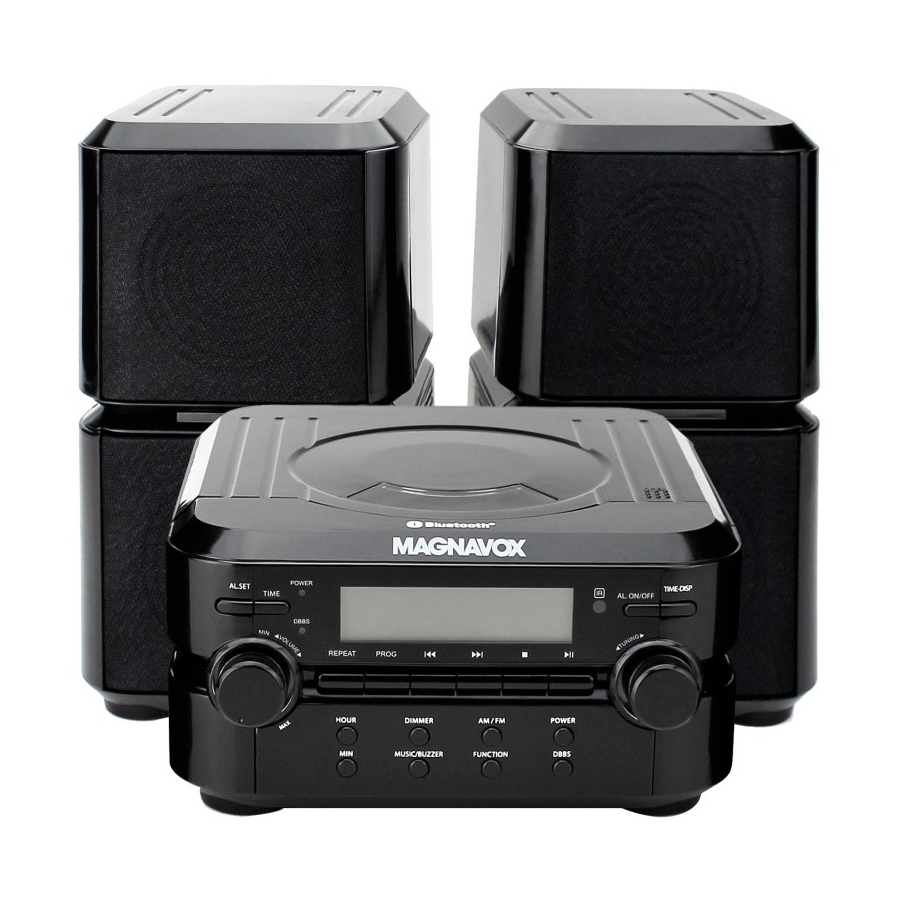
CONNECTION: Connect the small plug from the Left and Right Speaker Boxes to the SPEAKER OUT L & R Jacks on the rear of main unit as the illustrated below: Right Speaker Box Left Speaker Box POWER SOURCE: Main Unit: Unwind the AC power cord and extend it to its full length. - Page 11 Notes: This unit is equipped with a polarized AC plug which has one blade wider than the other. This is a safety feature to reduce the like holder of electric shock. This polarized AC plug will only fit in a polarized AC outlet. If you find that you cannot insert this plug into your outlet, you may have an obsolete non-polarized outlet.
-
Page 12: Remote Control
REMOTE CONTROL: First time use: Remove and discard the insulation film as the illustrated follows: Replacing the button cell when it is drained: Push and slide out the battery holder as the illustrated below. Replace the button cell with new CR2025 button cell as the polarity markings on ... - Page 13 possible battery leakage. 5. Do not try to recharge the battery not intended to be recharged; it can overheat and rupture. (Follow battery manufacturer’s instructions.) Do not dispose of battery in fire. Battery may explodes or leak. 7. Clean the battery contacts and also those of the device prior to battery installation. This product contains a coin/button cell battery.
-
Page 14: General Operation
OPERATION GENERAL OPERATION: Connect the unit to AC power as previously instructed. The unit will enter to standby mode automatically and the LCD Display will illuminate. Press the POWER Button on the unit to turn on the unit from standby mode. The POWER Indicator will illuminate. -
Page 15: Alarm Set
ALARM SET: To set or reset the alarm time: In Standby mode, press and holding the AL. SET (Alarm Set) Button on the unit, alarm time will appear on the display and blinking. Then: Press the HOUR (Set) Button on the unit to set hour. ... - Page 16 on the unit or Remote Control repeatedly to skip tracks. Notes: When the external BT Device searched the unit, our model number “MM435” will appear on the display of external BT Device. If while pairing you are asked for a code, please try "0000" or "1234".
- Page 17 Note: If stereo FM radio station is receiving in FM band. The FM stereo indicator “FM” will appear on the display automatically. Antennas: This unit has a built in AM/FM antenna, which provides adequate reception in most areas. If reception is weak, reassemble the other direction/location to improve reception.
- Page 18 To cancel the repeat function, press the REPEAT Button repeatedly until all the repeat indicators disappear on the display. Programmed Playback: Up to 20 tracks can be programmed playback as follows: In CD stop playing mode, press the PROG (Program) Button. “PROG 01” will appear on the display and PROG indicator will blink.
-
Page 19: Troubleshooting
TROUBLESHOOTING Check the following before requesting service: SYMPTOM POSSIBLE CAUSE POSSIBLE SOLUTION AC Power cord had not connected Plug the AC Cord to any wall No power outlet having AC 120V~; 60Hz Volume of the unit was set to minimum Increase the volume level by position turning the VOLUME Control... - Page 20 SPECIFICATTIONS Power Source: AC 120V~; 60Hz; 18W Clock Back Up: 3V; 2 x “AAA” size batteries (Not included) BT Version: BT Operation Distance: ≧32 Feet in open area Radio Frequency: AM: 520-1710kHz FM: 87.5-108MHz Disc Compatible: CD; CD-R; CD-RW Impedance of Speakers: 2 x 3W; 4ohm Audio power: 2 x 2W (Total 4W, RMS) ACCESSORIES...
-
Page 21: Limited Warranty
This product has been manufactured by and is sold under the responsibility of Craig Electronics Inc, and Craig Electronics Inc is the warrantor in relation to this product. MAGNAVOX and SMART. VERY SMART are registered trademarks of Koninklijke Philips N.V. and are used under license from Koninklijke Philips N.V.
Need help?
Do you have a question about the MM435 and is the answer not in the manual?
Questions and answers
no sound when playing cd. Sound with radio
There are several possible reasons why there is no sound when playing a CD on the Magnavox MM435, but sound works with the radio:
1. Volume Set to Minimum – The unit’s volume may be too low. Increase the volume by turning the volume control knob clockwise.
2. Aux Cable Plugged In – If an auxiliary cable is connected to the LINE IN jack, other functions like CD, Bluetooth, and radio are automatically cut off. Unplug the cable from the LINE IN jack.
3. CD Mode Not Selected – Ensure the unit is in CD mode. The “Cd” indicator should appear on the display.
4. CD Not Properly Inserted – Check if the CD is placed correctly with the label side facing up.
5. CD Not Recognized – Wait for the total number of tracks to appear on the display before pressing the play button.
If the issue continues, check if the CD is damaged or try another disc.
This answer is automatically generated