Advertisement
Quick Links
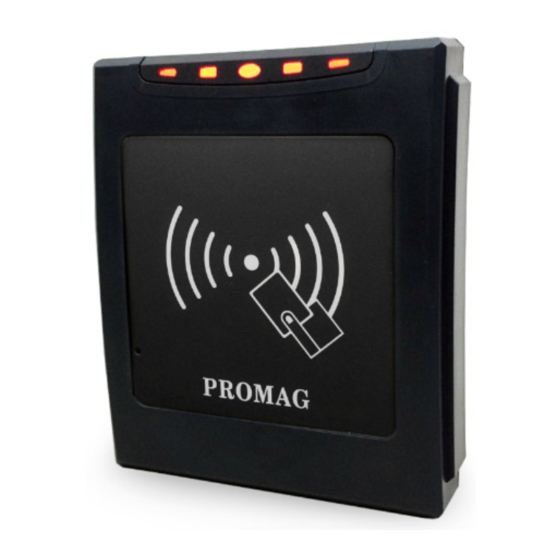
Advertisement

Related Manuals for Promag ER750


Summary of Contents for Promag ER750
- Page 1 Ethernet Reader ER750/ER755 Quick Start...
- Page 2 Connect the ER750/ER755 reader to an Ethernet hub via the Ethernet cable. Note: Or you can connect the ER750/ER755 reader to your PC/Laptop directly by one Ethernet cable. Step 2 Connect the power (DC12V) to the pin VCC and GND.
- Page 3 Connect Reader to Ethernet Network Step 3 Use “EthernetReaderDiscover” software to search all of our available Ethernet devices on network. (This software can be found in the installation CD “disk5453”). Step 4. Click “Refresh” to refresh the Ethernet reader list. Step 5.
- Page 4 Connect Reader to the Ethernet Network Step 6. (Optional) Edit the ER750/ER755 device name for easy recognition. Click "Save" to update settings. NOTICE: If you have to manually set IP address, you can click "Manual" and then setup IP address of the device.
- Page 5 “ X” – means the communication fail. Step 2 < ER750 > The “Ethernet Reader Discover” utility will execute the “Mifare/DESfire Reader Utility” and connect to the selected reader. Remark: For ER750, the “Read Mode” fixed to “CSN Only”. Ethernet Reader Quick Start TM970166A...
- Page 6 Configure ER750/ER755 Reader Settings < ER755> Remark: For ER755, the “Read Mode” can be switch to: “CSN Only”/ “Card Data Only”/ “Card Data or CSN (when card error)” Remark: For the “Read Mode” is “Card Data Only”, you have to enter the card’s app key or offset &...
- Page 7 Configure ER750/ER755 Reader Settings Step 3 < ER750> Configure the LED/buzzer appearance. <ER755> Ethernet Reader Quick Start TM970166A...
- Page 8 Configure ER750/ER755 Reader Settings Remark: If you have to control hardware by commands, please check “Enable LED/Buzzer Command Set Conatrol” before update configures. Ethernet Reader Quick Start TM970166A...
- Page 9 Configure ER750/ER755 Reader Settings Step 4 Then setup device settings and IP settings. Remark: type in same settings as Event Server software (both of the IP Address and the Port Number). Step 5 Begin to receive the event from the device.
- Page 10 Trouble Shooting – Set to Auto IP Mode How to change PC/Laptop network setting to support the Auto IP mode Step 1 Most of the PC/Laptop network default setting is “Obtain an IP address automatically” (auto IP mode). If not, you can follow the steps to change the network setting to auto IP mode.
- Page 11 Trouble Shooting – Set to Auto IP Mode Step 4 Connect the ER750/ER755 reader to PC/Laptop via Ethernet cable then power on the ER750/ER755 reader. Ethernet Reader Quick Start TM970166A...
- Page 12 Wire Connect to the Door Lock Suggestion The ER750 does not supplying power for the electronic lock, so please reference below pictures to connect the lock. Load means the lock. Connects VIN to power, GND to common, and the power supply’s ground connect to NO (Normally Open).
- Page 13 Issue Card Software If you have the requirement about issue user card immediately, we have the Mifare/DESFire Card Issuer software to help you that issue the user card easily and quickly, and you should have a “PCR310 R/W device” for issue cards, please contact the sales for more information.
- Page 14 Installation Manual Ethernet Reader Quick Start TM970166A...
- Page 15 This information only applies to customers in the European Union. For other countries, please contact your local government to investigate the possibility of recycling your product. PROMAG ® GIGA-TMS INC. http://www.gigatms.com.tw mailto:promag@gigatms.com.tw : +886-2-26954214 : +886-2-26954213 Office: 8F, No.
Need help?
Do you have a question about the ER750 and is the answer not in the manual?
Questions and answers