Table of Contents
Advertisement
Quick Links
Advertisement
Table of Contents

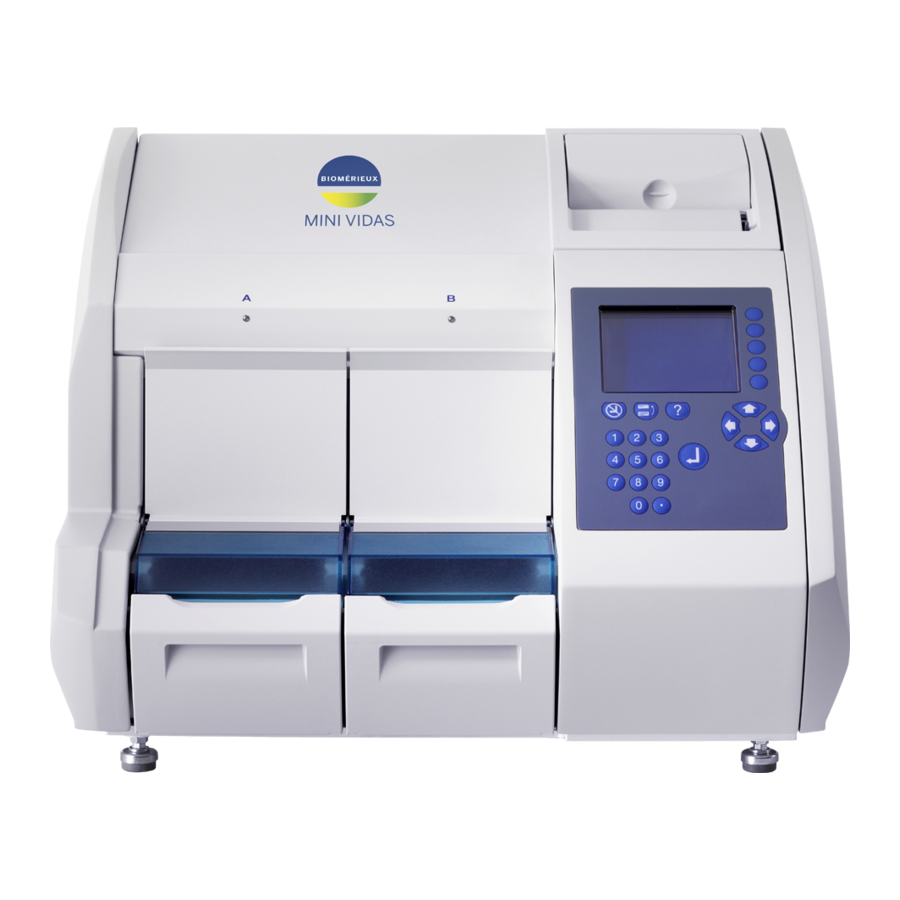
Summary of Contents for bioMerieux MINI VIDAS
- Page 1 BIO MÉRIEUX MINI VIDAS ® ESSENTIALS...
- Page 2 Reagent loading position (12 positions) Section TOUCH PAD: KEY FUNCTIONS Sample Extrenal Barcodes reader HOW TO TURN ON MINI VIDAS? Switch on the MINI VIDAS with the power switch located on the back of ® the analytical module. To move the cursor...
- Page 3 At the end of the reading, The MLE card is then Run the analysis selecting “START” . “Please wait” is displayed. automatically printed. Document only for Training use. Does not replace the User Manual. Refer to MINI VIDAS user’s manual for detailed data ®...
- Page 4 PRESS UNTIL THE WORK LIST FOR THE SECTION IS DISPLAYED Then start running the samples (using the protocol below). Document only for Training use. Does not replace the User Manual. Refer to MINI VIDAS user’s manual for detailed data ®...
- Page 5 For R3: If the result of a particular position is outside the range: PUT THE SECTION OFFLINE and Call bioMérieux Technical Support. Document only for Training use. Does not replace the User Manual. Refer to MINI VIDAS user’s manual for detailed data ®...
- Page 6 ANNOTATIONS ........................................................................................................................................................................................................................................................................................................................................................................................................................................................................................................................................................................................................................................................................................................................................................................................................................................................................................................................................................................................................................................................................................................................................................................................................................................................................................................................................................................................................................................................................................................................................................................................................................................................................................................................................................................................................................................................................................................................................................................................................................................................................
- Page 7 BI O M É RI EUX bioMérieux S.A. • 69280 Marcy l’Etoile • France • Tel.: + 33 (0)4 78 87 20 00 • Fax: +33 (0)4 78 87 20 90 www.biomerieux.com...


Need help?
Do you have a question about the MINI VIDAS and is the answer not in the manual?
Questions and answers
miniVaidasの日付けを設定する方法
To set the date on the bioMérieux MINI VIDAS:
1. Select Set Date/Time in the Configuration Menu.
2. Use the numeric keypad to enter the day, month, and year.
3. Use [Clr] to clear the cursor box if needed.
4. Use [←] to delete one character in front of the cursor if necessary.
5. Validate the numerical values.
6. Press the appropriate button to return to the Configuration Menu.
Incorrect date settings may cause program errors and data loss.
This answer is automatically generated