Table of Contents
Advertisement
REFRIGERATION
RM2351, DM2652, DM2662, DM2663, DM2682, DM2852, DM2862 DM2882, RM2354, RM2551, DM2683,
RM3962, RM2554, RM3762, RM2451, RM1350, RM2454, DM2672, DM2872, RM1350SL
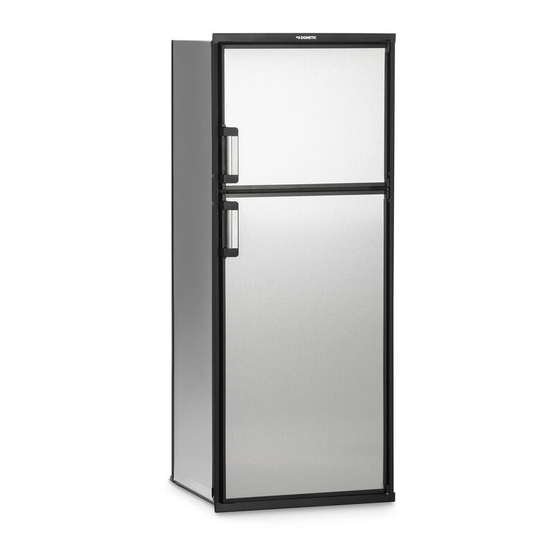
DM & RM Refrigerators
EN
Installation Manual
REFRIGERATOR
WARNING: Improper installation, adjustment,
alteration, service or maintenance can
cause injury or property damage. Refer to
this manual. For assistance or additional
information consult a qualified installer,
service agency or the gas supplier.
FIRE OR EXPLOSION HAZARD
If you smell gas:
1. Open windows.
2. Do not attempt to light appliance.
3. Do not touch electrical switches.
4. Extinguish any open flame.
5. Shut off fuel supply.
6. Evacuate immediately and call emergency
services.
Failure to follow these instructions could result
in fire or explosion, which could cause property
damage, personal injury, or death.
Advertisement
Table of Contents


Need help?
Do you have a question about the DM Series and is the answer not in the manual?
Questions and answers
Is there a unit of same dimensions as the Dm 2862 I need a replacement
Yes, the Dometic DM2852 has the same dimensions as the DM2862. Both units have the following exterior dimensions:
- Width: 60-13/16"
- Depth: 24-7/8"
- Height: 26-1/16"
- Cabinet Width: 59-15/16"
- Cabinet Depth: 23-11/16"
- Cabinet Height: 24"3
These units are suitable replacements for each other based on dimensions.
This answer is automatically generated