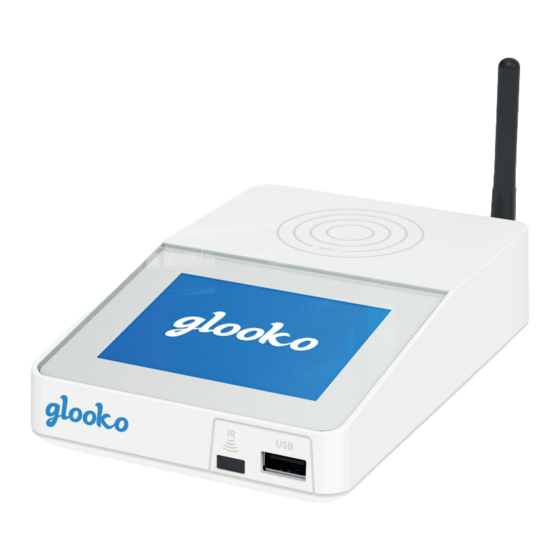
Glooko Transmitter Quick Manual
For diasend users
Hide thumbs
Also See for Transmitter:
- Instructions for use manual (20 pages) ,
- Instructions for use manual (24 pages)
Table of Contents
Advertisement
Advertisement
Table of Contents

Related Manuals for Glooko Transmitter


Summary of Contents for Glooko Transmitter
- Page 1 Glooko Transmitter – Quick guide for diasend® users...
-
Page 3: Table Of Contents
Contents Find your device ......................3-4 How to start using Glooko Transmitter ..............5 Plug Glooko Transmitter into your power outlet ............................5 Glooko Transmitter is ready to use when ..............................5 Connect diabetes device to Glooko Transmitter ............................6 Transfer data ........................................6 Log in to your diasend Clinic account................................6... -
Page 4: Find Your Device
Find your device Glucose meter Insulin pump Insulin pen Abbott Beurer FreeStyle .......................11 GL50 evo......................13 FreeStyle Flash .....................11 FreeStyle Freedom ..................11 B. Braun FreeStyle Freedom Lite ................11 FreeStyle InsuLinx ..................11 Omnitest 5 ..................... 13 FreeStyle Lite ....................11 Freestyle Mini ....................11 Cambridge Sensors FreeStyle Optium ..................11 Microdot+ .......................13... - Page 5 BGStar ......................17 MyStar Extra ....................17 Menarini GLUCOCARD MX ..................15 Senseonics GLUCOCARD SM ..................16 Eversense CGM Transmitter ..............17 GLUCOFIX iD ....................15 GLUCOFIX miò ....................16 GLUCOFIX miò Plus ..................16 Smiths Medical GLUCOFIX Premium ................... 16 CoZmo 1700 ....................19 GLUCOFIX TECH ..................15...
-
Page 6: How To Start Using Glooko Transmitter
How to start using Glooko Transmitter Plug Glooko Transmitter into your power outlet Note: if you want to want to connect Glooko Transmitter to the Internet using Ether- net (instead of the built-in cellular connection). Plug in the Ethernet cable and and Glooko Transmitter will configure itself, for further instructions see page 10. -
Page 7: Connect Diabetes Device To Glooko Transmitter
Connect a diabetes device to Glooko Transmitter Each diabetes device connects in one of the following two manners: • USB cable (USB port or USB hub) • Infrared (built-in IR receiver or for some devices a SmartPix cable). Please see page 11 of this guide for specific instructions on how to upload all compatible diabetes devices. -
Page 8: Viewing The Data
Viewing the data Clinic In the clinic tab it’s possible to view the data without creating a patient profile. Tick the box of the upload you wish to view. Click on Show selected devices to Please note that all uploads are removed from the Clinic view the upload. -
Page 9: Displaying The Data From The Diabetes Devices
Continued from previous page Patients How to create a patient profile in the patient tab: Click on New patient. The mandatory fields are first and last names. You will find further options under Expand registration form. To allow a patient to view their data from home, tick the box: ”Allow patient to log in to the diasend system and view reports”... -
Page 10: Sharing The Data
Sharing the data Patients with their own diasend Personal account can upload their diabetes devices at home, and they can ® share their uploaded data with up to two different healthcare facilities. To enable patients to share their data with you, they will require your unique identifier in diasend called “Clinic ID”. -
Page 11: Explanation Of Glooko Transmitter
If you want to configure the Ethernet connection manually or read the MAC address, please go to: Menu > Settings > Network settings > Ethernet settings If the configured Ethernet network is not available, Glooko Transmitter will automatically revert to cellular connection. -
Page 12: List Of Compatible Devices
Glucose meters upload instructions are provided for the actual device, you simply need to connect it to Glooko Transmitter or USB hub with its specific USB cable or via IR and it will upload automatically. (Visit diasend.com to see a current list of compatible devices and known limitations.) -
Page 13: On Call® Advanced
Continued from previous page Glucose meters and CGMs - connected with USB cable Acon Laboratories On Call® Resolve Connect and press the meter’s On Call® Advanced M and S buttons. On Call USB cable (2.5 mm) On Call® Plus Connect and press and hold the On Call®... -
Page 14: Gl50 Evo
If the upload doesn’t start, disconnect G5 Mobile Receiver Micro USB the meter, select Shutdown in the menu Touchscreen Reciever G5/G6 to turn the meter off. Turn the meter on again and connect it to Glooko Transmitter. SEVEN PLUS Seven Plus USB cable Diastesse XPER... -
Page 15: Nexus Voice
Continued from previous page Glucose meters and CGMs - connected with USB cable Nexus Voice GlucoRx Nexus Voice USB cable (2.5 mm) iCare PalmDoc I i-Care Palmdoc I USB cable (2.5 mm) PalmDoc II Mini USB Mini USB i-SENS alphacheck professional NFC/ACURA PLUS Connect and press the meter’s alphacheck professional power button. -
Page 16: Onetouch Select
Continued from previous page Glucose meters and CGMs - connected with USB cable OneTouch Verio Pro OneTouch Verio IQ OneTouch Verio Sync Mini USB OneTouch Select OneTouch Ultra OneTouch Ultra2 OneTouch UltraMini LifeScan USB cable OneTouch UltraEasy (2.5 mm) OneTouch Verio (old) OneTouch Vita Connect and press any button. -
Page 17: Glucofix Miò
Continued from previous page Glucose meters and CGMs - connected with USB cable GlucoMen LX Glucofix miò Menarini strip connector USB cable GlucoMen LX Plus If the meter displays: E-3, disconnect GlucoMen LX2 it wait until the display is off, then Glucofix miò... -
Page 18: Bgstar
Sanofi USB cable marked with: NOTE! Senseonics The Eversense CGM Transmitter (Gen. 2) can not be uploaded via Glooko Transmitter. Eversense CGM Transmitter The data from the Eversense CGM can only be uploaded to diasend® via ”Connect app” in the patient’s diasend®... -
Page 19: Accu-Chek Aviva
Glucose meters - with infrared connection IR window on Glooko Transmitter Set the meter in upload mode by following the instructions below. Place the glucose meter’s top end directed towards the IR window on Glooko Transmitter. Please make sure to keep the device completely still during the upload. -
Page 20: Ir1200
1. Press the down arrow button in order to activate the pump. 2. Place the pump with its back towards the CoZmo 1700 centre of the front panel on the Glooko Transmitter. Note: The battery in the CoZmo insulin pump must be well-charged in order to... -
Page 21: Accu-Chek Insight
Smart Pix cable Smart Pix 2 cable Compatible infrared cables 1. Connect the Smart Pix 2 cable to Glooko Transmitter and wait for the blue indicator on the Smart Pix 2 to start flashing slowly. 2. Connect the handset to the Smart Pix 2 with a Roche micro USB cable. -
Page 22: Novopen 6
Insulin pens - connected with standard USB cable To be able to transmit data from an insulin pen, please follow the instructions below. Note: If you have a USB hub connected to glooko® Transmitter, the USB hub must be powered by its own power supply. Pendiq Make sure that the cable is properly inserted. - Page 24 WARNING! All patient medical diagnoses and treatments are to be performed under supervision of qualified healthcare professionals! diasend is not intended to provide automated treatment decisions or to be used as a substitute for professional healthcare ® judgment. diasend is not intended for emergency calls or for transmission or indication of any real-time alarms or time-critical ®...
Need help?
Do you have a question about the Transmitter and is the answer not in the manual?
Questions and answers