MBM 508a Operation Manual
Scoring unit & perforating unit
Hide thumbs
Also See for 508a:
- Operation manual (48 pages) ,
- Operation manual (52 pages) ,
- Operation manual (52 pages)
Table of Contents
Advertisement
Quick Links
Advertisement
Table of Contents

Related Manuals for MBM 508a


Summary of Contents for MBM 508a
- Page 1 OPERATION MANUAL Scoring unit & Perforating unit Read this operation manual carefully before use. Keep this booklet handy for your reference anytime. A PRODUCT OF CORPORATION The Leader in Paper Handling Equipment 1-800-223-2508 www.mbmcorp.com Sep,9,2016...
-
Page 3: Table Of Contents
Before use Read this operation manual carefully before use. Keep this booklet handy for your reference anytime. Specifications are subject to change without notice for product improvement. Always refer the original manual which came with the delivered unit. Index 1. Names of Parts..................2. -
Page 4: Names Of Parts
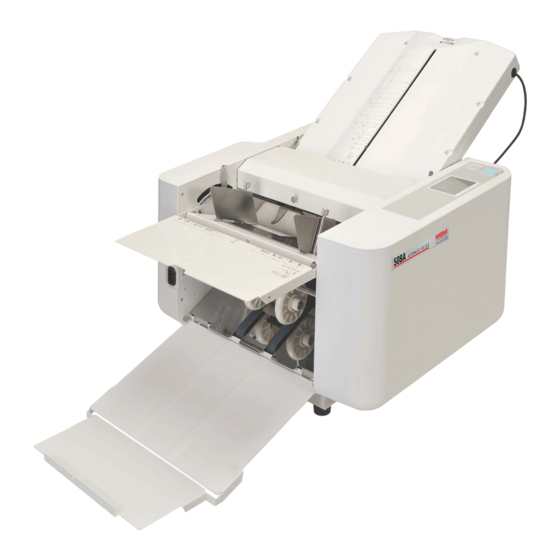
1. Names of Parts Perforating Unit Transport Roller Unit Perforating Block Wire Mounting Shaft Scale Block Mounting Arm Paper Control Wire Transport Roller Unit Paper Stopper The paper processing part Block Mounting Arm Upper Transport Roller Thumb Screw Blade Receipt Roller Lower Transport Roller Transportation Shaft Perforating Blade... -
Page 5: Preparation Before Use
2. Preparation before use (1) Remove 1st Folding Table to the direction of arrow. (2) Remove the connector of 2nd Folding Table. 1st Folding Table Connector 2nd Folding Table Perforating Unit (3) Install Perforating / Scoring Unit to Guides (2 positions the place where 1st Folding Table in right and left.) was mounted. -
Page 6: How To Use
3. How to use 1) Perforation Unit 3.1 Setting Perforating Block 1) Loose Thumb Screw and squeeze Release Thumb Screw Guide Scale Levers by fingers to slide Perforating Block right or left. Refer guide scale. NOTE: Before setting Perforating Block, make sure to place Blade Position Reference at center position so that fine adjustment may be possible after the Block is... - Page 7 (3) Setting Paper Transport Rollers, Upper and Lower, at proper position Place the Paper Transport Roller where they can grip paper positively. Firstly, loosen Lower Philips Fixing Screws on both sides. Slide and position them to the appropriate location and fix them. Then, loosen Thumb Screws of Upper Transport Rollers on both sides.
- Page 8 (2) Perforating two lines on a sheet by single perforation block. - Place Blade Position Reference to adequate position and perforate. - After first perforation done, reload the sheet to Paper Feed Tray reversing the paper position. - Then perforate 2nd line again. 1st Perforation 2nd Perforation Further information:...
-
Page 9: Method For Changing Operation Mode
3.2 Method for changing operation mode (1) Press the “ Gear mark ” on the control panel to switch to the “ Setting ” screen. Gear mark (2) Press the “ Setting “ on the control panel to switch to the “ Detail Setting ” screen. “... -
Page 10: Fine Adjustment Of Perforating Line
3.4 Fine Adjustment of Perforating Line 3.4.1 Adjusting line location - If the line is extremely out of desired location, Perforating Unit must be relocated. - If the line is away for approximately 5mm or less from desired position, fine adjustment may be possible without changing Perforating Block set up. -
Page 11: Perforation, Continuous
3.5 Perforation, continuous (1) Press “Reset/Clear” Key and clear the counter setting to “0 (Zero)”. (2) Perforate all the sheets loaded: Load paper to Paper Feed Tray and press “START” Key. Machine perforates up to the end of paper stack. (3) Perforate designated number of sheets: Load paper to Paper Feed Tray and preset quantity of sheet desired to perforate. -
Page 12: Replacing Perforating Blade
(3) Facing Explanation Level toward you per figure, Set NEW Blade to Cutter Boss. Fixing Wheel Screws Perforating Blade(NEW) Protective (Blade is supported by film protective film.) Cutter Boss Perforating Blade Explanation Label Explanation Label (4) Set Fixing Wheel by 2 Screws tight. (5) Pull Protective Film toward direction of arrow so that the Film removes from the installed Blade. -
Page 13: How To Use Thick-Paper Perforating Unit (Option)
How to use Thick-Paper Perforating Unit (Option) 1) How to install the Thick-paper Perforating Block (Optional Parts) Thumb Screw Loosen Thumb Screw and remove Standard Perforation Unit. Replace with Thick-Paper Perforation Unit. Then tighten the Thumb Screw to secure. Thick-paper Perforating Block 2) How to use Pressure Control Nut OFF : While keep installing Perforation Unit(Medium,Thick... -
Page 14: How To Replace The Separator With Thick-Paper Separator
How to Replace the Separator with Thick-paper Separator When fed, thicker paper might be damaged because of the friction between a paper feed roller and a separator. You should change the separator with Thick-paper Separator in that case. Thick-Paper Separator is marked with red-line. Please refer to the following for how to replace the separator. -
Page 15: Setting Scoring Block
2) Scoring Unit 3.7 Setting Scoring Block Scoring Block Fix / Release Height 【BLADE HEIGHT CONTROL】 Upper Scoring Roller (Screw on right side) ① ② Lower Scoring Roller Shallower Deeper V-Groove (1) Scoring Position Move V-Groove of Lower Scoring Roller to the place where scoring. Then, fix the Roller by Philips Screw Driver. -
Page 16: Trial Scoring
(4) Adjusting positions of Feed Rollers Place Lower Transport Rollers to the positions where both of them stay on the paper positively. Then, fix Upper Transport Rollers by Phillips Screw Driver where Upper Rollers fit on the 2 Rubber Bands of Lower Transport Rollers. Scoring Block Upper Transport Roller Upper Transport Roller... -
Page 17: Scoring, Continuous
3.10 Scoring, continuous (1) Press “Reset/Clear” key and clear the counter setting to “0 (Zero)”. (2) Scoring all the sheets loaded: Load paper to Paper Feed Tray and press “START” Key. Machine scores up to the end of paper stack. (3) Scoring designated number of sheets: Load paper to Paper Feed Tray and preset quantity of sheet desired to scores. -
Page 18: Adding Perforation Unit
4.Adding Perforation Unit (1) Remove Transportation Shaft from Perforation Unit Transportation Shaft Block Mounting Arm NOTE: When removing Transportation Shaft, rotate Block Mounting Arm toward the direction of arrow. It makes wider opening and easier to take out Transportation Shaft. (2) Remove a Phillips screw from the end of Transportation Shaft. - Page 19 (5) Add another Perforation Unit to the Block Mounting Arm and fix by Thumb Screw. (6) Place Transportation Rollers where they grip perforating sheet positively. The two Perforation Units should not touch each other. NOTE: Position where perforation can be done is only between the two Lower Transportation Rollers.
-
Page 20: Exchanging Perforation Unit To Scoring Unit
5. Exchanging Perforation Unit to Scoring Unit. Perforation Unit can be exchanged to Scoring Unit and Scoring Unit can be exchanged to Perforating Unit. (1) Remove Transportation Shaft from Perforation Unit NOTE: For easier removal or installation, Refer “ NOTE: ” at “ 4. Adding Perforation Unit “... -
Page 21: Replacing Transport Rubber Ring
6. Replacing Transport Rubber Ring (1) Remove Transportation Shaft from Perforation/Scoring Unit Transportation Shaft NOTE: For easier removal or installation, Refer “ NOTE: ” at “ 4. Adding Perforation Unit “ . (2) Remove a Phillips screw from the end of Transportation Shaft. Lower Transport Roller Transportation Shaft Roller Fixing Screw... -
Page 22: Troubleshooting
7. Troubleshooting Symptom Remedy Paper Slippage - Replace Paper Separator - Replace Paper Feed Roller Paper Jam - Remove jammed paper by removing Perforation/Scoring Unit from Folding Machine. - Remove jammed paper. Then adjust mounting location of Roller. Make the Transport Rollers grip perforating/scoring paper at the both sides. - Page 24 MBM Corporation...
Need help?
Do you have a question about the 508a and is the answer not in the manual?
Questions and answers