Table of Contents
Advertisement
Quick Links
Read through the installation in-
structions carefully before installing
your Waterous CPK-5 Series Fire
Pump.
NOTE: Instructions subject to change without notice
Waterous Company, 125 Hardman Avenue South, South St. Paul, Minnesota 55075 USA (651) 450-5000
Safety Information ...................................................... 2
Introduction ................................................................. 3
General Description .................................................... 3
Pump Mounting - General Information ..................... 3
Pump Mounting ........................................................ 4-9
Pump and Transmission ......................................... 4-7
Oil Pump and Cooler .............................................. 8-9
Final Checks .............................................................. 10
Lubrication ............................................................... 10
Testing .................................................................... 10
www.waterousco.com
CPK-5 Fire Pumps
Installation Instructions
Table of Contents
F-1031, Section 3046 (Revised: 12/7/18)
Advertisement
Table of Contents

Related Manuals for Waterous CPK-5 Series


Summary of Contents for Waterous CPK-5 Series
-
Page 1: Table Of Contents
Read through the installation in- structions carefully before installing your Waterous CPK-5 Series Fire Pump. NOTE: Instructions subject to change without notice F-1031, Section 3046 (Revised: 12/7/18) Waterous Company, 125 Hardman Avenue South, South St. Paul, Minnesota 55075 USA (651) 450-5000 www.waterousco.com... -
Page 2: Safety Information
Read through and communicate safety information to the end user of this Waterous Fire Pump. Safety Information WARNING Death or serious personal injury might occur if proper operating procedures are not followed. The pump op- erator, as well as individuals connecting supply or dis-... -
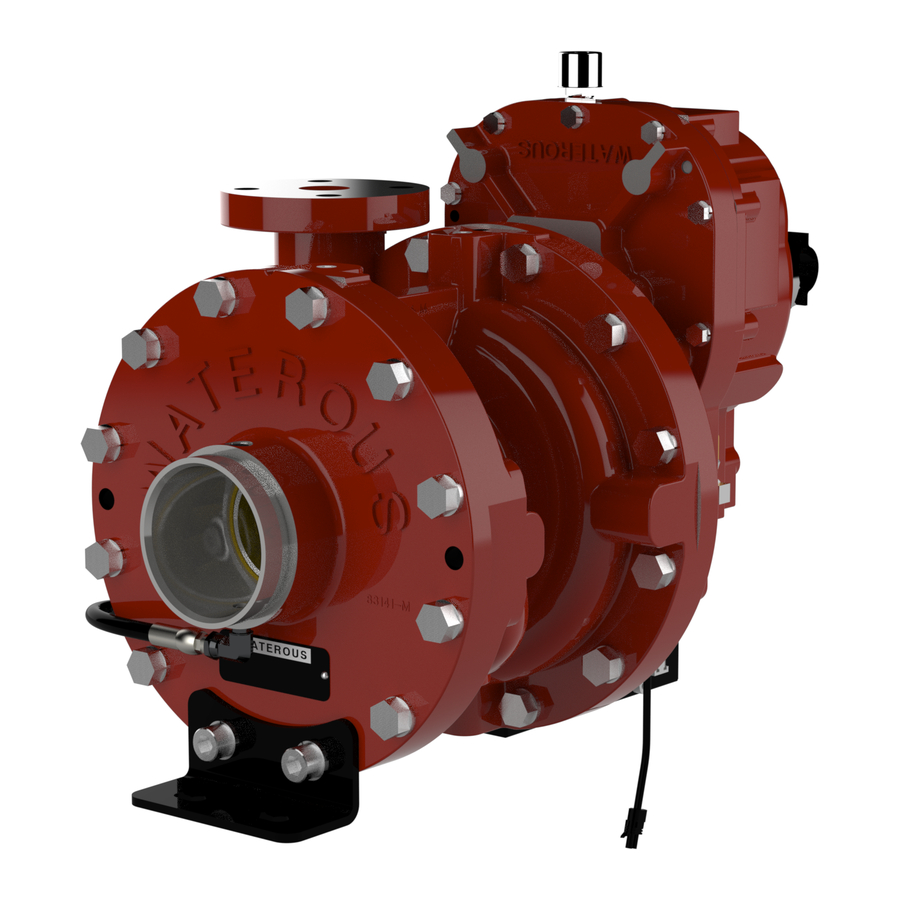
Page 3: Introduction
Introduction The following installation instructions are available: This instruction covers the installation of a Waterous CPK- • 5 Series fire pump. The CPK-5 is rated at 320 GPM @ 1350 Priming System, F-1031, Section 3006 PSI (1200 l/min @ 93 bar) •... -
Page 4: Pump And Transmission
Pump Mounting - CPK-5 Series Position the pump/transmission within the vehicle frame Figure 1 shows the mounting areas on a CPK-5 pump. To rails and secure the brackets (not supplied) to the vehicle mount the pump/transmission to the vehicle chassis, construct frame. -
Page 5: Pump Mounting
Pump Mounting – CPK 5 Series (con’t) Figure 2. Pump Dimensions, Inverted Transmission F-1031, Section 3046 Page 5 of 10... - Page 6 Pump Mounting – CPK 5 Series (con’t) Figure 3. Pump Dimensions, Horizontal Transmission F-1031, Section 3046 Page 6 of 10...
- Page 7 Pump Mounting – CPK 5 Series (con’t) Figure 3. Pump Dimensions, Vertical Transmission F-1031, Section 3046 Page 7 of 10...
-
Page 8: Oil Pump And Cooler
Oil Pump and Cooler Mounting NOTE: Before installation, make sure your pump has Figure 4 shows mounting locations and connection points the right rotation as compared to the driveshaft rota- for the oil pump and cooler that is used on the CPK-5. tion (see dimensional drawings for correct rotation configurations). - Page 9 Figure Oil Pump and Cooler Mounting Diagram Continued F-1031, Section 3046 Page 9...
-
Page 10: Final Checks
Final Checks Testing After the pump, accessories, piping and miscellaneous con- Perform the tests listed in F-1031, Section 1000, “Centrifu- nections are completely installed, check the points listed gal Fire Pump Principles of Operation, Inspection Tests and below: Troubleshooting Guide.” During the running tests, monitor Lubrication the smoothness of operation, listen for unusual noises and check for leaks.
Need help?
Do you have a question about the CPK-5 Series and is the answer not in the manual?
Questions and answers