Daikin EKCB07CAV3 Installation Manual
Altherma low temperature monobloc control box
Hide thumbs
Also See for EKCB07CAV3:
- Service manual (156 pages) ,
- Installer's reference manual (122 pages) ,
- User reference manual (28 pages)

Related Manuals for Daikin EKCB07CAV3


Summary of Contents for Daikin EKCB07CAV3
- Page 1 Installation manual Daikin Altherma low temperature monobloc control Installation manual English Daikin Altherma low temperature monobloc control box EKCB07CAV3...
- Page 2 3P4039882A...
-
Page 3: Table Of Contents
M4 nuts for user interface Wires for domestic hot water booster heater relay installation outdoor unit) manual Control box Installation instructions Paper (in the box of the installation control box) manual Option box Installation instructions Paper (in the box of the installation option box) manual Backup Installation instructions Paper (in the box of the heater backup heater) installation manual Installer Preparation of the Digital files on http:// reference installation, technical www.daikineurope.com/ guide specifications, good supportandmanuals/ practices, reference data, productinformation/. … EKCB07CAV3 Installation manual Daikin Altherma low temperature monobloc control box 4P4040751 – 2015.03... -
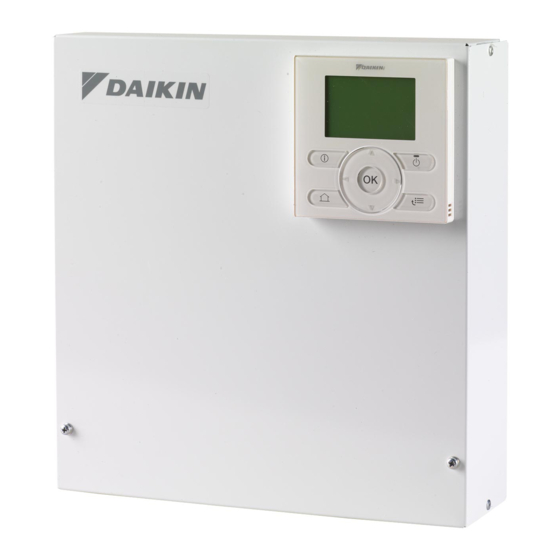
Page 4: Control Box
100 mA WARNING Optional equipment The screws are delivered with toothed lock washers. Preferential kWh rate ALWAYS use toothed lock washers, also when the screws power supply (voltage need to be replaced. Failure to follow this warning may free contact) result in electric shock. Backup heater kit thermistor Backup heater kit thermal protector Backup heater kit 2 (3V3) connection (from 3 (6V3, 6W1, control box) 9W1) Installation manual EKCB07CAV3 Daikin Altherma low temperature monobloc control box 4P4040751 – 2015.03... -
Page 5: Mounting The Control Box
Equipment complying with EN/IEC 61000312 (European/ International Technical Standard setting the limits for harmonic 2 Fix the cable with cable ties to the cable tie mountings to currents produced by equipment connected to public lowvoltage ensure strain relief and to make sure that it does NOT come in systems with input current >16 A and ≤75 A per phase.). contact with sharp edges. CAUTION Do NOT push or place redundant cable length in the unit. EKCB07CAV3 Installation manual Daikin Altherma low temperature monobloc control box 4P4040751 – 2015.03... -
Page 6: To Connect The Interconnection Cable Between Control Box And Outdoor Unit
1 Connect X2M/22 (control box) to X5M/4 (outdoor unit). 2 Connect X2M/23 (control box) to X5M/3 (outdoor unit). Insert a screwdriver into the slots underneath the user 3 Tie the cable with cable ties to the cable tie mountings. interface and carefully separate the faceplate from the wall plate. 4.3.5 To connect the user interface The PCB is mounted in the faceplate of the user interface. ▪ If you use 1 user interface, you can connect it onto control box Be careful NOT to damage it. EKCB07CAV3 (for control close to the control box), or in the room (where used as room thermostat). ▪ If you use 2 user interfaces, you can connect 1 user interface onto control box EKCB07CAV3 (for control close to the control box) + 1 Fix the wall plate of the user interface Fix the wall plate of user interface in the room (where used as room thermostat). to the front panel of the control box the user interface to Onto control box In the room using the M4 bolts and nuts from the the wall. -
Page 7: Starting Up The System
1× 1× 4C From the top 4D From the top centre 1× 1× Notch this part for the wiring to pass through with nippers etc. Secure the wiring to the front part of the casing using the wiring retainer and clamp. Starting up the system For instructions on how to configure and commission the system, and hand it over to the user, refer to the installation manual of the outdoor unit. EKCB07CAV3 Installation manual Daikin Altherma low temperature monobloc control box 4P4040751 – 2015.03... - Page 8 4P4040751 2015.03...
Need help?
Do you have a question about the EKCB07CAV3 and is the answer not in the manual?
Questions and answers