Table of Contents
Advertisement
EDV605HQWA
EDV705HQWA
Tumble Dryer
User Manual
REGISTER YOUR PRODUCT
WITH YOUR SMARTPHONE
1
Locate the label on
the inside of your
product door
Easy register with your smartphone
1. Photograph the camera icon,
including the 4 dots(
).
2. Then text it to 0488 446 622
(Australia only)
00000000000
2
Photograph the camera icon,
including the 4 dots (
3
Text to 0488 446 622
at electrolux.com.au/photoregister
© 2017 Electrolux Home Products Pty Ltd. EST_PhotoRegister_FCUM_Oct17
00000000000
)
, or upload
(AUS only)
00000000000
00000000000
Advertisement
Table of Contents

Related Manuals for Electrolux EDV605HQWA


Summary of Contents for Electrolux EDV605HQWA
- Page 1 2. Then text it to 0488 446 622 (Australia only) 00000000000 00000000000 Photograph the camera icon, including the 4 dots ( 00000000000 Text to 0488 446 622 , or upload (AUS only) at electrolux.com.au/photoregister 00000000000 © 2017 Electrolux Home Products Pty Ltd. EST_PhotoRegister_FCUM_Oct17...
-
Page 2: Table Of Contents
WE’RE THINKING OF YOU Thank you for purchasing an Electrolux appliance. You’ve chosen a product that brings with it decades of professional experience and innovation. Ingenious and stylish, it has been designed with you in mind. So whenever you use it, you can be safe in the knowledge that you’ll get great results every time. -
Page 3: Important Safety Instructions
IMPORTANT SAFETY INSTRUCTIONS 1.1 Dryer Safety 1.2 Fire Hazards Some fabrics are not suitable for tumble drying. Failure to follow these safety instructions could The following MUST NOT be placed in your damage the dryer or your clothes You may then not be covered by warranty for dryer due to the risk of a fire or an explosion : this damage. -
Page 4: Cleaning The Lint Filter
Your load, when dry must not exceed the rated capacity A clean lint filter reduces drying times, saves 6.0 kg for the EDV605HQWA Dryer energy and avoids overheating. Overheating 7.0 kg for the EDV705HQWA Dryer may also damage your clothes. -
Page 5: Installation Instructions
INSTALLATION INSTRUCTIONS You can choose to put your dryer : on the floor on a work bench. on a wall, upside down or upright, using the include mounting kit. on top of a front load washing machine using a stacking kit available as an optional extra (not available for all washing machine models). - Page 6 Inverted Mounting Mode If machine is installed up side down follow instruction below to adjust the display for correct reading. Fast Norm Gentle Airing Mode Switch the machine “ON” Hold Dry mode Press and hold Dry Mode and Start/Pause buttons for and Start/Pause button 3 sec.
-
Page 7: Use
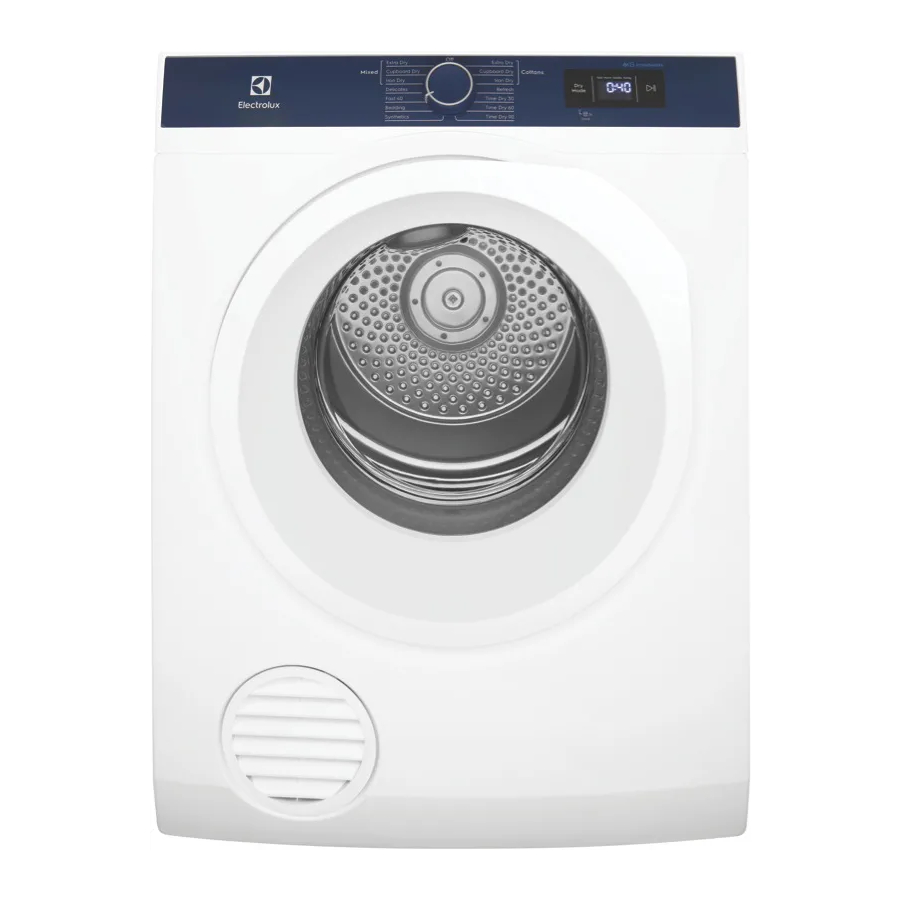
3.1 The Control Panel DISPLAY PROGRAM SELECTOR KNOB Turn the Program Selector knob to The display shows the following information choose a drying program. The table “Program Guide” DRYING CYCLE IN PROGRESS shown on page 9 will help you in selecting the right program. NOTES : The Program Selector knob is not a timer. - Page 8 Touch this touch pad to select the ANTI CREASE CYCLE drying mode. Corresponding light for IN PROGRESS each mode is shown on display. Drying mode can only be selected during initial set up. • Fast For small load To prevent creases forming in the •...
-
Page 9: Operating Sequence
3.2 Operating Sequence Step 1 Load your dryer loosely until it is no more than TWO THIRDS FULL. Clothes must tumble freely in a dryer. Don’t crem them in. Wet clothed fluff up when dry. Program Guide Program Load Size info Texile type info Overloading will : Cotton Towel, Jeans... -
Page 10: Hints
Checking the Load WARNING: Never stop a tumble dryer before the end of the drying cycle unless all items are quickly removed and spread out so that the heat is dissipated. both Step 3 Next time you turn your dryer on it will be... - Page 11 Due to variations in dryer load fabric texture and thickness it is possible that not all items will be dried evenly. It you experience uneven dryness on Cupboard program please use either Extra Dry or Timer Program but be mindful of the type of fabric being dried to avoid overdrying certain types of fabric.
-
Page 12: Troubleshooting
The Service Center will need this information. 5.2 Accessories You can buy venting kits (as mentioned on page 5) from your local appliance shop or Electrolux Home Products Pty.Ltd. Parts Distributor. - Page 13 14 www.electrolux.com...
- Page 14 Electrolux may, in its absolute discretion, choose whether the remedy have the Appliance repaired or replaced if the Appliance fails to be of for a valid warranty claim is repair or replacement. Electrolux or its acceptable quality and the failure does not amount to a major failure.
-
Page 15: Electrolux Warranty
www.electrolux.com...
Need help?
Do you have a question about the EDV605HQWA and is the answer not in the manual?
Questions and answers