
Related Manuals for iDevices Air Quality Sensor

Summary of Contents for iDevices Air Quality Sensor
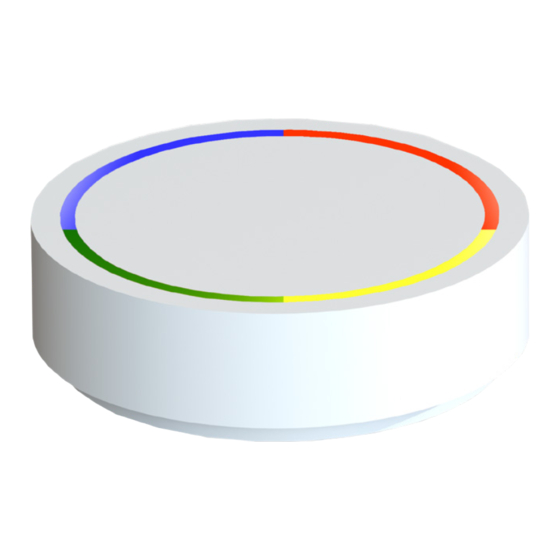
- Page 1 Air Quality Sensor Installation and operating instructions www.idevices.de...
- Page 2 Bottom side 1. Reset button (resets the device to original settings) 2. Power connection (micro USB port 500 mA) 3. Strain relief (protects the power connection) 4. Holes for wall mounting of the device...
-
Page 3: Table Of Contents
Table of Contents 1 Box Contents ..............4 2 Explanatory Notes for Installation and Operating Instructions ..............4 3 Danger Warnings ............4 4 Function and Device Overview ........6 5 General System Information ........6 6 Implementation .............7 7 Errors / Technical Support ..........12 8 Setting up the App on your Mobile Device ....13 9 Restore Factory Settings ..........36 10 Maintenance and Cleaning ........36... -
Page 4: Box Contents
Danger Warnings • Do not open the idevices Air Quality Sensor. It is not intended that changes (mo- difications) are made to the device. Unauthorised conversion is not permitted. The guarantee is forfeited if damages are caused due to incorrect handling or improper use by disregarding this operating manual. - Page 5 • Any use other than described in this operating manual is not intended and will result in exclusion of warranty and liability. • The idevices Air Quality Sensor is not designed to protect living things from damage caused by ingredients in the air. In particular, the device is not a gas sensor and therefore not suitable to warn against hazardous or life-threatening gas concentrations.
-
Page 6: Function And Device Overview
- IAQ) from the concentration of certain ingredients in indoor air. From the Indoor Air Quality Index the proportion of the total volatile organic compounds (TVOC) and the CO2 content in the air will be calculated. Furthermore, the idevices Air Quality Sensor measures temperature, humidity and air pressure. The measured data may be sent to the idevices cloud via a suitably configured WiFi with Internet access. -
Page 7: Implementation
4. On your iOS or Android compatible device, open the WiFi settings menu. 5. Select the WiFi of the sensor. It is called „Air Quality Sensor“, followed by the 12-digit serial number „XXXXXXXXXXXX“ of the sensor. If you are asked for a password, please enter „12345678“. - Page 10 8. Öffnen Sie über die Pfeiltaste die Auswahlliste. Wählen Sie dann das WLAN Use the arrow key to open the selection list. Then select a WiFi that will connect the sensor to the Internet. If you are asked for a password, please enter your WiFi password.
- Page 11 Furthermore, the cable must not be stretched tight. Never pull the cable of the sensor. 6.2.2 Use as a Desktop Device The idevices Air Quality Sensor can be placed on a table or on flat, horizontal, suitable surface. In any case, make sure that the sensor cannot fall down accidentally.
-
Page 12: Errors / Technical Support
The sensor The sensor is not Check the power supply of does not connected to the the sensor. light up power supply. The LED Check the set brightness of brightness is set the sensor in the idevices too low app. -
Page 13: Setting Up The App On Your Mobile Device
8.2 Scope of Function The idevices Air Quality Sensor shows all important indicators of air quality in your room via the app. You can download the app for free from the Apple App Store or Google Play Store for your iOS or Android compatible device (see chapter 8.3). - Page 14 8.3 Installation 8.3.1 Download the App The Indoor Air Quality Sensor App can be found for free in the Apple App Store or Google Play Store. To download the app, go to the Apple App Store or Google Play Store and search for „Indoor Air Quality Sensor“. Download the app now and install it on your device.
- Page 15 Email: admin@idevices.de • Password: idevices!1 Before you can use the app for your idevices Air Quality Sensor, please create an account or register with your Facebook or Google account. 1. Enter your email when registering. 2. Enter your password and confirm it by repeatedly entering in the appropriate field.
- Page 18 This page is blank for technical printing reasons.
- Page 19 5. Confirm your entries by clicking on „Save“ to complete the setup of your idevices Air Quality Sensor. 6. Do you want to add another idevices Air Quality Sensor? Open the menu on the top left site and click on „New sensor“. Repeat these instructions.
- Page 22 This page is blank for technical printing reasons.
- Page 23 8.4 Operation of the App 8.4.1 Overview of Air Quality 1. Once you added your idevices Air Quality Sensor, you can see air quality, temperature, humidity, and barometric pressure on the app‘s homepage. 2. The air quality assessment is based on data of IAQ, TVOC, CO content.
- Page 27 8.4.2 Comparision of Air Quality If you own several idevices Air Quality Sensors, you may compare IAQ, TVOC, CO temperature, humidity or air pressure values of various rooms. Click on „Compare“. Now, as shown on the following page, you will see an overview of all your included...
- Page 29 8.4.3 Analysis of Air Quality 1. Click „Today“ in the upper right corner. 2. A drop-down list opens in which you can view historical data for up to 365 days. 3. By moving two fingers apart or together, you perform the zoom gesture, which alters the scale of the axis and allows you to change the viewing period.
- Page 33 8.4.4 Setting your Data and Tolerances Click on the gear symbol in the upper right to access settings of the sensor. 1. Here you have the option to adjust the brightness of the LED of the idevices Air Quality Sensor by moving the blue bar.
-
Page 36: Restore Factory Settings
Data in the idevices cloud are not affected. To restore to factory settings of the idevices Air Quality Sensor, proceed as follows: 1. Connect the idevices Air Quality Sensor to the power supply system by using the supplied AC adapter and USB cable. -
Page 37: General Information On Wireless Operation
GmbH herewith declares that this device complies with the essential require- ments and other relevant regulations of relevant guidelines. The complete Declaration of Conformity can be found at www.idevices.com/downloads. The CE mark is a free trade mark, which is addressed exclusively to the authorities and does not contain any... -
Page 38: Technical Data
13 Technical Data The serial number of your idevices Air Quality Sensor can be found at the bottom of the device. The serial number is the MAC address of the device too. Supply voltage 5 V DC Current consumption: 500 mA... -
Page 39: Imprint
15 Imprint Documentation © 2018, idevices GmbH, Germany All rights reserved. This manual may be reproduced or duplicated or modified by elect- ronic, mechanical, chemical or other means without written permission of the publisher. It is possible that these operating instructions contain printing defects or printing errors. - Page 40 Printed in Germany Changes in the sense of technical progress can be made without prior notice. Version 1.2 (04/2018)
Need help?
Do you have a question about the Air Quality Sensor and is the answer not in the manual?
Questions and answers