Advertisement
CP9680 Update Instructions
Note: Scanning Suite 4.3 should be installed on the PC prior to performing the tool
update.
Prepare the AutoScanner® Plus
1. Plug the tool into the PC via the USB port using a USB A to mini B cable.
2. In the Main Menu, arrow down to System Setup and press ENTER.
3. In the System Setup menu, arrow down to Program Mode and press ENTER.
Note: Antivirus software and firewalls installed on your PC can prevent
updates from properly downloading. It is recommended to disable these for
the duration of the update.
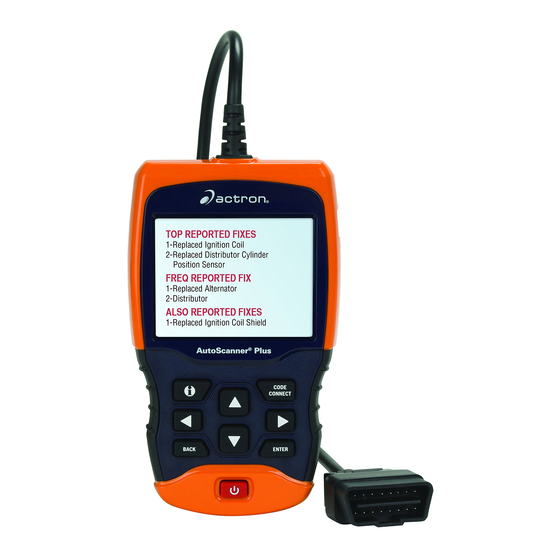
CP9680 AutoScanner® Plus
1
Advertisement
Table of Contents

Summary of Contents for Actron AutoScanner Plus CP9680
- Page 1 CP9680 AutoScanner® Plus CP9680 Update Instructions Note: Scanning Suite 4.3 should be installed on the PC prior to performing the tool update. Prepare the AutoScanner® Plus 1. Plug the tool into the PC via the USB port using a USB A to mini B cable. 2.
- Page 2 Updating the AutoScanner® Plus 4. Open Scanning Suite on the PC by double clicking the Actron LaunchPad shortcut or clicking start/All Programs/Scanning Suite/Actron/LaunchPad. 5. Click Tool Update. 6. The ScanLoader application will open. Click Next to continue. 7. Verify that your computer is connected to the internet. (Please note: Internet connection is not required to complete the update.
- Page 3 8. Wait while version information is downloaded from the internet and connection to the device is established. Note: Although the device is plugged into a USB port, the software will connect using a virtual com port. Note: If Scanning Suite cannot find the device, you will see a “could not connect to the device”...
- Page 4 10. Wait while version information is downloaded from our update server. This may take several minutes. 11. Once the files are downloaded, you will need to authorize the software. Since this is a free update, the software serial number and authorization code is not required. Click Next to install the new software onto the tool.
- Page 5 13. Wait while the tool is being programmed and click Done once completed. 14. The update is complete and the tool will display Success. You may now disconnect the tool and close the Scanning Suite application.


Need help?
Do you have a question about the AutoScanner Plus CP9680 and is the answer not in the manual?
Questions and answers