
Related Manuals for Polaris Quattro


Summary of Contents for Polaris Quattro
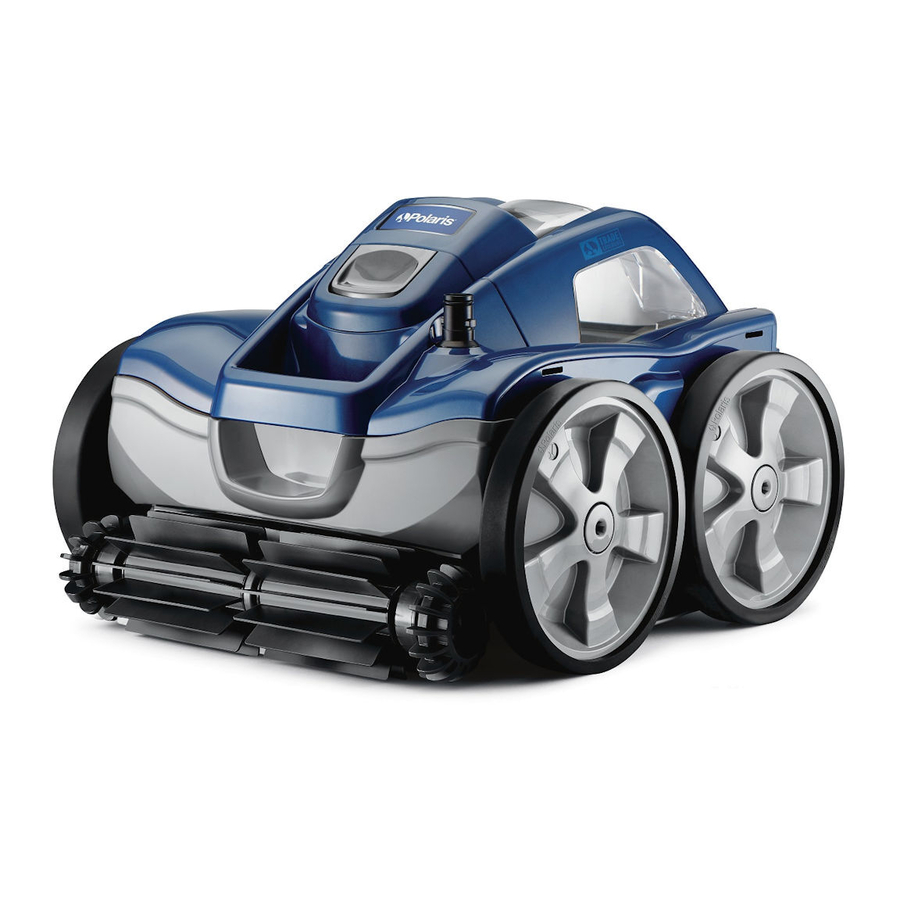
- Page 1 Works with Polaris Booster Pump Fonctionne avec un surpresseur Funciona con bomba de presión adicional OWNER’S MANUAL English Français Español...
- Page 2 WARNING To avoid risk of potentially serious injury: • Do not handle the Polaris cleaner while it is operating, except when checking the wheel RPM. • Always remove the Polaris cleaner before swimmers enter the pool. CAUTION USE OF A POLARIS QUATTRO IN A VINYL LINER POOL...
- Page 3 Before You Start: Important Information • Before installing the Polaris cleaner, make sure the pool filter is clean. ® • New plumbing lines should be flushed out before installing the cleaner. • The cleaner should not be used to remove plaster dust in new pools.
- Page 4 Included in the Box Installed in cleaner blue in bag - Pressure Relief Valve a - Cleaner Body g - Universal Wall Fitting (UWF b - Filter Canister - All-Purpose Debris ® h - Retrictor Disks (Blue and Red) c - Filter Canister - Fine Debris i - Hose Nuts d - Hose Assembly e - In-Line Filter Assembly...
- Page 5 Read the complete owner’s manual before you begin installation. Prepare the Pool 1. Turn on the filtration pump, allow to prime. 2. Turn on the booster pump and flush plumbing lines for five minutes. 3. Turn off both pumps. Install the Universal Wall Fitting The UWF installs on pools with a dedicated cleaner return line and a threaded 1-1/2”...
- Page 6 2. The end of the hose should be within 6″ (15 cm), longer or shorter, of farthest point. • If hose is too short, add a feed hose section with floats, a swivel and two hose nuts, available through your local Polaris dealer. Adjust to proper length. 3. Cut the hose so that it is within 6” (15 cm) of the farthest point. Walk hose around to determine farthest point.
- Page 7 Connect Hose Fitting and Adjust Floats 1. Place the hose nut (i) onto the end of the feed hose connector (j). 2. Push the hose assembly (d) onto the feed hose connector (j). Water can be used to lubricate the hose. •...
- Page 8 Assemble the Cleaner WARNING To avoid risk of potentially serious injury, do not swim or use the pool when the cleaner is submerged or operating. 1. Attach the feed hose connector (j) to the cleaner. 2. Confirm the first hose float (k) is up against the feed hose connector (j). 3.
- Page 9 ® 4. Using the Polaris logo on the left-front wheel as a reference, count wheel revolutions (RPM) for 1 minute. If wheels change direction during timing, start over. 5. Target wheel speed is 28 to 32 RPM. If wheel speed is not in target range, refer to Section 7 Adjust Wheel Speed.
- Page 10 Adjust the Wheel Speed < 28 RPM • Check the filter screen in the in-line filter assembly (e) for debris that restricts water flow. • Clean the skimmer, filter, and pump basket, clearing debris that restricts water flow. • Check the hoses and connections Flow direction for leaks that cause loss of water arrow (...
- Page 11 Thrust Jet Flow Adjust the flow by turning counter-clockwise to decrease and clockwise to increase. Cleaning Schedule The cleaner’s quick and efficient pool coverage may allow for a reduced cleaning schedule and runtime. The Polaris Quattro cleans most pools in one to two hours or less.
- Page 12 Maintenance Perform routine maintenance to prolong the life of your cleaner. Clean the Filter Canister 1. Press the lid release latch. 2. Lift the handle to remove the filter canister. 3. Press the filter cover release to remove the filter canisters. 4.
- Page 13 (freeze damage is not covered under the warranty). 2. Remove the UWF from the pool wall using the Quick Disconnect. Use a pulling pressure as you unscrew. If necessary, use the UWF Removal Tool (part #10-102-00) available from any Polaris dealer. ®...
-
Page 14: Troubleshooting
1-3 ft (30-90 cm) apart. 4. Adjust the thrust jet. Refer to Section 8 Fine Tuning. 5. Remove unnecessary pool hardware or install a Ladder Guard Kit (part # G21) from a Polaris ® dealer. 6. Install a Back-Up Valve accessory (part # G62, black or part # G52, white) from a Polaris dealer. - Page 15 4. Adjust the thrust jet. Refer to Section 8 Fine Tuning. 5. For smooth surface pools (tile, fiberglass, etc.), replace both rear tires with PosiTrax tires for ® more traction (available from a Polaris dealer). ® Smooth Surface Pools (tile, fiberglass, etc.) Problem Solution...
- Page 16 NSW, 2164 49180 St. Barthelemy d’Anjou cedex FRANCE 1300 763 021 | Zodiac.com.au zodiac-poolcare.fr Polaris ® and the 3-wheeled cleaner design are registered trademarks of Zodiac Pool Systems LLC All other trademarks referenced herein are the property of their respective owners.
Need help?
Do you have a question about the Quattro and is the answer not in the manual?
Questions and answers
How do I remove control box from dolley
To remove the control box from a Polaris Quattro dolly, first locate and remove the four screws holding it in place—two on one side and two on the other. Then, carefully lift the control box off the dolly.
This answer is automatically generated