Advertisement
Advertisement

Summary of Contents for Tucker GTR4
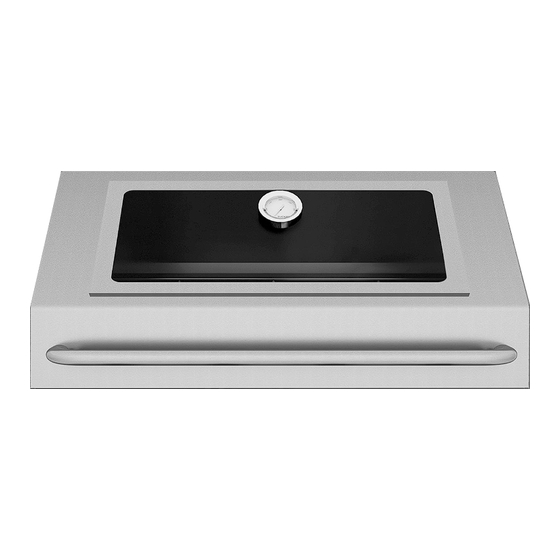
- Page 1 FOR GTR ROASTING HOODS TO SUIT GTR BARBECUE MODELS MODELS: GTR3, GTR4, GTR5, GTR6. GTR3 SS, GTR4 SS, GTR5 SS, GTR6 SS. GTR3 S, GTR4 S, GTR5 S, GTR6 S. IMPORTANT – PLEASE READ ALL INSTRUCTIONS BEFORE YOU ASSEMBLE, INSTALL OR...
-
Page 2: Table Of Contents
CONTENTS GENERAL WARNINGS ROASTING HOOD ASSEMBLY INSTRUCTIONS INSTALLATION INSTRUCTIONS & WARNINGS DIMENSIONS OPERATING INSTRUCTIONS COOKING HINTS WARRANTY... -
Page 3: General Warnings
IMPORTANT SAFETY INSTRUCTIONS • Tucker GTR Barbecues and Roasting Hoods • Do not use or store flammable materials in or are approved for outdoor use only. near this appliance. • Keep this manual for future reference. • Always leak test /check hose connections after filling cylinders. -
Page 4: Roasting Hood Assembly Instructions
ROASTING HOOD ASSEMBLY INSTRUCTIONS TOOLS NEEDED 1. The Roasting Hood can now be fitted. Remove any packaging, cable ties and Tools required for assembly – 10mm spanner components from inside the Hood. You should have a Rear Cooking Shelf, Roasting Check you have all the correct components as Rack, Drip Pan and Handle for the Roasting listed below. - Page 5 5. Once the front tags are located into the 7. The Roasting Rack and Pan are both used BBQ, the tags on the rear of the Roasting when Roasting and can be stored away Hood base will locate straight down into the inside the Cabinet Tolley until required.
-
Page 6: Installation Instructions & Warnings
The intended use of this barbecue is to be gas leakage and products of combustion installed onto a Tucker GTR Cabinet Trolley. are rapidly dispersed by wind and natural Be sensible about the location of your convection. - Page 7 FIGURE 4 OUTDOOR AREA –EXAMPLE 4 • In the case of balconies, at least 20% of the total of the side, back and front wall areas shall be and remain open and unrestricted. DIAGRAMMATICAL REPRESENTATIONS OF OUTDOOR AREAS The following figures are diagrammatical representations of outdoor areas.
-
Page 8: Dimensions
DIMENSIONS DIMENSIONS OF GTR ROASTING HOOD (Measurements are in mm) Model GTR SS & GTR +1 side Hood GTR3 & GTR3 SS GTR4 & GTR4 SS GTR5 & GTR5 SS GTR6 & 1017 GTR6 SS... -
Page 9: Operating Instructions
OPERATING INSTRUCTIONS ROASTING HOOD • The water keeps the roast moist while cooking and collects oil and marinade that drips off the roasting meat. 1. Always open the hood before lighting the barbecue. Without the water the tray will get very hot •... - Page 10 HANDY HINTS • The rear cooking shelf can be adjusted forwards or backwards to give you better The roast vegetables will require turning • stability when using large pans or big pieces every 10 minutes, as they can stick to the of meat and fish on it.
- Page 11 OPTIONAL ROTTISERIE ASSEMBLY 5. Push the rotisserie rod into the hole in the motor and locate the other end into the slot INSTRUCTIONS in the hood. The roasting hood must be fully assembled before you install the rotisserie kit. 1. Open the hood. 2.
- Page 12 NEW BBQ ‘BURNING IN’ PROCESS Open the Roasting Hood for this process. Brush a light coating of cooking oil over the surface of the Cooking Grills and Solid Hot Plate. Turn all Burners onto low and run the BBQ for 5 minutes.
-
Page 13: Cooking Hints
A basic wine, herb, 5. Check the gas supply is turned off. onion and garlic marinade is fine. 6. Cover the barbecue with a Tucker barbecue Fruit and vegetable accompaniments can be cover (optional extra recommended) when cooked alongside meat or grilled in a Wok on the barbecue is cooled down. -
Page 14: Warranty
SERVICE CALLS OF THE ABOVE NATURE ARE CHARGEABLE Retailer: CONDITIONS OF THIS WARRANTY 1. The appliance is delivered to TUCKER AUSTRALIA distributors service department Purchase Date: or authorized service agent and freight charges both ways is to be paid by the owner. - Page 16 TUCKER AUSTRALIA PTY LTD. 138 Silverwater Road Silverwater NSW 2128 AUSTRALIA. PHONE: (+612) 9748 8368 FAX: (+612) 9748 8138 WEB SITE: www.tuckerbbq.com.au EMAIL: mail@tuckerbbq.com.au...


Need help?
Do you have a question about the GTR4 and is the answer not in the manual?
Questions and answers