Table of Contents
Advertisement
Quick Links
Advertisement
Table of Contents

Summary of Contents for Honeywell MN series IM
- Page 1 120V-60Hz...
-
Page 2: Table Of Contents
INDEX Read all instructions carefully before setting up and operating the unit. Keep this instruction manual for future reference. This manual is designed to provide important information needed to setup, operate, maintain and troubleshoot your portable air conditioner. Failure to follow these instructions may void the warranty. SECTION PAGE INDEX ...................... -
Page 3: Thank You
THANK YOU Congratulations on your purchase of this versatile Honeywell Portable Air Conditioner. Honeywell Portable Air Conditioners are ideal for spot cooling. The compressor, condenser and evaporator are housed in a compact unit. The air is filtered, dehumidified and cooled while a flexible air outlet hose sends heat outside. -
Page 4: User Tips
USER TIPS To ensure optimal efficiency of the product, keep doors and windows closed when it is used as an air conditioner or dehumidifier. If the product is being used with the fan function only, an open window could improve air circulation. -
Page 5: Safety
SAFETY READ AND SAVE THESE INSTRUCTIONS Improper handling can cause serious damage to the appliance. WARNING DO NOT operate the unit with a damaged plug or loose wall outlet. If the power cord is damaged, it must be replaced by the manufacturer or an authorized service agent. DO NOT cover the air intake and exhaust when in use. - Page 6 SAFETY DO NOT run the power cord under carpeting and rugs. Use caution to prevent tripping on cord. DO NOT use in areas where gasoline, paint or other flammable goods are stored. Basic safety precautions should always be followed when using electrical appliances. This appliance has been manufactured for use in domestic environments and must not be used for other purposes.
-
Page 7: Parts Description
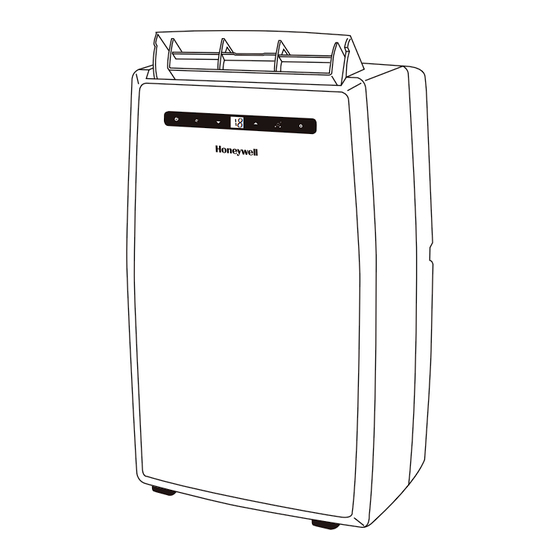
PARTS DESCRIPTION 1. Control Panel (Incl. Signal Receptor) 7. Back Grill 2. Air Outlet 8. Lower Drain Plug (Air Conditioning Mode) 3. Handle 9. Power Supply Cord 4. Casters 10. Exhaust Hose Connector 5. Upper Drain Plug (De-humidifier Mode) 11. Remote Control 6. -
Page 8: Installation
INSTALLATION Install the plastic hose with window bracket adapter and hose connector on both sides. Ensure proper fit on both ends. Adjust the window bracket as per width or height of your window and insert the plastic pins to fix at the desired position. There is a hole where the Plastic Hose will be inserted later. Make sure this hole is not blocked. - Page 9 INSTALLATION Connect the window bracket to the opposite end of the plastic hose. Ensure that all connections are tight and installed properly. Connect the window bracket to the window. The Portable Air Conditioner is now ready to use.
- Page 10 INSTALLATION Note: The supplied exhaust hose can be extended from 12 inches (1 foot) to 47 inches (3.9 feet). Do not bend (to the extent shown below) the exhaust hose. A bent hose will block exhaust air and cause the unit to malfunction or shut-off. 20”...
-
Page 11: Use & Operation
USE & OPERATION Touch Screen Control Panel Warning Light (when flashing) Timer Control Power Control Fan Speed Control Timer / Temperature Set Controls Mode Control Power Control Timer Control The Power Control turns the unit on and off. Auto turn off: With machine in running mode, press timer button to Mode Control 3 settings: Cool, Dehumidify and Fan... - Page 12 USE & OPERATION Remote Control The functions work the same as the portable air conditioner’s touch controls. All key functions can be accessed from the remote control. Temperature / Timer Set Control Used for adjusting the timer and temperature. The default display is room Power Control temperature.
- Page 13 USE & OPERATION Battery Installation: Remove the cover on the back of the remote control and insert two AAA batteries with + and - pointing in the proper direction according to the polarity markings. Caution FCC Statement: This device complies with part 15 of the FCC Rules. Operation is subject to following two conditions: (1) This device may not cause harmful interference, and (2) this device must accept interference received, including interference that may cause undesired operation.
-
Page 14: Cleaning & Maintenance
CLEANING & MAINTENANCE Appliance Maintenance: 1. Turn off the appliance before disconnecting the power supply. 2. Always clean the appliance with a soft dry cloth. The air filter should be cleaned every two weeks. Clean it as follows: Turn off the appliance and remove the air filter (refer to page 6, #6). Rinse it in lukewarm water. -
Page 15: Water Condensation Drainage
WATER CONDENSATION DRAINAGE Water Condensation Drainage When there is excess water condensation inside the unit, the air conditioner stops running and shows a warning light (refer to page 10). This warning light indicates that the water condensation needs to be drained using the following procedures: Manual Draining Water may need to be drained in high humidity areas Unplug the unit from power source.


Need help?
Do you have a question about the MN series IM and is the answer not in the manual?
Questions and answers