Table of Contents
Advertisement
Quick Links
This step-by-step instruction is about the tube replacement and idling currents
re-adjustment of ACOM1500 power amplifier. Please follow all details closely since
the work is difficult, with many details to keep track about, and might be
dangerous too. Do not hesitate to contact your local dealer or nearest ACOM's
service for any advice. Please don't attempt tube replacement by yourself, if you
don't feel comfortable with repairs!
SAFETY FIRST!
W A R N I N G
===========================
The amplifier works with high voltages up to
safety pull the amplifier power plug out of the mains wall outlet and WAIT AT
LEAST 30minutes EACH TIME BEFORE you remove the cover of the amplifier. Disconnect
all cables from the amplifier (grounding last). Do not touch any part inside while
the amplifier is open because some residual voltages may still be present!
1. Removing the top cover.
Using a Philips-2 screwdriver, unscrew 9 pcs of "eco-fix" flange-button head
screws to release the top cover (2x3 pcs on each bottom-side edge, and three more
on the rear-top edge of the box).
Lift the rear edge of the cover slightly (to 2-3cm) and then pull the cover
backwards, in order to release it from front-panel's chutes. Remove the top cover.
2. Discharging HV capacitors.
You will see inside:
- the MAINS PCB that is mounted on an aluminum sub-chassis, just above the big HV
transformer;
- the HV rectifier PCB in front of the MAINS PCB (with four big diodes, one wire-
wound resistor, and one disc ceramic capacitor on it);
- the HV filter PCB, located just below the HV rectifier (with 8 electrolytic
capacitors on it).
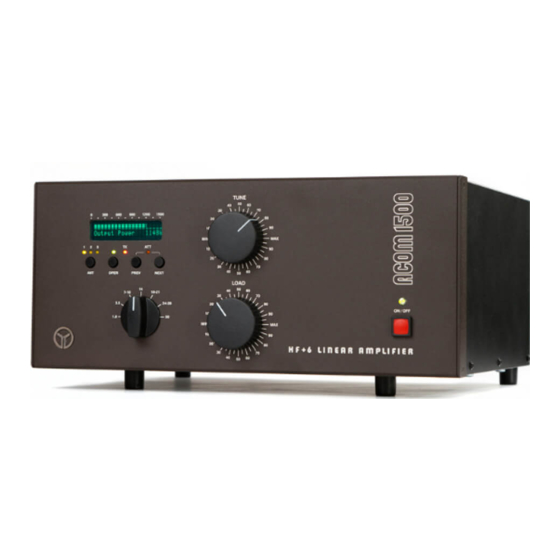
ACOM1500 TUBE REPLACEMENT
3000V
which
is LETHAL!
For your
1
Advertisement
Table of Contents

Related Manuals for Acom 1500


Summary of Contents for Acom 1500
- Page 1 Do not hesitate to contact your local dealer or nearest ACOM's service for any advice. Please don't attempt tube replacement by yourself, if you...
- Page 2 c) Before proceeding, please make sure that no residual DANGEROUS VOLTAGES are present in the amplifier. For this purpose take approximately 1m of WELL-INSULATED lead (adequate for 3000V). Bare it to about 1cm at both ends. Tighten one end of the wire under the GROUND STUD (on the rear panel).
- Page 3 Check whether the HV LID crowbar makes a reliable short-circuit across the HV wiring when the cover is missing. 4. Old Tube Removal. W A R N I N G HIGH VOLTAGE! =========================== Prior to continue you must be absolutely sure that there are no residual voltages in the amplifier - see (2) and (3) above! Be careful - the tube may be VERY HOT! First unthread the temperature sensor (which looks like a small transistor), out...
- Page 4 Unclip the anode spring clip from the tube cap - look at the yellow arrow (2) above - and then unthread the rubber chimney out of the anode heat sink (together with the anode spring clip inside). Keep an eye on the temperature sensor. While holding the tube for the heat sink, turn it to 120°...
- Page 5 Orient the silicon rubber chimney (together with the anode clip inside) so that: - the temperature sensor could be threaded through the small hole later; - the anode clip stripe could be screwed to its original place. Now thread, by small steps in parallel, the chimney over the tube plate heat sink. Keep track not to bend the temperature sensor during this operation! Thread the temperature sensor into its hole into the rubber chimney.
- Page 6 6. Adjustment of the Idling Current. After each tube replacement, the BIAS voltage needs to be re-adjusted in order to individually align the tube operating regime. There is an information screen "Plate Current" on the display, foreseen to monitor the plate current during this procedure.
- Page 7 Select same bands (preferably lower) on both the amplifier and the exciter. Use a small-size flat-tip insulated screwdriver for the next adjustments. Locate the two trimmer potentiometers RP1 and RP2 (marked "BIAS1" and "BIAS2") on the MAINS PCB. They control the idling (zero-signal) plate current of the tube for low- and high- RF drive levels respectively.
- Page 8 remove them earlier since the residual voltages will be still too high! You can expect a small electric sparkle when the HV crowbar is closing which is normal. Do not touch any part inside when reassembling the amplifier since residual voltages may exist and the tube could be still hot! At last, install the top cover again as described below.
Need help?
Do you have a question about the 1500 and is the answer not in the manual?
Questions and answers