Sign In
Upload
Download
Table of Contents
Contents
Add to my manuals
Delete from my manuals
Share
URL of this page:
HTML Link:
Bookmark this page
Add
Manual will be automatically added to "My Manuals"
Print this page
×
Bookmark added
×
Added to my manuals
Manuals
Brands
Leica Geosystems Manuals
Scanner
ScanStation C10
User manual
Leica Geosystems ScanStation C10 User Manual
Hide thumbs
1
2
3
Table Of Contents
4
5
6
7
8
9
10
11
12
13
14
15
16
17
18
19
20
21
22
23
24
25
26
27
28
29
30
31
32
33
34
35
36
37
38
39
40
41
42
43
44
45
46
47
48
49
50
51
52
53
54
55
56
57
58
59
60
61
62
63
64
65
66
67
68
69
70
71
72
73
74
75
76
77
78
79
80
81
82
83
84
85
86
87
88
89
90
91
92
93
94
95
96
97
98
99
100
101
102
103
104
105
106
107
108
109
110
111
112
113
114
115
116
117
118
119
120
121
122
123
124
125
126
127
128
129
130
131
132
133
134
135
136
137
138
139
140
141
142
143
144
145
146
147
148
149
150
151
152
page
of
152
Go
/
152
Contents
Table of Contents
Bookmarks
Table of Contents
Scan
Table of Contents
1 Description of the System
Packing / Unpacking
Container Contents
Instrument Components
Power Supply
Status
Other Components
Cabling
Field of View (Fov)
Description of the User Interface
HDS Cyclone
2 Setting up the Instrument
General Information
Scanner Setup on Tripod
Setup over a Benchmark with the Internal Laser Plummet
Instrument Height
Power Supply and Charging
3 Scanning
Switching the System On/Off
Ambient Conditions
Onboard Controls
6 Safety Directions
Intended Use
Limits of Use
Responsibilities
Hazards of Use
General
Distance Laser
Laser Plummet
Electromagnetic Compatibility EMC
FCC Statement, Applicable in U.S
7 Technical Data
System Performance
Laser Scanning System
Electrical
Scanner
Geb271 / Gkl271 / Geb241
Physical
Accessories
Advertisement
Quick Links
1
General Information
2
Scanner Setup on Tripod
3
Onboard Controls
4
System Performance
Download this manual
Version 5.0
English
Leica
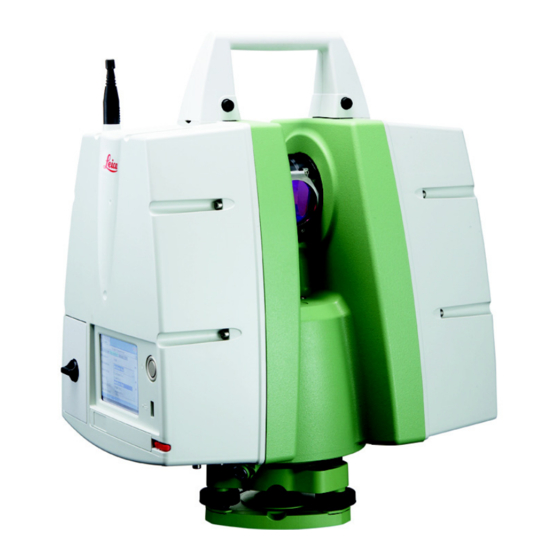
ScanStation C10/C5
User Manual
Table of
Contents
Previous
Page
Next
Page
1
2
3
4
5
Advertisement
Table of Contents
Need help?
Do you have a question about the ScanStation C10 and is the answer not in the manual?
Ask a question
Questions and answers
Related Manuals for Leica Geosystems ScanStation C10
Scanner Leica Geosystems ScanStation C5 User Manual
(152 pages)
Scanner Leica Geosystems ScanStation P40 Quick Manual
(12 pages)
Scanner Leica Geosystems ScanStation P16 System Field Manual
(142 pages)
Scanner Leica Geosystems T-Scan Reference Manual
(139 pages)
Scanner Leica Geosystems BLC ARC Manual
Blk arc-ui v2.0.0 (98 pages)
Scanner Leica Geosystems Scan Station P16 General Setup Instructions
(12 pages)
Scanner Leica Geosystems BLK360 Release Notes
Imaging laser scanner (9 pages)
Scanner Leica Geosystems 3D Disto Getting Started
(16 pages)
This manual is also suitable for:
Scanstation c5
Table of Contents
Print
Rename the bookmark
Delete bookmark?
Delete from my manuals?
Login
Sign In
OR
Sign in with Facebook
Sign in with Google
Upload manual
Upload from disk
Upload from URL


Need help?
Do you have a question about the ScanStation C10 and is the answer not in the manual?
Questions and answers