
Related Manuals for BEYES CareMaster


Summary of Contents for BEYES CareMaster
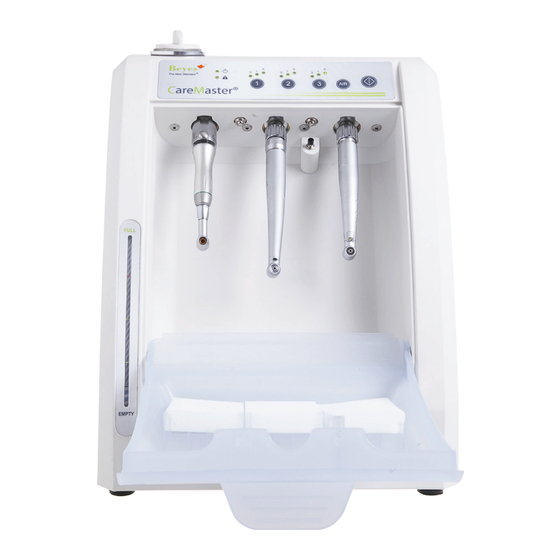
- Page 1 CareMaster ® Automatic Handpiece Cleaning & Lubrication System Instructions For Use...
-
Page 2: Table Of Contents
Table of Contents Safety Information ..............3 Features..................4 Parts Names ................4 Standard Accessories Installation and Assembly ............5 Fuse Rating Connecting Air Tube Filling Maintenance Oil Oil Absorbent Sheet Connecting Power Cord Operation Procedure ............... 7 Attaching Handpiece Cleaning and Lubricating Removing Handpiece Door .................. -
Page 3: Safety Information
Thank you for purchasing the CareMaster. This product is designed to clean and lubricate the handpiece easily and thouroughly. Please read this Instructions For Use carefully before use and file for future reference. Safety Information • Read these safety precautions before use and operate the product properly. -
Page 4: Features
• The user shall be responsible for operation and maintenance. • Only purchase original Beyes replacement parts such as Maintenance Oil (Refer to accessories list). Any parts other than original Beyes accessories could cause damage and malfunction. 1. Features •... -
Page 5: Standard Accessories
Air Tube Securely insert “A” side into the back of the unit (fig.4) Step 2 Air filter Connector Connect CareMaster to the air source. There are many different configurations for the air source. We Fig.4 provide two most common connectors. -
Page 6: Filling Maintenance Oil
Option B: if you have Quarter Turn Stop Valves in your office (Fig 5B) 1. Connect " B" side of the air tube to the Poly X Compression Tubing(included in the package) 2. Insert the Poly X Compression Tubing into the Quarter Turn Stop Valves 3. -
Page 7: Oil Absorbent Sheet
(4) Oil Absorbent Sheet Place an Oil Absorbent Sheet at the bottom of the Oil Absorbent Sheet lubricating and cleaning chamber of the Control Unit as shown in Fig.7. The Oil Absorbent Sheet absorbs the excess Maintenance Oil. * Shown with Door removed. Fig.7 (5)Connecting Power Cord Insert the Power Cord into the Power Inlet at the... - Page 8 • Attaching e-type handpiece (according to ISO 3964 type) Straight Handpiece 1) Insert the supplied Test Bur and lock chuck.(Fig. 10) 2) Open the Door of the Control Unit and attach the handpiece to the e-Type Connector until it locks. (Fig. 11) 3) Close the Door securely.
-
Page 9: Cleaning And Lubricating
When the error indicator light is on, make sure the Door is closed securely. • First time useage or if you have not used the CareMaster for a long time, repeat cleaning and lubrication approx. four or five times before use. -
Page 10: Removing Handpiece
(3) Removing Handpiece Connector • Removing Air Turbine (according to ISO 9168) Open the Door after the mode indicator lights again and cleaning and lubrication cycle has completely finished. Loosen Nut Loosen the Nut and pull out the handpiece straight from the Connector. -
Page 11: How To Remove The Door
(1) How to remove the Door Detachment Pin 1) Push the Detachment Pin. 2) Remove the Door from the chamber. (Fig. 16) Fig.16 (2) How to mount the Door 2) Push the Detachment Pin. 1) Align the left side of the door. Detachment Pin 3) Push the door. -
Page 12: Replacing Oil Absorbent Sheet
(2) Replacing Oil Absorbent Sheet Oil Absorbent Sheet After opening the Door and removing used Oil Absorbent Sheet, place new Oil Absorbent Sheet as shown in Fig. 19. * Oil Absorbent Sheet Set (Pack of 15) : Order no. HPLP015 Fig.19 CAUTION •... -
Page 13: Draining Air Filter
CAUTION • Do not remove the Air Filter Element until the air supply has complety stopped. • Replace the Air Filter Element once every one to two years. • Be careful not to attach the Air Filter upside down. (5) Draining Air Filter When water eventually accumulates in the case, press the Drain Button at the lower part of the case to drain the Air Filter. -
Page 14: Troubleshooting
7. Troubleshooting If a problem occurs, check the following before asking for a repair. If none of these are applicable or the trouble is not remedied after action has been taken, a failure of this product is suspected. Contact your dealer. Problem Possible Cause and Check Solution... -
Page 15: Specifications
LIMITED WARRANTY Beyes Dental Canada hereby warrants against defect in material and workmanship that for a period of 12 months from the date of purchase, this product will perform satisfactorily under normal use and service. no warranty claim can be inferred here, as wear may occur earlier or later than indicated above depending on use, frequency of sterilization and frequency of maintenance. - Page 16 Beyes Dental Canada Inc. 23-595 Middlefield Road Toronto, Ontario, M1V 3S2 Lotus NL B.V. Canada Koningin Julianaplein 10, Ie Verd, Tel: 1-855-603-1888 2595AA, The Hague, Fax: 1-855-720-1228 Netherlands Email: info@beyes.ca Tel: +31645171879 (English) Printed in Canada Web: www.beyes.ca +31626669008 (Dutch) 0197 File#: I102en.ReV2Q1903...
Need help?
Do you have a question about the CareMaster and is the answer not in the manual?
Questions and answers