Advertisement
Quick Links
Rev. Date: April 10, 2012
Doc. No.: ##----=##
VERSION FRANÇAISE DISPONIBLE EN LIGNE AU WWW.IDATALINK/(TBD)
PLEASE VISIT WWW.IDATALINK.COM/SUPPORT FOR COMPLETE PRODUCT DETAILS
NOTICE: The manufacturer will accept no responsibility for any electrical damage resulting from
improper installation of this product, be that either damage to the vehicle itself or to the installed
device. This device must be installed by a certified technician. This guide has been written for
properly trained technicians; a certain level of skill & knowledge is therefore assumed. Please review
the Installation Guide carefully before beginning any work.
The brand names and logos found in this guide are property of their respective owners. Automotive Data Solutions Inc. © 2011
Advertisement

Related Manuals for iDataLink Maestro


Summary of Contents for iDataLink Maestro
- Page 1 Rev. Date: April 10, 2012 Doc. No.: ##----=## VERSION FRANÇAISE DISPONIBLE EN LIGNE AU WWW.IDATALINK/(TBD) PLEASE VISIT WWW.IDATALINK.COM/SUPPORT FOR COMPLETE PRODUCT DETAILS NOTICE: The manufacturer will accept no responsibility for any electrical damage resulting from improper installation of this product, be that either damage to the vehicle itself or to the installed device.
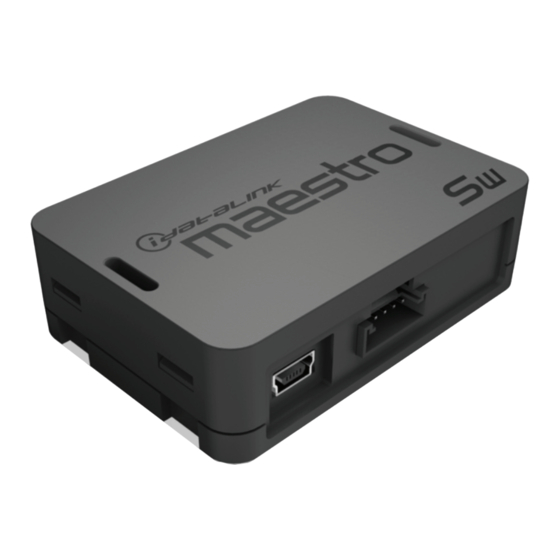
- Page 2 VEHICLE INFORMATION MAKE MODEL YEAR TRIM / PACKAGE NOTES Maestro SW module can support 2 SWI wires. Maestro RR module supports 3 SWI wires. WWW.IDATALINK.COM/SUPPORT P. 1/8 Maestro Install Guide / Vehicles not currently covered Automotive Data Solutions Inc. © 2012...
-
Page 3: Required Tools
Ω Ω 600V CAT IV 1000V CAT III FUSED Panel popper tool Soldering iron and solder Cutters Razor knife Zip ties Electrical tape P. 2/8 WWW.IDATALINK.COM/SUPPORT Maestro Install Guide / Vehicles not currently covered Automotive Data Solutions Inc. © 2012... - Page 4 MIN MAX RANGE voltage and resistance. Ω Connect black probe at common (return) Ω terminal. Ω 600V CAT IV 1000V CAT III FUSED WWW.IDATALINK.COM/SUPPORT P. 3/8 Maestro Install Guide / Vehicles not currently covered Automotive Data Solutions Inc. © 2012...
- Page 5 PINK SWI label on the wire. wheel button linked to that signal wire. Ω HOLD MIN MAX RANGE Ω Ω 600V CAT IV 1000V CAT III FUSED WWW.IDATALINK.COM/SUPPORT P. 4/8 Maestro Install Guide / Vehicles not currently covered Automotive Data Solutions Inc. © 2012...
- Page 6 (Identifying/Gathering Information) section. Go to: www.idatalink/(link to be determined) Fill the fields with the informations collected and follow the instructions. (to be determined) WWW.IDATALINK.COM/SUPPORT P. 5/8 Maestro Install Guide / Vehicles not currently covered Automotive Data Solutions Inc. © 2012...
- Page 7 1 (Wire with a BROWN SWI F label.) at a time. When releasing button, look for a change of resistance on the DMM. WWW.IDATALINK.COM/SUPPORT P. 6/8 Maestro Install Guide / Vehicles not currently covered Automotive Data Solutions Inc. © 2012...
- Page 8 Apply BLACK DMM probe tip to Ground(-). wire (BROWN label). 88.88 Ω HOLD MIN MAX RANGE Ω Ω WWW.IDATALINK.COM/SUPPORT P. 7/8 Maestro Install Guide / Vehicles not currently covered Automotive Data Solutions Inc. © 2012 600V CAT IV 1000V CAT III FUSED...
- Page 9 For each button, record resistance value in section C. Repeat steps 34 through 37 for each signal wire. Go to step 41 in Radio wire testing procedure section. WWW.IDATALINK.COM/SUPPORT P. 8/8 Maestro Install Guide / Vehicles not currently covered Automotive Data Solutions Inc. © 2012...
Need help?
Do you have a question about the Maestro and is the answer not in the manual?
Questions and answers