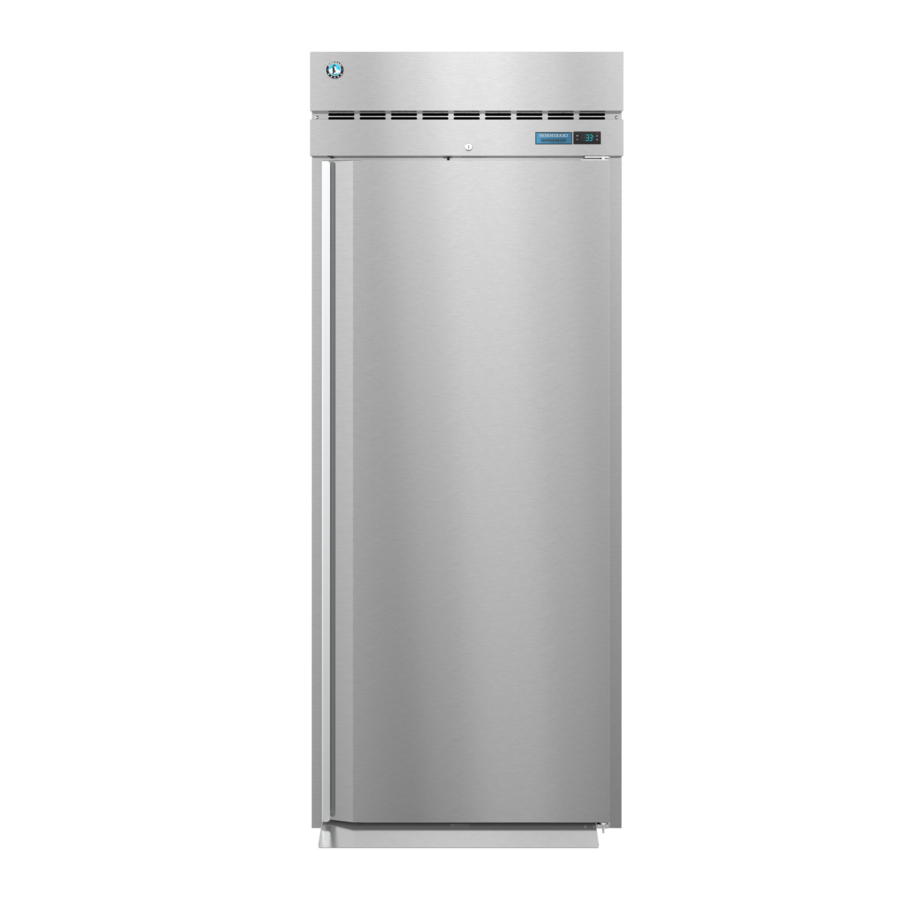
Summary of Contents for Hoshizaki Steelheart Series
Page 1
Service Manual Steelheart Series Refrigerated Kitchen Equipment Models Upright Series hoshizakiamerica.com Number: 73237 Issued: 2-25-2019 Revised: 4-2-2019...
Page 2
Should the reader have any questions or concerns which have not been satisfactorily addressed, please call, send an e-mail message, or write to the Hoshizaki Technical Support Department for assistance. Phone: 1-800-233-1940; (770) 487-2331 Fax: 1-800-843-1056;...
IMPORTANT This manual should be read carefully before the appliance is serviced. Read the warnings and guidelines contained in this manual carefully as they provide essential information for the continued safe use, service, and maintenance of the appliance. Retain this manual for any further reference that may be necessary. CONTENTS Important Safety Information ....................
Important Safety Information Throughout this manual, notices appear to bring your attention to situations which could result in death, serious injury, damage to the appliance, or damage to property. Indicates a hazardous situation that, if not avoided, will result in DANGER death or serious injury.
Page 5
• THE APPLIANCE MUST BE WARNING GROUNDED. The appliance is equipped The appliance should be destined only to with a NEMA 5-15 three-prong grounding the use for which it has been expressly plug to reduce the risk of potential conceived. Any other use should be shock hazards.
Page 6
WARNING, continued WARNING, continued • Children should be properly supervised • Do not put warm or hot foods in the cabinet. around the appliance. Let them cool first, or they will raise the cabinet temperature and could deteriorate • Do not climb, stand, or hang on the other foods in the cabinet or overload the appliance or doors or allow children or appliance.
I. General Information A. Construction Condenser Fan Motor Defrost Thermistor 1. Solid Door Models Evaporator Fan Evaporator Condenser Evaporator Cover Wick Cabinet Thermistor Compressor Power Cord Thermostatic Expansion Valve Control Module Front Panel Control Panel Door Door Lock Light Door Switch Door Gasket Model Shown: R1A-FS...
Page 8
2. Glass Door Models Evaporator Fan Condenser Fan Motor Defrost Thermistor Condenser Evaporator Wick Evaporator Cover Cabinet Thermistor Thermostatic Expansion Valve Compressor Power Cord Model Shown: R2A-FG Front Panel Control Module 24VDC Driver Control Panel Glass Door Models Door Lock LED Lights Glass Door Models...
B. Service Diagnosis Risque De Feu Ou D'Explosion DANGER Le Frigorigène Est Inflammable Risk of Fire or Explosion • Suivre attentivement les instructions Flammable Refrigerant Used de manipulation conformément à la • Follow handling instructions carefully réglementation gouvernementale. in compliance with U.S. government •...
Page 13
NOTICE • This appliance is not intended for outdoor use. • Normal operating ambient temperature: – Refrigerators and Solid Door Freezers 45°F to 100°F (7°C to 38°C) – Glass Door Freezers 45°F to 80°F (7°C to 27°C) Operation of the appliance, for extended periods, outside of this normal temperature range may affect appliance performance.
1. Refrigerator 5) Startup/Cool Down–MH and PH energize. There is a slight delay, Comp, ConFM, and EvapFM energize. Cabinet temperature appears on display and 2-hr. defrost timer starts. Note, if DTh is above 50°F (10°C) EvapFM is de-energized. a) MH Diagnosis: MH energizes at startup. If 115VAC is present, check amp draw of MH.
Page 15
f) Comp and ConFM Diagnosis: Confirm Comp and ConFM energize. If not, check for 115VAC at CM 1 (C) (V) to a neutral (W). If 115VAC is not present, check CTh status. See "II.D. Thermistor Check." If CTh ohm reading is in proper range, replace CM. If not in range, replace thermistor.
Page 16
7) Defrost– The defrost icon turns on and "dEF" is displayed during defrost. There is a 5-min. minimum defrost time, a 1-hr. maximum defrost time, and a 2-hr. defrost interval. If DTh above 50°F (10°C) at time of defrost, 2-hr. cumulative Comp run and 2-hr.
Page 17
2) Defrost Termination: DTh warms to 44°F (6.6°C). If not, confirm DTh status. See "II.D. Thermistor Check." If DTh is in proper range, 3-min. Comp delay timer starts. Once 3-min. Comp delay timer terminates, Comp icon turns on and Comp and ConFM energize.
2. Freezer 5) Startup/Cool Down– MH, PH, and DrH energize. There is a slight delay, then Comp, ConFM, and EvapFM energize. Cabinet temperature appears on display and 5-hr. Comp cumulative run time defrost timer starts. a) MH and PH Diagnosis: PH and MH energize at startup. If 115VAC is present, check amp draw of PH and/or MH.
Page 19
f) EvapFM Diagnosis: Confirm that EvapFM(s) energizes 30-sec. after startup. If not, confirm DTh is above 32°F (0°C). If above 32°F (0°C), wait for evaporator to cool down. Next, confirm doors are closed and DS engaged, check DS continuity. If DS is engaged and contacts are open, replace DS. If DS is engaged and contacts are closed, check for 115VAC at CM 5 (F) dark blue (DBU) wire to neutral white (W) wire.
Page 20
7) Defrost–The defrost icon turns on and "dEF" is displayed during defrost. There is a 5-min. minimum defrost time and a 1-hr. maximum defrost time, and a 5-hr. defrost interval. 1a) Time-Initiated: 5-hr. cumulative Comp run or 4-hr. continuours Comp run defrost timer terminates (Comp energized more than 5 hrs.).
Page 21
2) Defrost-Termination: DTh warms to 77°F (25°C). If not, confirm DTh status. See "II.D. Thermistor Check." If DTh is in proper range, DH de-energizes and 3-min. Comp delay timer starts. If DTh has not warmed to 77°F (25°C), check DT and DH continuity. Next, check DH amp draw. Once 3-min. Comp delay timer terminates, Comp icon turns on and Comp and ConFM energize.
C. Control Module Check 1. Control Module Display Before replacing CM that does not show a visible defect and that you suspect is bad, conduct the following check procedure. This procedure will help you verify your diagnosis. Always choose a neutral (W) to establish a good neutral connection when checking high voltages.
4. Defrost Termination 9) Check that the components restart after defrost termination. Refrigerator: DTh reaches 44°F (6.6°C). EvapFM icon stays on and EvapFM continues. Comp and ConFM energize. If not, check DTh status. See "II.D. Thermistor Check." If DTh ohm reading is in proper range, and components do not energize, check for 115VAC at CM 1 (C) (V) to neutral (W).
E. Diagnostic Tables Check for correct appliance installation per the instruction manual and proper voltage per appliance nameplate. 1. Not Cooling Not Cooling - Possible Cause 1. Power Supply a) Unplugged, off, blown fuse, tripped or defective circuit breaker. b) Loose connection. c) Not within specifications.
Page 25
2. Evaporator Frozen Up Evaporator Frozen Up - Possible Cause 1. Evaporator a) Dirty. 2. Evaporator Fan Motor a) Fan blades binding. b) Defective. 3. Defrost Thermistor a) Out of position or defective. 4. Control Module a) Defective. 5. Refrigerant Charge/Refrigerant a) Low.
III. Controls and Adjustments A. Control Module All models are pretested and factory set When plugged into an electrical power supply, there is a slight delay, then the current cabinet temperature is displayed. From the display module, the cabinet setpoint and temperature display scale can be changed. Note: When exposed to high temperatures, a high-temperature alarm "Hi"...
Page 27
2. Display Layout Cabinet Thermistor Defrost Thermistor Door Switch 3. Control Module Connections Cabinet Defrost Door Thermistor Thermistor Switch 5 VDC 5 VDC 5 VDC 115 VAC 1 (C) Compressor (V) 2 (L) Power Supply (BK) 3 (N) Neutral (W) 4 (H) Defrost Heater (R) (Freezer) 5 (F) Evaporator Fan Motor (DBU)
B. Temperature The temperature default scale is °F, but it can be changed to read °C. To change, see "III.B.3. Changing the Temperature Display Scale (°F or °C)" below. 1. Default Settings a) Temperature Setpoint: Model Auxiliary Code Temperature Setpoint Refrigerator 38°F (3°C) Freezer...
C. Defrost To initiate a manual defrost, press the manual defrost button briefly. The defrost icon and "dEF" appear on the display. 1. Refrigerators Refrigerators use an off cycle defrost initiated by a 2-hr. cumulative compressor run or a 2-hr. continuous compressor run defrost timers. As soon as the compressor energizes, the defrost timers start.
D. Alarm Safeties Alarm signals are designed to protect the appliance and food product. These alarms give information or warnings in the event the appliance is operating out of acceptable parameters. Should one of the alarms occur, follow the instructions in the table below to address the alarm.
Note: Time may vary with compressor protector or high-pressure switch activation. 3. High-Pressure Switch If pressure on the high-side of the appliance exceeds Hoshizaki specifications, the high-pressure switch activates and interrupts the compressor circuit, de-energizing the compressor until the pressure returns to an acceptable level.
IV. Refrigeration Circuit and Component Service Information DANGER Risk of Fire or Explosion Flammable Refrigerant Used • Follow handling instructions carefully in compliance with U.S. government regulations. • Do not use mechanical devices to defrost. • Do not puncture refrigerant tubing. Risk of fire or explosion due to puncture of refrigerant tubing;...
Page 33
WARNING • Wear appropriate personal protective equipment (PPE) when servicing the appliance. • Technician must utilize a combustible gas leak detector at all times. • Notify everyone in the immediate area that you are working with flammable refrigerant. • Do not work on appliance in a confined space. Confirm area is well ventilated. •...
A. Service for Refrigerant Lines WARNING • Repairs requiring the refrigeration circuit to be opened must be performed by properly trained and EPA-certified service personnel. • Use an electronic leak detector or soap bubbles to check for leaks. Add a trace of refrigerant to the system (if using an electronic leak detector), and then raise the pressure using nitrogen gas (140 PSIG).
Page 35
2. Brazing DANGER Risk of Fire or Explosion Flammable Refrigerant Used • Servicing shall be done by factory authorized service personnel to minimize the risk of possible ignition due to incorrect parts or improper service. Risque De Feu Ou D'Explosion Le Frigorigène Est Inflammable •...
Page 36
5) Disconnect the gauge manifold hose from the vacuum pump and attach it to a refrigerant service cylinder. Remember to loosen the connection and purge the air from the hose. For the required refrigerant charge, see the nameplate. Hoshizaki recommends only virgin or reclaimed refrigerant which meets ARI Standard 700 (latest edition) be used.
To change the door swing, See Instruction Manual "I.E. Door Reversal". NOTICE! Improper installation may result in the doors not closing completely and/ or the gaskets not sealing correctly. For further details, contact your local Hoshizaki distributor or Hoshizaki Technical Support at 1-800-233-1940.
5) Plug the appliance back in. 3. Power Supply Connection If the plug or power cord is damaged, contact your local Hoshizaki service representative or local Hoshizaki distributor immediately and ask for repairs. All other maintenance or service on this appliance should be performed in accordance...
VI. Preparing the Appliance for Periods of Non-Use WARNING Prevent the doors from closing to reduce the risk of children getting trapped. NOTICE Clean the cabinet interior, door gaskets, and shelves. 1) Before shutting down the appliance, move the stored food into another refrigerator or freezer.
VII. Disposal DANGER Risk of Fire or Explosion Flammable Refrigerant Used • Follow handling instructions carefully in compliance with U.S. government regulations. • Do not puncture refrigerant tubing. Risk of fire or explosion due to puncture of refrigerant tubing; follow handling instructions carefully. •...
VIII. Technical Information A. Electrical and Refrigerant Data Design Pressure Refrigerant (PSIG) (oz.) AC Supply Model Voltage Amperes HIGH R290 R1A-FG/FGCL/FGCR//HG R1A-FS/FSJ/FSL/FSLJ/HS/HSL R2A-FG/HG R2A-FS/HS R3A-FS/HS 4.6 Right 115/60/1 4.6 Left F1A-FG/HG F1A-FS/FSL/HS/HSL 8.46 F2A-FG/HG F2A-FS/HS 4.1 Right F3A-FS/HS 208-230/115/60/1 10.8 4.1 Left See the nameplate for electrical and refrigerant data.
B. Wiring Diagrams 1. R1A/R2A/F1A-FG/FGCL/FGCR/FS/FSJ/FSL/FSLJ/HG/HS/HSL 115 VAC 5 to 12VDC Solid Door LEDs Controlled Through Door Switch. Glass Door LEDs Controlled Through Control Module Light Switch. * High-Pressure Switch Cut-out 360±30 PSIG Cut-in 249±10 PSIG...
2. F2A-FG/FS/HG/HS 115 VAC 5 to 12VDC Solid Door LEDs Controlled Through Door Switch. Glass Door LEDs Controlled Through Control Module Light Switch. * High-Pressure Switch Cut-out 360±30 PSIG Cut-in 249±10 PSIG...
3. R3A-FG/FGCL/FGCR/FS/FSCL/FSCR/HS/HG 5 to 12VDC 115 VAC Solid Door LEDs Controlled Through Door Switch. Glass Door LEDs Controlled Through Control Module Light Switch. * High-Pressure Switch Cut-out 360±30 PSIG Cut-in 249±10 PSIG...
Need help?
Do you have a question about the Steelheart Series and is the answer not in the manual?
Questions and answers