Table of Contents
Advertisement
Quick Links
CV Large Wigwam Playhouse
Assembly & User Instructions -
Important
Age Limit: 3 - 8 years
Maximum user
weight: 45kg
Important -
Please read these instructions fully before assembly or use.
These instructions contain important information which will help you get the best from your
product and ensure safe and correct assembly, use and maintenance.
If you need help or have damaged or missing parts, call the
Please keep for future reference
Tip: It will take 2 adults
around 30 minutes to
assemble.
Customer Helpline: (+44) 0330 0904 420
759/2085
Advertisement
Table of Contents

Related Manuals for Chad Valley 759/2085


Summary of Contents for Chad Valley 759/2085
- Page 1 CV Large Wigwam Playhouse Assembly & User Instructions - Please keep for future reference 759/2085 Important Tip: It will take 2 adults Age Limit: 3 - 8 years around 30 minutes to Maximum user assemble. weight: 45kg Important - Please read these instructions fully before assembly or use.
- Page 2 Contents Warnings Parts Assembly Instructions Care and Maintenance...
-
Page 3: Warnings
Warnings Important –Please read these instructions fully before assembly or use. PLAY SUPERVISION ● ALWAYS dress children appropriately for safe play, e.g. wear well-fitted rubber sole shoes, and remove loose or ● WARNING! Not suitable for children under the age of 36 sharp items such as jewelry, hair accessories, scarves, months because of small part(s) and long cord(s) –... -
Page 4: Parts
Parts call the Customer Helpline: (+44) 0330 0904 420 ‘’L’’ Tube x6pc VIEW PRODUCT Plastic Cap x1pc Canopy x1pc VIEW PRODUCT VIEW PRODUCT Upper Tube x6pcs VIEW PRODUCT Anchor x6pcs Lower Tube x6pcs VIEW PRODUCT VIEW PRODUCT VIEW PRODUCT VIEW PRODUCT VIEW PRODUCT VIEW PRODUCT x6(M4x13mm) -
Page 5: Assembly Instructions
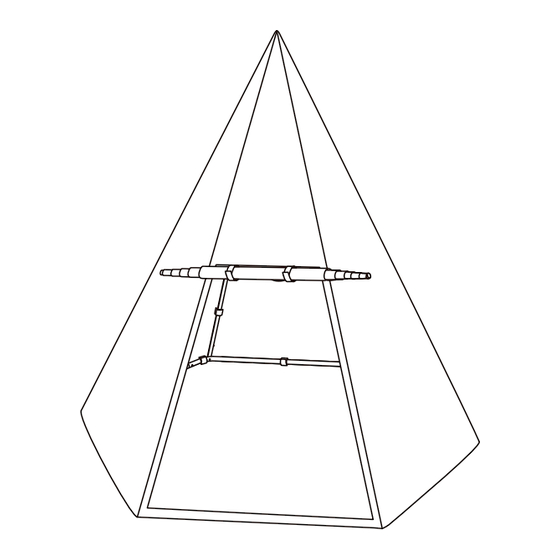
Assembly Instructions Step 1 Connect 1 together as shown. Figure 1... - Page 6 Assembly Instructions Step 2 Insert 3 into the sockets of 4 and make sure the retractable button on 3 is secured into the hole on 4, then secure it to 2 using A and E as shown. x 6pcs Figure 2...
-
Page 7: Step
Assembly Instructions Step 3 Secure 4 to 1 using B, C, D and E as shown. Use F and G to tighten. x 6pcs x 6pcs x 6pcs x 6pcs Figure 3... - Page 8 Assembly Instructions Step 4 Install the canopy (5) over the assembled frame as shown. Figure 4...
- Page 9 Assembly Instructions Step 5 Secure the canopy to the frame by fastening all the velcro straps as shown. Figure 5...
-
Page 10: Assembly Instructions
Assembly Instructions Step 6 Use a hammer to insert the 6 anchors fully into the ground as shown. Figure 6... -
Page 11: Care And Maintenance
Care and Maintenance If correct care and maintenance is taken, it will This product was designed and manufactured provide users with longer usage for fun and with quality materials and craftsmanship. enjoyment. WARNING! Ensure product is properly anchored to the ground before use.
Need help?
Do you have a question about the 759/2085 and is the answer not in the manual?
Questions and answers