Table of Contents
Advertisement
Quick Links
Advertisement
Table of Contents

Related Manuals for Ronbow 059324


Summary of Contents for Ronbow 059324
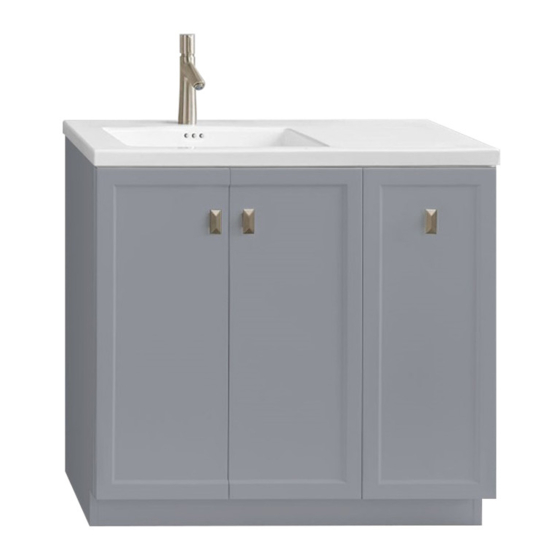
- Page 1 INSTALLATION AND CARE GUIDE SOLUTIONS VANITY 059324 059330 059336 059348...
-
Page 2: Model
SOLUTIONS Vanity Model : 059324 059330 059336 059348 PRE-INSTALLATION Tools Required Materials Included Vanity with leg option Materials Required wood screws 2x4 beam cut to size Leg Options Cone Leg Option Cube Leg Option Toe Kick Option cone legs cube legs... -
Page 3: See Figure
SOLUTIONS Vanity Model : 059324 059330 059336 059348 PRE-INSTALLATION Figure 1. Step 1: Determine the ideal location of your new vanity. Note: Check if the location has at least two studs. Front notch the studs and install a 2x4 horizontal beam. This will add stability for the vanity. -
Page 4: See Figure
SOLUTIONS Vanity Model : 059324 059330 059336 059348 INSTALLING THE CUBE LEG Step 1: Carefully lay the vanity down Install the wooden dowel at the left and right holes Carefully align and join the cube leg to the vanity. Figure 3. -
Page 5: See Figure
SOLUTIONS Vanity Model : 059324 059330 059336 059348 INSTALLING THE TOE KICK Step 1: Carefully lay the vanity down Install the wooden dowel at the holes closer to the edge. Carefully align and join the toe kick to the vanity. -
Page 6: Figure
SOLUTIONS Vanity Model : 059324 059330 059336 059348 INSTALL THE VANITY Figure 5. Step 2: Attach the vanity to the wall with wood screws into the horizontal beam. See Figure 5. INSTALL THE VANITY TOP Step 1: Clean the surface of the cabinet with a damp cloth. -
Page 7: Figure
SOLUTIONS Vanity Model : 059324 059330 059336 059348 ADJUST DOOR HINGE Side to Side Figure 7. Locate the screw nearest the hinge cup and rotate clockwise or counter- clockwise to move the door from side to side. Side See Figure 7. -
Page 8: Table Of Contents
SOLUTIONS Vanity Model : 059324 059330 059336 059348 REMOVE DRAWER Step 1: Figure 10. Pull the release latches located underneath the drawer. See Figure 10. Step 2: Figure 11. Slide and lift up the drawer box. See Figure 11. REINSTALL DRAWER Step 1: Figure 12. - Page 9 These variations are considered to be the nature of the material in relation to their environmental exposure and may be significant over a long period of time. The effectiveness of cleaning Ronbow product is dependant on various factors that include sunlight, smoke, moisture, household cleaners and/or amount of cleaning product used over time.
- Page 10 170630 40650 Encyclopedia Circle T 510.713.1188 Fremont, CA 94538 F 510.657.9388 ronbow.com...
Need help?
Do you have a question about the 059324 and is the answer not in the manual?
Questions and answers