Table of Contents
Advertisement
Quick Links
Advertisement
Table of Contents

Related Manuals for Ronbow Signature E034150


Summary of Contents for Ronbow Signature E034150
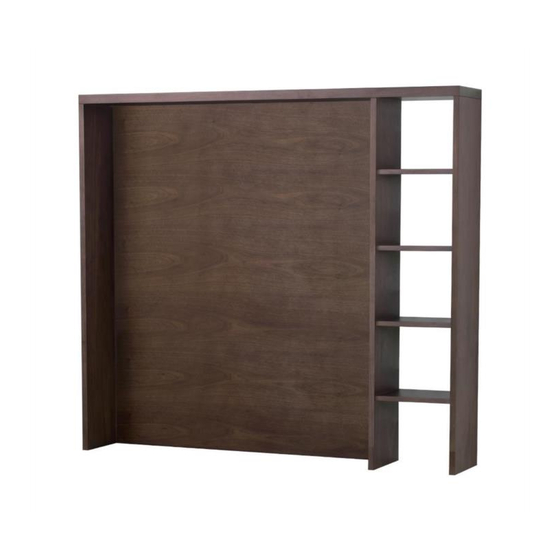
- Page 1 INSTALLATION AND CARE GUIDE 50” LED Hutch E034150 E034250...
- Page 2 E034250 PRE-INSTALLATION Tools Required NOTE: Team work required Materials Included anchors L-bracket screws Materials Required 2x6 beam cut to size 2-1/2” wood screws NOTE: Determine the best installation method that best fits your needs. INSTALLATION SHEET ronbow.eu | ronbow.com 170613...
- Page 3 Cut a rough opening for the electrical box. Connect the wires from the hutch to Figure 2. the wires of the electrical box. Place the transformer located in the back of the hutch into the wall. See Figure 2. INSTALLATION SHEET ronbow.eu | ronbow.com 170613...
- Page 4 SECURE THE HUTCH Step 1: Determine the ideal position of the hutch. Figure 4. Step 2: Secure the L-bracket using the short screws provided and screw into the hutch. See Figure 4. NOTE: Team work required INSTALLATION SHEET ronbow.eu | ronbow.com 170613...
- Page 5 These variations are considered to be the nature of the material in relation to their environmental exposure and may be significant over a long period of time. The effectiveness of cleaning Ronbow product is dependant on various factors that include sunlight, smoke, moisture, household cleaners and/or amount of cleaning product used over time.
- Page 6 160912 40650 Encyclopedia Circle T 510.713.1188 Fremont, CA 94538 F 510.657.9388 ronbow.eu | ronbow.com...
Need help?
Do you have a question about the Signature E034150 and is the answer not in the manual?
Questions and answers