Table of Contents
Advertisement
Advertisement
Table of Contents

Subscribe to Our Youtube Channel
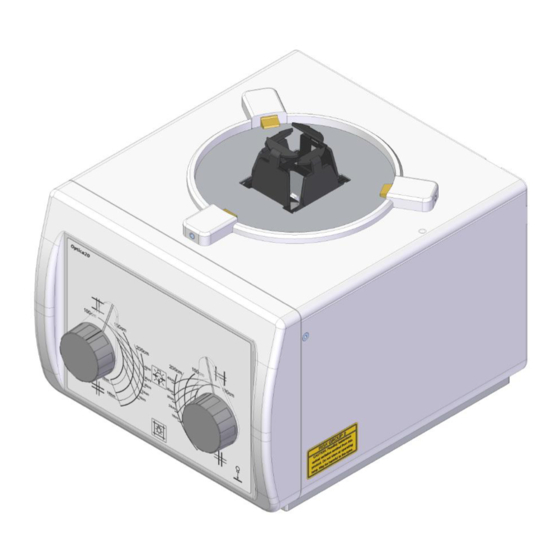
Summary of Contents for Varex Imaging Optica 20 Series
- Page 1 Optica 20 series User Manual UM50589-EN, Revision: 4.0 www.vareximaging.com...
- Page 2 This page is deliberately left blank. User Manual: UM50589-EN Optica 20 series Revision: 4.0 2/20 www.vareximaging.com Date of release: 2019-01-23...
-
Page 3: Table Of Contents
EMC compatibility ........................ 17 Technical specification........................18 7.1. Product label ........................19 Product label for DC input models ....................19 Product label for AC/DC input models .................... 19 User Manual: UM50589-EN Optica 20 series Revision: 4.0 3/20 www.vareximaging.com Date of release: 2019-01-23... - Page 4 Although this manual is prepared with utmost care, Varex Imaging Nederland B.V. cannot be held accountable for errors or omissions. Varex Imaging Nederland B.V. cannot be held accountable for damages of any nature arising from the use, and/or use of any options other than original Varex Imaging Nederland B.V. products.
-
Page 5: Introduction
1. Introduction This document is accompanying the Optica 20 series (see also §1.8). Additional to this User Manual a Technical Manual is supplementary to the INSTRUCTIONS FOR USE. 1.1. Contact information This manual provides all the technical information necessary for the correct installation, application, operation, maintenance and service of the device. -
Page 6: Advisory
• The Optica 20 series is not subjected to regular inspection and maintenance. • Use of the Optica 20 series in a way which could not be reasonable foreseen by Varex Imaging Nederland B.V.. • Direct or indirect damage which are caused by not following the procedures and instructions in this manual. -
Page 7: General Warnings, Cautions And Notes
(collimated) area. NOTE: Due to the multiple options / configurations of the Optica 20 series, the pictures used may not always exactly represent the type of collimator that you have. -
Page 8: Labels And Markings On The Device
Reading the instructions for use is crucial for a correct and safe use of the collimator Warning: Laser emission, possibly hazardous optical radiation emission (optional feature) User Manual: UM50589-EN Optica 20 series Revision: 4.0 8/20 www.vareximaging.com Date of release: 2019-01-23... -
Page 9: Supplied Components
Otherwise, you should immediately contact your distributor or Varex Imaging Nederland B.V.. It is highly recommended to always use the original packaging during transport and for return shipments. See §7. for storage conditions if the device is not used directly. -
Page 10: Device Description
X-ray exposure to the patient and for reducing the scattered radiation. The Optica 20 series contains a LED for indication of the actual field to be exposed and optional has a laser line for alignment with the Bucky. For measuring the SID, a measuring tape is integrated. -
Page 11: Accessories
Additionally, the Optica 20 series introduces matter in the primary X-ray beam, which primarily results in additional X-ray scatter. Additional X-ray scatter causes a radiation risk. The Optica 20 series is mitigating the radiation risk by shielding the additional scatter and limiting the size of the primary X-ray beam and also confining the scatter generated from the X-ray tube (housing). -
Page 12: Operating Instructions
The Optica 20 series does not have a separate switch for switching on the device and is operational when the entire X-ray system is powered on. The Optica 20 series can be powered off at any time without causing damage to the device. - Page 13 Push button for light field indicator, a green indication LED will light inside the button. The light will be activated for a pre-defined time and will switch off automatically. Push the button for ±2 seconds to switch off the light field. User Manual: UM50589-EN Optica 20 series Revision: 4.0 13/20 www.vareximaging.com...
- Page 14 H. Lock spring for accessories; slightly pull out the spring and remove the applicable accessory. CAUTION Be careful when handling the lock spring, over-elongating the spring can cause permanent damage to the lock spring. User Manual: UM50589-EN Optica 20 series Revision: 4.0 14/20 www.vareximaging.com Date of release: 2019-01-23...
-
Page 15: Bucky Line Laser
Bucky line laser dimensions at 1 meter SID 3.4. Filter module The filter module is an optional feature for the Optica 20 series, this paragraph is only applicable in case the collimator is equipped with the filter module option. Front view filter disc... -
Page 16: Quality Assurance
4. Quality Assurance For the Optica 20 series, there are no quality assurance checks necessary or applicable. 5. Maintenance and cleaning 5.1. Safety precautions When there is structural damage to the housing of the device, label the device as “out of order” and have the device repaired prior to further use. -
Page 17: Emc Compatibility
CISPR 11 class B is normally required) this equipment might not offer adequate protection to radio-frequency communication services. The user might need to take mitigation measures, such as relocating or re-orienting the equipment. User Manual: UM50589-EN Optica 20 series Revision: 4.0 17/20 www.vareximaging.com... -
Page 18: Technical Specification
Atm. Pressure: 750 – 1030 hPa Maximum cable length < 30 m (applies to all cables) Cable type(s) Unshielded or shielded; Can-bus H/L signals preferably twisted User Manual: UM50589-EN Optica 20 series Revision: 4.0 18/20 www.vareximaging.com Date of release: 2019-01-23... -
Page 19: Product Label
The product labels as shown are representing the layout and accompanying explanation. The attached label on the collimator shows the specific information valid for your device. WARNING: If the product label is missing or not readable contact your distributor or Varex Imaging Nederland B.V. Product label for DC input models... - Page 20 +63 2 8076 472 Philippines.CNC@vareximaging.com © 2018 by Varex Imaging Nederland B.V. All Rights reserved. No part of this document may be reproduced or transmitted in any form or by any means, electronic, mechanical, photocopying, recording, or otherwise, without prior written permission of Varex Imaging Nederland B.V..


Need help?
Do you have a question about the Optica 20 Series and is the answer not in the manual?
Questions and answers