Advertisement
LC N
®
740100-00
Middle Swing Control Box
2900 Series, 9700 Series
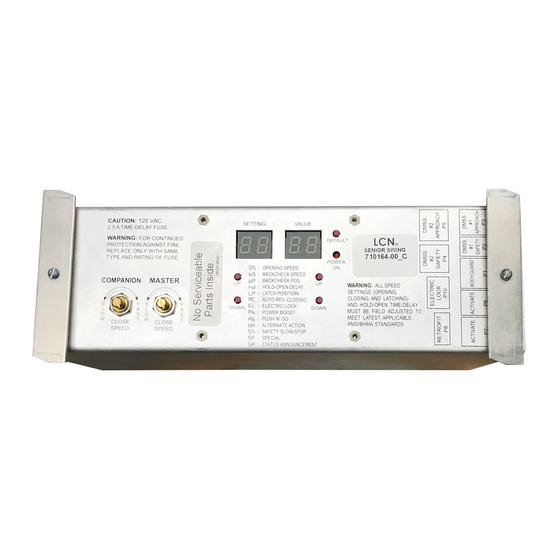
Senior Swing Control Box
2800 Series, 9500 Series
Installation Instructions
LC N
®
121 West Railroad Avenue
Princeton, IL 61356-0100
1-800-526-2400
FAX: 800-248-1460
www.lcn.ingersollrand.com
© 2006 Ingersoll-Rand Company Limited
740100-00(5)
Advertisement
Table of Contents


Need help?
Do you have a question about the 9700 Series and is the answer not in the manual?
Questions and answers
the DOORS JURKING WHEN CLOSING
LCN 9700 Series doors may be jerking when closing due to incorrect latch position or closing speed settings. Check the latch position setting (default = 13 degrees) to ensure it is properly adjusted. Additionally, verify if power boost is turned on, as it increases closing force from 9 lbs to 18 lbs, which may cause jerking. If the issue persists, inspect for obstructions or mechanical issues with the door closer mechanism.
This answer is automatically generated