Table of Contents
Advertisement
Quick Links
Advertisement
Table of Contents

Related Manuals for Dahua HAC-HDBW2231R-Z-POC


Summary of Contents for Dahua HAC-HDBW2231R-Z-POC
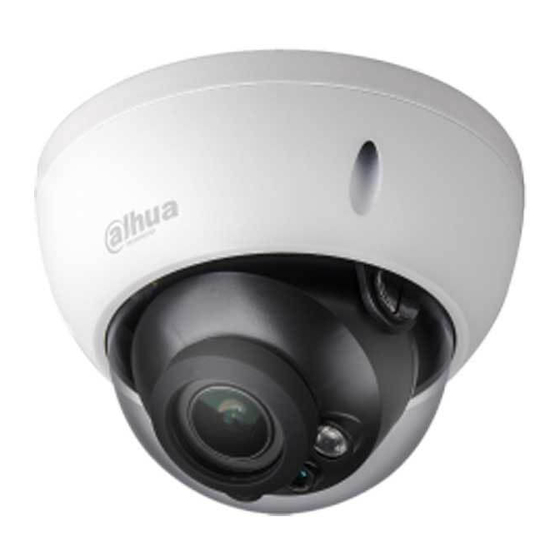
- Page 1 HDCVI IR Vandal-proof Dome Camera User’s Manual Version 1.0.0...
-
Page 2: Table Of Contents
Table of Contents Packing List ..........................1 General Introduction ........................2 Overview ........................2 Features ......................... 2 Device Structure ......................... 3 Dimension ........................3 Cable Port ........................3 ... - Page 3 Appendix Maintenance ........................12 ...
- Page 4 Welcome Thank you for purchasing our HDCVI camera! This user’s manual is designed to be a reference tool for your system. Please read the following safeguard and warnings carefully before you use this series product! Please keep this user’s manual well for future reference! Important Safeguards and Warnings Electrical safety ...
- Page 5 Any device is not supported to be connected between the camera and PoC Transceiver when the camera is in the condition of PoC power supply, including UTC, Balun, optical transceiver, distributor and convertor etc. Otherwise it may burn the connected device. ...
-
Page 6: Packing List
1 Packing List Please check if there is any obvious damage to the device appearance when opening the packing box, and confirm if the accessories are in accordance with those in the list, please refer to Table 1-1 for more details about the accessories. Accessory Name Quantity Camera... -
Page 7: General Introduction
2 General Introduction 2.1 Overview This series HDCVI camera conforms to the HDCVI standard. It supports video signal high- speed long distance transmission without any delay. It can be controlled by the HCVR conforming to the HDCVI. 2.2 Features Adopts high-performance CMOS image sensor, megapixel definition. -
Page 8: Device Structure
3 Device Structure 3.1 Dimension Please refer to Figure 3-1 for the dimension. The unit is mm. Figure 3-1 3.2 Cable Port Note The following figure is for reference only, which is used to know the functions of cable port. ... - Page 9 supply frequency is less than 1MHz, such as fan, Hall sensor, loudspeaker, motor and other electromechanical devices with power consumption change. Refer to Figure 3-4 for video output port (gray). Figure 3-4 Note The port is only used as video output port when it is DC12V power supply; it supports switchable HD/SD output.
-
Page 10: Installation
4 Installation The dome camera mainly adopts ceiling mount, the installation location includes ceiling and wall. Caution Please install the device in time after it is taken apart, which is to avoid the camera module being exposed in humid environment for a long time. ... - Page 11 installation position map, take out the expansion bolts ② from the accessories bag and knock them into the mounting holes and fix them firmly. Step 2 Use inner hex wrench ⑦ to loosen the fixing screw ⑥ on the dome enclosure and take down the dome enclosure ⑤。...
-
Page 12: Hcvr Settings
5 HCVR Settings 5.1 Control Coaxial Device This HDCVI camera series can adjust OSD menu via coaxial control. After connecting the camera to HCVR, from Main Menu->Setting->System->PTZ, you need to select the channel number for access and set “control mode” as “HDCVI” and the “protocol” as “HD-CVI”. Click “Save”... -
Page 13: Menu Function
6 Menu Function 6.1 Menu Operation Click the right mouse button and select “PTZ Control”, then you will see the “PTZ Setup” menu, which is as shown in Figure 6-1 and Figure 6-2. Figure 6-1 Figure 6-2 See Table 6-1 for the details of button functions. Button Function Open menu. - Page 14 Figure 6-3 If there is “ ” in the parameter value, click the “Enter” button in “Menu Operation” interface to go to the 2nd menu. Click “Return” button to go back to the previous menu interface. Please refer to Table 6-2 for more details about menu path. 1st Menu 2nd Menu PAL ...
-
Page 15: Image Adjust
1st Menu 2nd Menu Chinese/English/Korean/Japanese/German/Russian/French/Portuguese/ Language Spanish/Polish/ Italian Camera name Horizontal/Vertical Mirror Auto Focus/Reset/Back Lens Auto/IR NC Smart IR Defog Advanced Motion Privacy mask Live BPC/White BPC/Black Bad Px Comp BPC/Back Video Output/System Info Next Back/Exit Day/Night Next Default Back/Save Exit Save/Not Save Table 6-2... -
Page 16: Saturation
6.2.3 Saturation It is used to adjust the color purity. The threshold won’t cause any effect to the overall brightness of the image. The bigger the value is, the higher the purity becomes and more flamboyant the color becomes. The image color becomes too strong when the value is set too big; the image color is not flamboyant enough when the value is set too small. - Page 17 Appendix Maintenance Attention Please maintain the device according to the following instructions in order to ensure the image effect and long-term stable operation of the device. Maintenance for lens and mirror surface The lens and mirror surface are covered with antireflection coating, so it may produce hazardous substance and lead to performance reduction or scratch, dimness etc.
Need help?
Do you have a question about the HAC-HDBW2231R-Z-POC and is the answer not in the manual?
Questions and answers