Table of Contents
Advertisement
Quick Links
- 1 Ezlinq: First Time Setup Overview
- 2 Setup (Handset Phone and Internet Required)
- 3 Activate (Nettalk ID Required)
- 4 How to Connect the Ezlinq to Your Home or Office Wifi Network
- 5 How to Connect the Ezlinq to Your Home or Office Internet Using the Ethernet Port
- 6 How to Setup Wireless Router Mode (Default Mode)
- 7 How to Reset Your Ezlinq to Default Factory Settings
- Download this manual
Advertisement
Table of Contents

Related Manuals for NetTalk ezLINQ

Summary of Contents for NetTalk ezLINQ
-
Page 1: User Manual
User Manual Last updated March 28, 2018... -
Page 2: Table Of Contents
How to assign an active VoIP phone service to the ezLINQ. How to connect the ezLINQ to your home or office WiFi network. How to connect the ezLINQ to your home or office internet using the ethernet port. Connect to a modem... - Page 3 Troubleshooting Issue: ezLINQ fails to register with the netTALK Calling System.
-
Page 4: What's Inside The Box
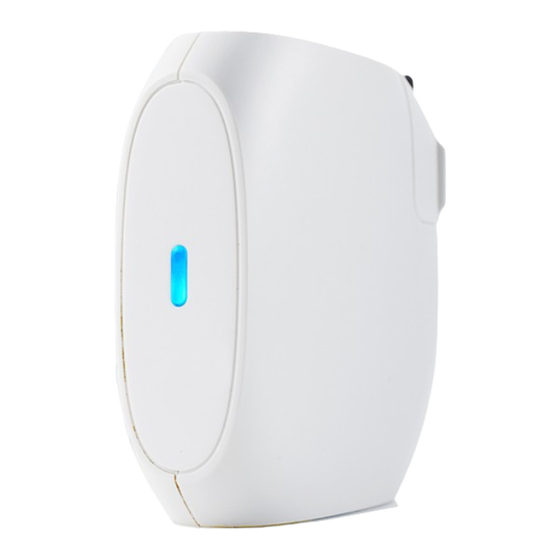
What’s inside the Box? built-in blue, five-foot long ezLINQ gray, five-foot long AC adapter Cat5e ethernet cable R J11 phone cable QR Code label (scan using TALK App) -
Page 5: Ezlinq: First Time Setup Overview
Connect to a WiFi network c. Change default router mode (optional, coming soon) 4. Wait for the LED light on the ezLINQ to go from “blinking blue” to “solid light-blue” 5. After the LED light turns “solid light-blue”, pick up your phone handset. You... -
Page 6: How To Activate Your Nettalk Voip Phone Service
9. Step 4: Set Up AutoPay a. Enter your payment method. 10. Step 5: Setup & Configure - use the TALK App to assign the VoIP service to the ezLINQ. 11. Activation Complete! Note: After activating your VoIP phone service, you can start using the VoIP phone service on... -
Page 7: How To Connect A Standard Handset Phone To The Ezlinq
1. If you have a cordless handset phone, plug the base into an electrical outlet. 2. Connect your phone to the ezLINQ “ PHONE” port . (You can use the gray phone cable included in the box) 3. If you haven’t already done so, use the TALK App to assign your netTALK VoIP phone service to the ezLINQ. -
Page 8: How To Assign An Active Voip Phone Service To The Ezlinq
Guide (with screenshots) https://nettalkconnect.com/resources/nt/pdf/ezlinq-quick-start-guide.pdf Before beginning, make sure you have the Q R code or M AC address of your ezLINQ, available, ready to be used. 1. The ezLINQ should already be plugged into an electrical outlet 2. -
Page 9: How To Connect The Ezlinq To Your Home Or Office Wifi Network
4. Select the SSID o f the WiFi network you want to connect to. 5. You will be prompted to enter the password to the WiFi network. 6. Enter the password . 7. The TALK App will save the WiFi credentials to your ezLINQ. A success message will be displayed after it’s complete. -
Page 10: How To Connect The Ezlinq To Your Home Or Office Internet Using The Ethernet Port
Connect to a modem ● Connect the blue ezLINQ port, labeled “Internet”, to the “data out” ethernet port on the modem using the blue CAT5e ethernet cable (included in the box). Connect to a router ●... -
Page 12: How To Setup Different Router Modes
2. Plug the ezLINQ to an electrical outlet. 3. Use the blue e thernet cable to connect your internet m odem t o the blue ezLINQ port labeled “ INTERNET” . 4. Wait for the LED light to turn solid blue. -
Page 13: How To Setup Client Mode (Tv/Game Console/Etc)
Setup Steps: 1. Plug the ezLINQ to an electrical outlet. 2. Use the T ALK App to connect the ezLINQ to a W iFi network with internet access. 3. Power cycle the ezLINQ and then wait for the LED light to turn solid blue. -
Page 14: How To Setup Repeater Mode
2. Plug the ezLINQ to an electrical outlet. 3. Use the TALK App to connect the ezLINQ to a WiFi network with internet access. 4. Wait for the LED light to turn solid blue. -
Page 15: How To Setup Access Point Mode
Setup Steps: 1. Write down the SSID and Passphrase located on the label under your ezLINQ. 2. Plug the ezLINQ to an electrical outlet. 3. Use the blue e thernet cable to connect the blue ezLINQ port labeled “INTERNET” to a wall ethernet port or a router, that is providing internet access. -
Page 16: How To Setup Wisp Client Router Mode
1. Write down the SSID and Passphrase located on the label under your ezLINQ. 2. Plug the ezLINQ to an electrical outlet. 3. Use the T ALK App to connect the ezLINQ to a WiFi signal provided by your Internet Service Provider (ISP). -
Page 17: How To Use The Ezlinq's Usb Port
How to use the ezLINQ’s USB port USB: Charge your phone The USB port can be used to charge your smartphone. USB: Create a network drive Connect a USB Flash Drive into the USB port to create network drive accessible to anyone on the network. You can easily share files with anyone on the network. -
Page 18: How To Reset Your Ezlinq To Default Factory Settings
How to reset your ezLINQ to default factory settings Press and hold the reset button for 3 seconds until the green LED light turns blue and starts blinking. The reset is complete when the LED light stops blinking and stays solid blue. -
Page 19: Troubleshooting
To resolve issue: 1. Unplug the ezLINQ from the electrical outlet and then plug it in again. This will power cycle the ezLINQ and cause it to restart and connect to the netTALK Calling System. 2. Wait for the LED light to change from blinking blue to solid light-blue.
Need help?
Do you have a question about the ezLINQ and is the answer not in the manual?
Questions and answers