Sign In
Upload
Download
Table of Contents
Contents
Add to my manuals
Delete from my manuals
Share
URL of this page:
HTML Link:
Bookmark this page
Add
Manual will be automatically added to "My Manuals"
Print this page
×
Bookmark added
×
Added to my manuals
Manuals
Brands
Invixium Manuals
IP Access Controllers
IXM MYCRO
Installation manual
Invixium IXM MYCRO Installation Manual
Hide thumbs
1
Table Of Contents
2
3
4
5
6
7
8
9
10
11
12
13
14
15
16
17
18
19
20
21
22
23
24
25
26
27
28
29
30
31
32
33
34
35
36
page
of
36
Go
/
36
Contents
Table of Contents
Bookmarks
Table of Contents
Table of Contents
Glossary and Definitions
Earth Ground
Device Handling and Cleaning
IXM INST ALL KIT Contents
IXM Mycro
IXM Sense
IXM Touch
I/O Cable: Top Connector Pin out
I/O Cable: Bottom Connector Pin out
Hardware Tools Required for Installation
Hardware Installation Steps
Connections for Communication
Connections for Power
Connections for Operation
Electrical Specifications
Software Installation System Requirements
Software Installation Steps
Notices
Support
Advertisement
Quick Links
1
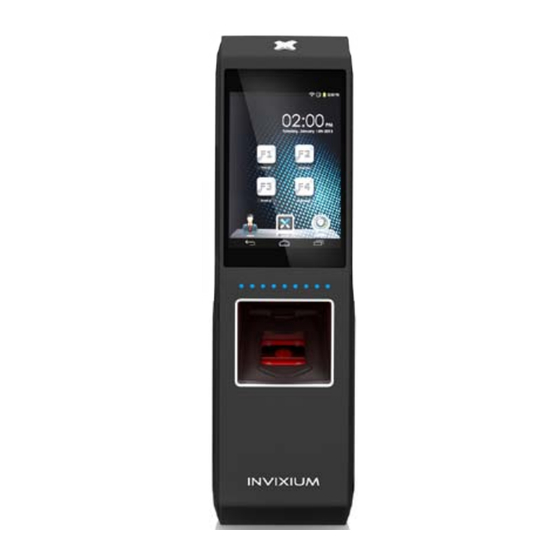
IXM Mycro
2
IXM Touch
3
Hardware Installation Steps
4
Connections for Communication
5
Software Installation System Requirements
6
Software Installation Steps
Download this manual
Installation
Guide
INVIXIUM
ACCESS
Table of
Contents
Previous
Page
Next
Page
1
2
3
4
5
Advertisement
Table of Contents
Need help?
Do you have a question about the IXM MYCRO and is the answer not in the manual?
Ask a question
Questions and answers
Related Manuals for Invixium IXM MYCRO
IP Access Controllers Invixium IXM TOUCH Installation Manual
(36 pages)
IP Access Controllers Invixium INGUIDE Quick Start Manual
(18 pages)
IP Access Controllers Invixium INGUIDE SENSE 2 Quick Start Manual
(2 pages)
IP Access Controllers Invixium TITAN Quick Start Manual
(2 pages)
IP Access Controllers Invixium TITAN Installation
(4 pages)
This manual is also suitable for:
Ixm touch
Ixm sense
Table of Contents
Print
Rename the bookmark
Delete bookmark?
Delete from my manuals?
Login
Sign In
OR
Sign in with Facebook
Sign in with Google
Upload manual
Upload from disk
Upload from URL


Need help?
Do you have a question about the IXM MYCRO and is the answer not in the manual?
Questions and answers