Table of Contents
Advertisement
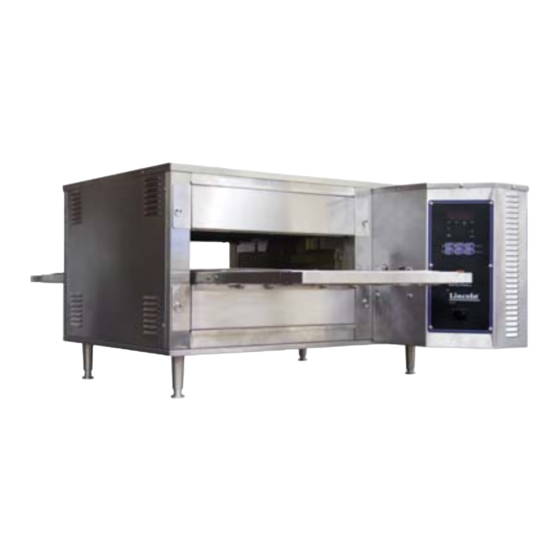
operator manual
Dual Technology Finisher
Series 1960
This document includes:
• Safety Notices
• Specifications
• Installation Instructions
• Operating Instructions
• Cleaning Instructions
• Warranty Statement
Revision: F
P/N: 2810322
Lincoln Foodservice Products, LLC
1111 North Hadley Road
Fort Wayne, Indiana 46804
United States of America
Technical Support Hotline: (800) 678-9511
Telephone: (260) 459-8200
www.lincolnfp.com
Advertisement
Table of Contents


Need help?
Do you have a question about the 1961 and is the answer not in the manual?
Questions and answers