Advertisement
Table of Contents
- 1 Entretien
- 2 Maintenance
- 3 Parts Listing
- 4 Hardware and Tool List
- 5 Headboards Preassembly
- 6 Headboards Assembly
- 7 Feet Installation
- 8 Side Panels Assembly
- 9 Side Panels and Headboard Installation
- 10 Mattress Support Installation
- 11 Conversion to Day Bed
- 12 Conversion to Toddler Bed and Guardrail Installation
- 13 Conversion to Double Bed
- Download this manual
Advertisement
Table of Contents

Related Manuals for Kidiway GNV016-01

Summary of Contents for Kidiway GNV016-01
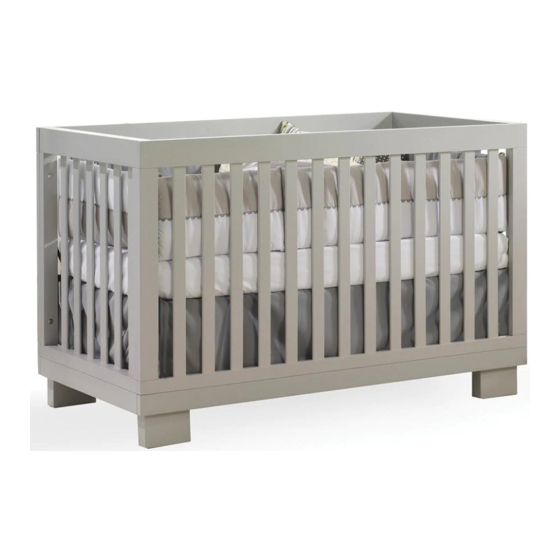
- Page 1 LIT DE BÉBÉ CONVERTIBLE INSTRUCTIONS D’ASSEMBLAGE CONVERTIBLE CRIB ASSEMBLY INSTRUCTIONS Made in China / Fabriqué en Chine GNV016-01 Distributed by / Distribué par : Kidiway 2205, Boul. Industriel, Laval, MODEL Nº GNV016-53 Québec, Canada H7S 1P8 GNV016-80...
- Page 2 DO NOT use the crib if any parts are missing or broken. Contact KIDIWAY Inc. for replacement parts and instructional literature if needed. When disassembling this crib, do not remove any item attached with wood screws. If use a non-toxic for children’s products.
- Page 3 Vérifier régulièrement ce lit de bébé préalablement à son utili sation et ne pas l’utiliser si une pièce est desserrée, manquante ou s’il y a un signe de dommages. Ne pas substituer une pièce à une autre. Communiquer avec KIDIWAY Inc. pour obtenir, au besoin, une pièce de rechange ou des instructions supplémentaires.
- Page 4 Check this crib regularly before using it, and do not use it if any part is loose or missing or if there are any signs of damage. Do not substitute parts. Contact KIDIWAY Inc. If replacement parts or additional instructions are needed.
- Page 5 LISTE DES PIÈCES / PARTS LISTING Tête de lit - Headboard Panneau latéral - Side panel Pied - Feet Montant gauche - Left post Montant droit - Right post Barre inférieure pour les têtes de lit Bottom rail for Headboards Barre inférieure pour Barre stabilisatrice Support à...
- Page 6 LISTE DE VISSERIE ET OUTIL / HARDWARE AND TOOL LIST Boulon - Bolt ¼” x 90 mm x 4 Boulon - Bolt ¼” x 80 mm x 4 Boulon - Bolt ¼” x 40 mm x 8 Boulon - Bolt ¼” x 70 mm x 14 Boulon - Bolt ¼”...
- Page 7 ÉTAPE 1 / STEP 1 PRÉASSEMBLAGE DES TÊTES DE LIT/ HEADBOARDS PREASSEMBLY Attach one Left post (D) and one Right post (E) Fixez un Montant gauche (D) et un Montant to one Headboard (A), using one Bolt (M) and droit (E) à une Tête de lit (A) en utilisant un one Barrel nut (S) on each Post, as shown.
- Page 8 ÉTAPE 2 / STEP 2 ASSEMBLAGE DES TÊTES DE LIT/ HEADBOARDS ASSEMBLY Complete one Headboard assembly (A) by Complétez l'assemblage d'une des Têtes de lit (A) attaching Bottom rail (F) to the assembly en fixant la Barre inférieure (F) à l'assemblage resulting from Step 1: obtenu à...
- Page 9 ÉTAPE 3 / STEP 3 INSTALLATION DES PIEDS / FEET INSTALLATION Attach two Feet (C) on the inside face of a Fixez les deux Pieds (C) sur la face intérieure d'une Bottom rail (F) by tightening six Bolts (P) Barre inférieure (F) en vissant six Boulons (P) dans into the holes of the pre-inserted bolt nuts les trous des écrous pré-insérés dans la Barre on Bottom rail (F), as shown.
- Page 10 ÉTAPE 4 / STEP 4 ASSEMBLAGE DES PANNEAUX LATÉRAUX / SIDE PANELS ASSEMBLY Complete one Side Panel assembly (B) by Complétez l'assemblage d'un des Panneaux attaching to the Bottom rail (G) : Latéraux préassemblés (B) en fixant la Barre 1 – Insert two Wooden dowels (T) on the top inférieure (G): of each end of Bottom rail (G).
- Page 11 ÉTAPE 5 / STEP 5 INSTALLATION DES PANNEAUX LATÉRAUX ET TÊTE DE LIT / SIDE PANELS AND HEADBOARD INSTALLATION Panneau Latéral Side Panel Panneau Latéral Side Panel Fixez les Panneaux latéraux aux Tête de lit Attach the Side panels to Headboard Right post Montants droit (E) et gauche (D) en vissant (E) and Left post (D) , tightening 4 bolts (Q) as 4 boulons (Q) tel que montré.
- Page 12 ÉTAPE 6 / STEP 6 INSTALLATION DU SUPPORT À MATELAS / MATTRESS SUPPORT INSTALLATION Choississez d'abord la hauteur du Support à First, choose the height of the Mattress support matelas (K). (K). Avec un enfant nouveau-né, commencez au With a newborn child, start at the highest level niveau le plus élevé...
- Page 13 ÉT APE 7 / STEP 7 INSTALLATION DE BOULONS CACHE-TROUS / FILLING BOLTS INSTALLATION AVERTISSEMENT: POUR LA SÉCURITÉ DE VOTRE BÉBÉ : CE LIT S’ACCOMPAGNE DE BOULONS SUPPLÉMENTAIRES AFIN D’OBSTRUER LES TROUS ACCESSIBLES À VOTRE ENFANT. NÉGLIGER DE POSER CES BOULONS POURRAIT ENTRAÎNER DES BLESSURES SI LES DOIGTS DE VOTRE BÉBÉ...
- Page 14 ÉTAPE 8 / STEP 8 CONVERSION EN LIT DE JOUR / CONVERSION TO DAY BED Pour convertir le lit de bébé en Lit de jour: To convert the Crib to a Day bed: 1 – Tel que montré, retirez les Boulons (M) en 1 –...
- Page 15 ÉT / STEP 9 CONVERSION EN LIT DE TRANSITION ET INSTALLATION DE LA BARRIÈRE DE GARDE CONVERSION TO TODDLER BED AND GUARDRAIL INSTALLATION BARRIÈRE DE GARDE / GUARDRAIL BARRIÈRE DE GARDE VENDUE SÉPARÉMENT. GUARD RAIL SOLD SEPARATELY Pour convertir le lit de bébé en Lit de transition: To convert the Crib to a Toddler bed: Après avoir obtenu le Lit de jour de l’Étape 8;...
- Page 16 ÉTAPE 10 / STEP 10 CONVERSION EN LIT DOUBLE / CONVERSION TO DOUBLE BED Panneau Lateral / Side Panel Panneau Lateral / Side Panel KIT DE CONVERSION EN LIT DOUBLE DOUBLE BED CONVERSION KIT SOLD VENDU SÉPARÉMENT. SEPARATELY. Enlevez les deux Têtes de lit (A) en dévissant Remove both Headboards (A) by unscrewing les huit Boulons (Q) et les quatre Boulons (V).
Need help?
Do you have a question about the GNV016-01 and is the answer not in the manual?
Questions and answers