Sign In
Upload
Download
Table of Contents
Contents
Add to my manuals
Delete from my manuals
Share
URL of this page:
HTML Link:
Bookmark this page
Add
Manual will be automatically added to "My Manuals"
Print this page
×
Bookmark added
×
Added to my manuals
Manuals
Brands
Aim Manuals
Automobile Accessories
MXG 1.2 Strada
User manual
Aim MXG 1.2 User Manual
Hide thumbs
Also See for MXG 1.2
:
User manual
(45 pages)
1
Table Of Contents
2
3
4
5
6
7
8
9
10
11
12
13
14
15
16
17
18
19
20
21
22
23
24
25
26
27
28
29
30
31
32
33
34
35
36
37
38
39
40
41
42
43
44
45
46
47
48
49
50
51
52
page
of
52
Go
/
52
Contents
Table of Contents
Bookmarks
Table of Contents
Table of Contents
MX Series in a few Words
What Is in the Kit
Power
What You Can Do Via Keyboard
Set Date/Time
Set Backlight
Set Video Input
Counters Management
Gps & Tracks Management
System Information
Wi Fi Management
Wi Fi Configuration
Configuring MX Series Loggers as an Access Point Ap
Adding MX Series Loggers to an Existing Network
Wi Fi Network Settings
Connection Issues
The Internet Connectivity
With Virtualized Windows
Working on Mac
Connected Device Visualization Issues
MX Series and the Pc
Configuration of MX Series
Connection to the Pc
Channels Configuration
Ecu Connection and Configuration
Rpm
Can Expansions Configuration
Can2 Stream Configuration
Math Channels Configuration
Status Variables Configuration
Parameters Configuration
Shift Lights and Alarms Configuration
Trigger Commands Configuration
Icons Manager Configuration
Display Configuration
Smartycam Stream Setting
Can Output Configuration
Managing a Track on MX Series with Race Studio
Ecu Driver Builder
Live Measures Layer
Online Value Forcing
The Device Window
Data Recall
On the Track
Data Download and Analysis
Connection with the Expansions
Rear Cameras Connection and Management
New Firmware Upgrade
Technical Specifications and Drawings
Advertisement
Quick Links
1
Power
2
Display Configuration
Download this manual
Enlarged version
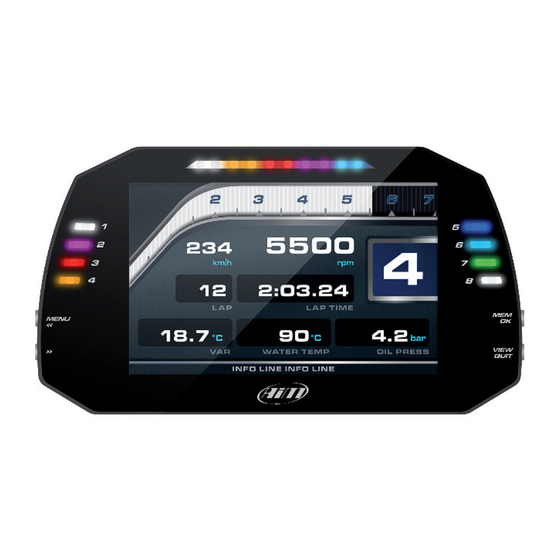
MXG 1.2
MXP
MXS 1.2
USER GUIDE 1.00
www.aim-sportline.com
Made in Italy
Table of
Contents
Previous
Page
Next
Page
1
2
3
4
5
Advertisement
Table of Contents
Need help?
Do you have a question about the MXG 1.2 and is the answer not in the manual?
Ask a question
Questions and answers
Related Manuals for Aim MXG 1.2
Automobile Accessories Aim MXG 1.2 Strada User Manual
(45 pages)
Automobile Accessories Aim MyChron5 Faq
(2 pages)
Automobile Accessories Aim MXP User Manual
(52 pages)
Automobile Accessories Aim MXS 1.2 User Manual
(52 pages)
Automobile Accessories Aim MXP Strada User Manual
(45 pages)
Automobile Accessories Aim MXL Pista User Manual
(43 pages)
Automobile Accessories Aim MXL Strada User Manual
(43 pages)
Automobile Accessories Aim Solo 2 DL User Manual
Gps lap timer (38 pages)
Automobile Accessories Aim MyChron 3 XG LOG Technical Documentation Manual
Gauge (6 pages)
Automobile Accessories Aim GEMS Omex 100 User Manual
Engine control unit (3 pages)
Automobile Accessories Aim GT 320-350 User Manual
Steering wheel (24 pages)
Automobile Accessories Aim X90BGGK12MA User Manual
Ecu bridge (16 pages)
This manual is also suitable for:
Mxp
Mxs 1.2
Table of Contents
Save PDF
Print
Rename the bookmark
Delete bookmark?
Delete from my manuals?
Login
Sign In
OR
Sign in with Facebook
Sign in with Google
Upload manual
Upload from disk
Upload from URL


Need help?
Do you have a question about the MXG 1.2 and is the answer not in the manual?
Questions and answers