
Related Manuals for AudioControl Rialto 400


Summary of Contents for AudioControl Rialto 400
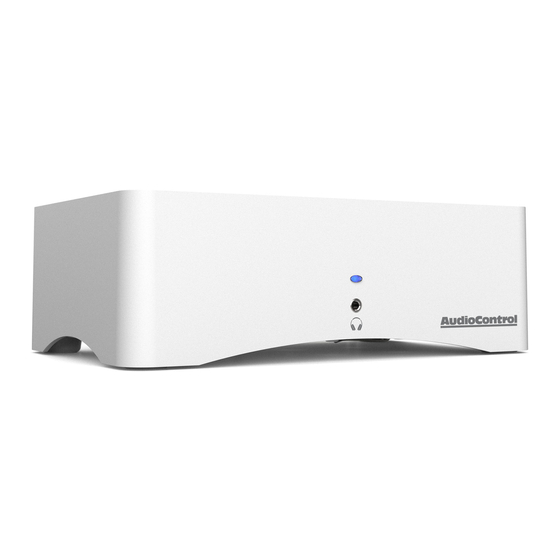
- Page 1 High Power Audiophile Amplifier and DAC Perfect for Streaming Audio Systems Installation Manual...
-
Page 2: Important Safety Instructions
10. Only use attachments/accessories specified by the manufacturer. nance (servicing) instructions in the literature accompanying the 11. Do not ‘Hot Plug’ . When changing inputs or outputs, switch the Rialto 400 appliance. off before making changes. Once changes have been made, then switch Caution: to reduce the risk of electric shock, do the Rialto 400 back on. -
Page 3: Table Of Contents
Introduction ...........4 Ready to Rumble! - A Quick Look at the Rialto 400 ....5 Specifications . -
Page 4: Chapter 1: Introduction
It is a good idea to read • Optical Cable the whole manual in order to acclimatize yourself with the full work- ings and features of the Rialto 400, and to keep the technical writer’s • RCA to 1/8” adapter Mom happy! •... -
Page 5: Ready To Rumble! - A Quick Look At The Rialto 400
The Rialto 400’s powerful amplifier delivers 100 Watts of power per channel into 8 Ohms and 200 Watts per channel into 4 Ohms. Additionally, the Rialto 400 can be bridged to perform as a 400 Watt mono-block amplifier. -
Page 6: Chapter 2: Quick Start Guide
Chapter 2: Quick Start Guide Quick View 13 14 15 16 17 18 6. Speaker Outputs 11. Optical Digital Input 16. Priority Gain 20. Mono Switch 1. Headphone Output 7. Control Switches 12. Coaxial Digital Input 17. Priority Input 21. Cooling Fan 2. -
Page 7: Quick Start
Quick Start It takes just a few steps to get your AudioControl Rialto 400 up and running. The steps below are explained in more detail throughout this manual. This example shows a typical single-source digital setup and a voice-enabled device. -
Page 8: Chapter 3: Hookup Diagrams
L/R analog inputs, the digital input (coax or optical) and the priority 3.5 mm input. 1. Connect a digital source to the Rialto 400 using the digital input (coaxial or optical). 2. Connect an analog source to the Rialto 400 using the right (R) and left (L) analog input RCA jacks. -
Page 9: 2.1 Speaker Setup And 4.1 Parallel Speaker Setup
4 or 8 Ohms 4 or 8 Ohms Powered Subwoofer stability at 4 Ohms powering four speakers. In addition, the Rialto 400 can be used as an 4.1 Speaker incredible Mono amplifier with power ratings Set Up up to 400 Watts (see page 11). -
Page 10: Using The Speaker-Level Inputs
Voice-Enabled Digital to the speaker-level inputs of the Rialto 400 as Device shown. The massive power amplifiers within the Rialto 400 are then used to run the speak- ers instead of the 10 Watt receiver. 94.2 Receiver Speaker Level Powered... -
Page 11: Stereo And Mono Passive Subwoofer Speaker Setup
Chapter 3: Hookup Diagrams Stereo and Mono Passive Subwoofer Speaker Setup This system shows one Rialto 400 being used in stereo, and the second being used in bridged mono to power a pas- Digital sive subwoofer. Line- Level Switch to MONO... -
Page 12: Chapter 4: Installation
Speakers Placement The Rialto 400 is designed to work with all 8 Ohm and 4 Ohm speaker setups. The Rialto 400 is versatile and flexible and works with the This may be as good a time as any to have “the talk” about ventilation. -
Page 13: Speaker Connections
3.5 Ohms. The Rialto 400 is tolerant (silver versus copper) or there is ribbing on one side. Typically this of impedance loads down to 4 Ohms, however, all good designs use marked conductor is used for the positive (+) speaker leads. -
Page 14: Chapter 5: Features
Chapter 5: Features Front Panel Features 1. Headphone Connection – This 3.5 mm TRS stereo output allows 2. On/Standby LED – you to connect your favourite headphones. Blue – Normal Operation Dim Red – Standby Mode Warning: To reduce the possibility of damage to your hearing, Bright Red –... -
Page 15: Rear Panel Features
The Rialto 400 can only be used in the ON position, where it will secure connection. be a lot more useful and fun, and not just a pleasant white brick in your living room. - Page 16 Chapter 5: Features 6. Speaker Connector – This is where joy meets world: the speak- Digital – In the ‘on’ position the Rialto 400 will prioritize a digital er-level output of the amplifier connects to the wiring of your signal input ahead of an analog signal. If the digital signal stops, speakers.
- Page 17 (for example) to the 12. Digital Input (Coaxial) – The RCA input accepts coaxial S/PDIF Rialto 400. In this way you can connect your speakers to the Rialto 400 and it will play whatever the receiver is tuned to. This allows digital signals from the digital output of your source equipment.
- Page 18 If you are using the Rialto 400 in Mono mode (with the bottom 15. MONO LED – Ths LED will come on when the MONO switch on panel Mono switch on) then only the Left RCA input is used.
-
Page 19: Voice-Enabled Device Example
2. You finish cooking and sit down at the TV while the music is still playing. 3. When the TV turns on, the Rialto 400 senses the analog TV signal, and automatically switches over to the analog input. 4. You munch away, enjoying the clams and the show, until you notice something familiar and say “Alexa, where was this show... -
Page 20: Additional Features And Support
Additional Features and Support Additional information on the features below, as well as great support and hints and tips on the Rialto 400 can be found on our website: www.audiocontrol.com (navigate to the download section of the Rialto 400 product page). -
Page 21: Chapter 6: Adjustments
Chapter 6: Adjustments Adjusting the AccuBASS® AccuBASS® Bass Level Adjustment AudioControl's AccuBASS® circuit is designed to help recover the bass that goes missing in compressed music files, or when volume is increased and the bass frequencies roll away. The AccuBASS® is... -
Page 22: Chapter 7: Troubleshooting
For additional troubleshooting, support and technical advice, 2. In Protection please visit our website at www.audiocontrol.com and navi- The amplifier in the Rialto 400 will protect itself if it experi- gate to the Rialto 400 product page. ences an unusually large power surge, overheats, experiences a short in the speaker wires or the speakers, or detects an accordion solo. -
Page 23: Chapter 8: Specifications
Speaker Level Outputs ....5-way gold plated binding posts AudioControl Power Rating .......Awesome! Sub/Mono Output . -
Page 24: Chapter 9: Service
Chapter 9: Service Service AudioControl has a reputation for providing some of the best support 5. Package the unit in the original packaging if you still have it, and and service in our industry. Our technical team takes pride in ensuring if the children have not used it for art supplies or an ant farm. -
Page 25: Chapter 10: Please Remain Calm
People are confused by warranties! Lots of fine print. Months of wait- 3. If an authorized AudioControl dealer installs your AudioControl ing around. Well, fear no more AudioControl is here. Our warranty is product, the warranty is five years, otherwise the warranty is designed to make you rave about AudioControl. -
Page 26: Legalese Section
Chapter 10: Please Remain Calm Legalese Section This is the only warranty issued by AudioControl. This warranty gives you specific legal rights, and you may also have rights that vary from state to state. Promises of how well your AudioControl product will work are not implied by this warranty. - Page 28 Foot Notes START Installation Manual PN 913-133-0 Rev B...
Need help?
Do you have a question about the Rialto 400 and is the answer not in the manual?
Questions and answers