Advertisement
Models-
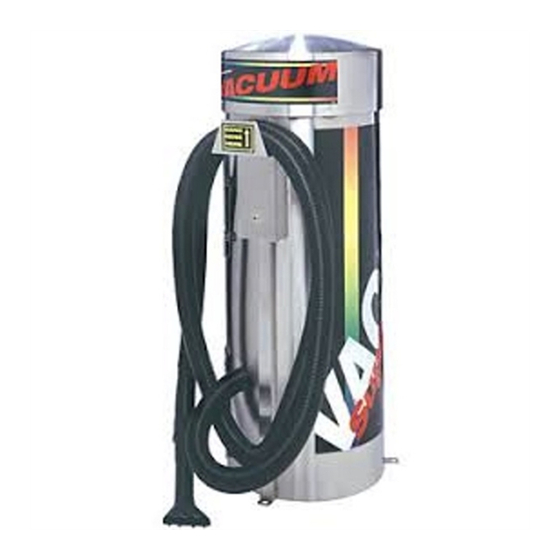
8105, 9225 – 9235
Commercial Vacuums
Page 2
Page 3
Page 4
Page 5
Page 5-8
Page 9
Page 10
Page 10
Page 11
Page 12-19
Page 20-24
1
Product Information
Product Dimensions
Specifications
Important Safety Instructions
Installation
Programming
Operating
Maintenance
Troubleshooting
Parts List
Wiring Diagram
REV 7-16-2012
Advertisement
Table of Contents


Need help?
Do you have a question about the 8105 and is the answer not in the manual?
Questions and answers
how to change pricing