Advertisement
Quick Links
Advertisement

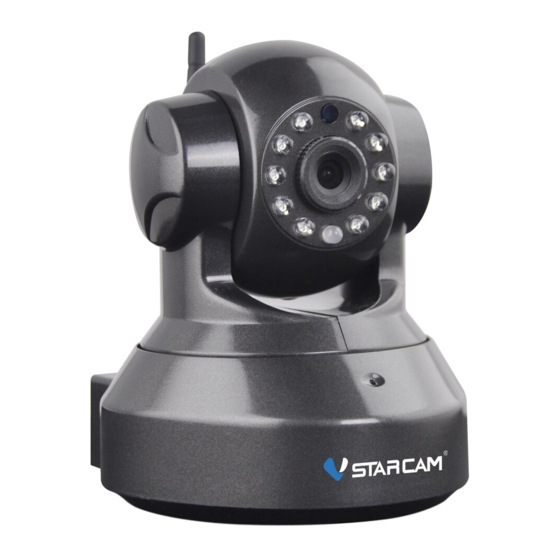
Summary of Contents for VStarcam C7837WIP
- Page 1 w w w . v s t a r c a m . c om User manual...
-
Page 2: Software Download
1. Software download ① Go to www.eye4.so to download the APP. ② Search Eye4 in APP Store, Android market etc. ③ Scan the QR code below to download. 2. Register ① For Android/iOS APP, click on "Register now", create a user name and password to finish register. ②... -
Page 3: Add Cameras To The Network
3. Add cameras to the network Note: If it failed to add the camera by the 'Scan QR code' , please choose the Method Two in the 'Others' to add the camera. 3.1 Scan QR Code Please power on the camera, wait until the reboot of the camera finished(it takes about 30 seconds), then the camera will say "... - Page 4 ① Enter the APP ,click the "+"on the top right corner, click on "Scan QR Code",to scan the QR code on the camera's body ; ② Once the camera says "Please use APP for wifi configuration" for the first time, please click on the "Heard voice prompt"...
- Page 5 ③ During the configuration, please keep the phone and the camera within 2 meters (at this time, please maximize the volume of the mobile phone).Click the 'Send'button on the APP, to send configuration signal to the camera. ④ After the camera prompts "wireless configuration succeed,"...
- Page 6 Note: During this process, if it prompt that wifi configured successfully but the binding page does not pop up, please return to the Add Camera page, to select 'Others' → 'IP Camera' → 'Search in LAN' or "Manually add" to bind the camera. 3.2 Other ways of adding If no QR code can be found on the body of the device, please choose the 'Others ' to add the...
- Page 7 Method One: ① Enter the APP ,click the "+"on the top right corner, choose 'Others' → 'IP Camera'. ② Choose 'Wireless Installation', please refer to the 'Wireless configuration add instructions'and the APP's voice prompt to finish the setting. Note: Please refer to the ② ③ ④ steps in the 'Scan QR code' above to finish the'Wireless Installation'settings.
- Page 8 Note: During this process, if it prompt that wifi configured successfully but the binding page does not pop up, please return to the Add Camera page,select the'Search in LAN'or "Manually add" to bind the camera. Method Two: ① Please power on the camera, and use network cable to connect camera with the router LAN port, make sure the router yellow indicator is flashing;...
- Page 9 ② Login the APP, click on the "+" in the top right corner,choose'Others' → 'IP Camera'.
- Page 10 Search Camera in LAN: ① Click on "Search in LAN", you can find all the available cameras in the same router with the smartphone. If added successfully, the camera can be added via the same way by other users(with different account).(Note:Cameras that has been added successfully in this account will not be searched again).
- Page 11 ② The binding page will pop up after about10 seconds,if it does not pop up, then please return to the Add camera page, select the "Manually add" method to add the camera. Manually add a camera: After select "Manually add", please input camera's UID(15 digits, can be found on the label stick to the camera's body), or scan the QR code on the camera's bottom sticker,the UID will be auto filled in,then put...
- Page 12 Note: After the camera has been added by Method Two, if you want to make the camera work in WiFi mode, please follow the steps below: ① In the home page of the APP, click the" " in the top right corner of the camera → choose Parameter Settings →...
- Page 13 ② Wait until camera says'please remove the network cable, camera will restart�', remove the network cable(Keep the camera powered on). l l i automatically... Note:If setup failed, please refer to network cable connection method or change a router to setup again.
-
Page 14: Parameter Settings Of Cameras
4.Parameter settings of cameras In the home page of the APP,click the in the top right corner,go to "Parameter Settings", you will get the following menus: B asic Parameters:You can see the camera's ① basic information,set up wireless connection, modify password, upgrade firmware, reboot and delete the camera. -
Page 15: Online Support
5.Online support If you have any questions or difficulties in using the product, or suggestions for our products, please contact us in the following ways: Click on "My" in the bottom right of the APP, and click on 'Online service', to enjoy the high-quality online consulting services provided by our company. - Page 16 Q:How to reset the camera to factory default setting? A:Hold the reset button for about 10 seconds to reset camera. Camera's default password: 888888 (To improve the security, it is highly recommended that you modify the password of the camera). Q: Any tips for WiFi connection? A : camera support only 2.4G frequency signal,and 802.11b/ g/n WiFi network.
- Page 17 Hotline&QQ:4006217868 Email: support@vstarcam.com Skype: support3@vstarcam.com Thank you very much for purchasing VStarcam products, if you have any problem, please feel free to contact us. This manual is made based on the Eye4 V5.0, due to continuous update of the APP, the description of the manual may not exactly match with the ones in your APP, sorry for the inconvenience caused! We will keep updating the instructions to latest APP.


Need help?
Do you have a question about the C7837WIP and is the answer not in the manual?
Questions and answers