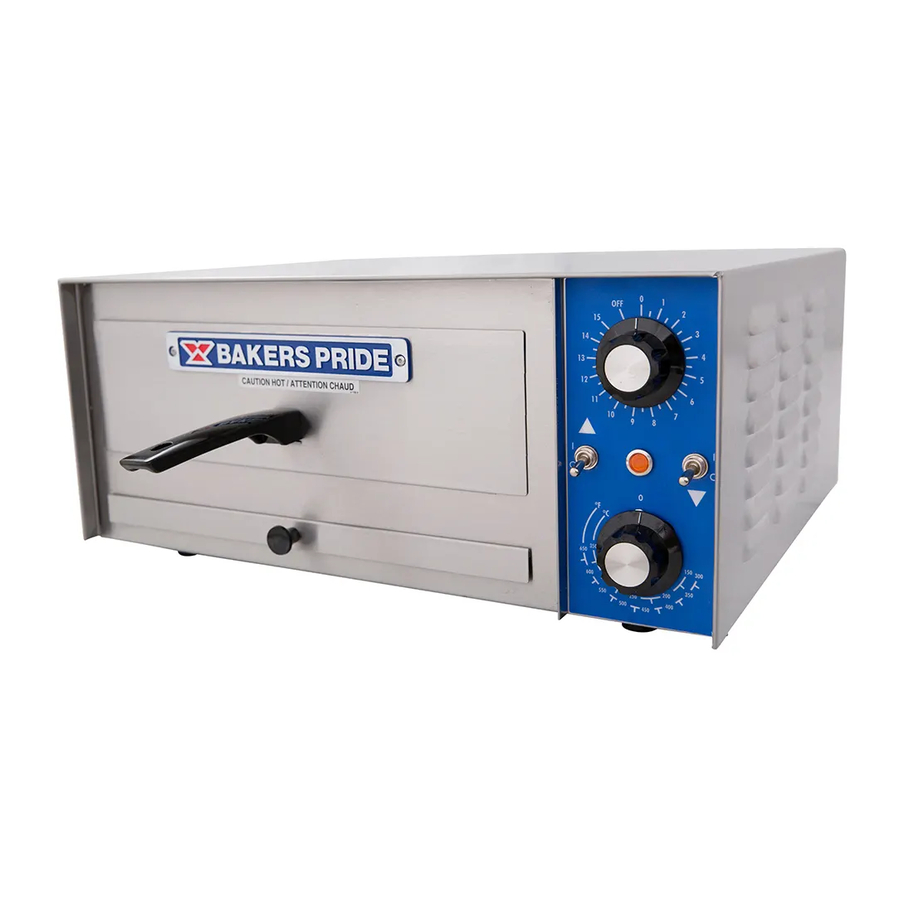
Bakers Pride PX-14 Installation And Operationg Instructions
Hide thumbs
Also See for PX-14:
- Installation and operating instructions manual (12 pages) ,
- Parts list (4 pages) ,
- Specifications (2 pages)
Advertisement
Quick Links
INSTALLATION AND OPERATING INSTRUCTIONS
COUNTER TOP ELECTRIC
INTENDED FOR OTHER THAN HOUSEHOLD USE
Models: PX-14, PX-16, P-18, BK-18, P-22S, P-22BL,
RETAIN THIS MANUAL FOR FUTURE REFERENCE
OVEN MUST BE KEPT CLEAR OF COMBUSTIBLES AT ALL TIMES
Do not store or use gasoline or other flammable vapors
and liquids in the vicinity of this or any other appliance.
Improper installation, adjustment, alteration, service or maintenance can cause property
damage, injury or death. Read the Installation, Operating and Maintenance Instructions
thoroughly before installing or servicing this equipment.
Initial heating of oven may generate smoke or fumes and must be done in a well
ventilated area. Overexposure to smoke or fumes may cause nausea or dizziness.
Note: Only Pizza or Bread can have direct contact with ceramic decks. All other food
products must be placed in a pan or container to avoid direct contact with ceramic
decks.
This equipment has been engineered to provide you with year round dependable service
when used according to the instructions in this manual and standard commercial kitchen
practices.
U L
(914) 576-0200 Phone
(914) 576-0605 Fax
All manuals and user guides at all-guides.com
OVENS
P-24S, P-44S, P-44BL, P-46S, P-48S, DP-2
FOR YOUR SAFETY
WARNING
U L
BAKERS PRIDE OVEN CO., INC.
30 Pine Street
New Rochelle, NY 10801
U L
C
(800) 431-2745 US & Canada
www.bakerspride.com Web Address
1
11/00 Form #U4008A
Advertisement

Subscribe to Our Youtube Channel
Related Manuals for Bakers Pride PX-14


Summary of Contents for Bakers Pride PX-14
-
Page 1: For Your Safety
INSTALLATION AND OPERATING INSTRUCTIONS COUNTER TOP ELECTRIC OVENS INTENDED FOR OTHER THAN HOUSEHOLD USE Models: PX-14, PX-16, P-18, BK-18, P-22S, P-22BL, P-24S, P-44S, P-44BL, P-46S, P-48S, DP-2 RETAIN THIS MANUAL FOR FUTURE REFERENCE OVEN MUST BE KEPT CLEAR OF COMBUSTIBLES AT ALL TIMES... -
Page 2: Table Of Contents
All manuals and user guides at all-guides.com INDEX INSTALLATION INSTRUCTIONS SECTION ITEM PAGE Location Electrical Connections Requirements for Installation Initial Start Up OPERATING INSTRUCTIONS SECTION ITEM PAGE General Baking General Baking Tips Special Features Cleaning Service and Trouble Shooting Installation of Decks Wiring Diagrams 8-12... -
Page 3: Location
10 Gauge (2.5mm) for 220-240/380-415V, 3 phase supply. REQUIREMENTS FOR INSTALLATION For portable units (Model PX-14 and PX-16) there are no special requirements. For shipping purposes the 4” (100mm) legs are not mounted. For mounting legs, follow steps a. through g. -
Page 4: Initial Start Up
All manuals and user guides at all-guides.com After the front legs are tight, lift rear of unit approximately 5” (125mm) off the surface and block in position using wood or some other solid material. Now mount the two rear legs and tighten. -
Page 5: General Baking
Allow the pizza to bake until the cheese bubbles and the bottoms are evenly brown. (Rotate if necessary) The design of the PX-14 and PX-16 is such that normal baking temperature may be too high for good results. Set the thermostat approximately 25° F (15° C) BELOW normal setting. Adjust temperature as needed. -
Page 6: Special Features
Note: TIMER DOES NOT CONTROL THE OVEN. For PX-14 and PX-16 only: Individual switches are provided to turn off the top or the bottom heating element. This allows baking items that do not require direct top or bottom heat. -
Page 7: Service And Trouble Shooting
All manuals and user guides at all-guides.com Stainless steel surfaces should be cleaned with BAKERS PRIDE STAINLESS STEEL CLEANER. SERVICE AND TROUBLE SHOOTING The ovens are designed to be as trouble free as possible. Keeping the oven clean is all that is normally required. - Page 8 All manuals and user guides at all-guides.com REV. DESCRIPTION OF CHANGE L1 L2 200V 1 OR 3 TERMINAL TERMINAL BLOCK BLOCK 208V 1 OR 3 1 PHASE 3 PHASE I PHASE - 2 WI 240V 1 OR 3 VOLT A/C AMPERE PLUG MODEL...
- Page 9 All manuals and user guides at all-guides.com REV. DESCRIPTION OF CHANGE BR54 TERMINAL TERMINAL (230V BLOCK BLOCK 1 PHASE 3 PHASE 400V VOLT A/C AMPERE - NO LIG MODEL UNIT COILS L1 LOWER HEATING COILS UPPER HEATING COILS - - - - - - 22.0 BL52...
- Page 10 All manuals and user guides at all-guides.com REV. DESCRIPTION OF CHANGE BR54 TERMINAL TERMINAL BLOCK BLOCK 1 PHASE 3 PHASE HEATING COILS VOLT A/C AMPERE - NO MODEL UNIT COILS L1 BL52 - - - - - - BK18 BL52 230/400 BL32 - - -...
- Page 11 All manuals and user guides at all-guides.com REV. DESCRIPTION OF CHANGE L1 L2 L2 (N) 3 PHASE - 3 WIRE TERMINAL TERMINAL 1 PH - 2 W BLOCK BLOCK VOLT A/C AMP - NO LIGHT AMP - W. LIGHT AMPERE 3 PHASE 1 PHASE MODEL...
- Page 12 240V LEGEND HEATER COILS N, L1, L2, L3 = FROM TERMINAL BLOCK BAKERS PRIDE UT = UPPER CHAMBER, TOP ELEMENT TH = THERMOSTAT 2 POLE (3 POLE) UC = UPPER CHAMBER, CENTER ELEMENT (P44 & P46 ONLY) P = THERMOSTAT INDICATOR LIGHT...
Need help?
Do you have a question about the PX-14 and is the answer not in the manual?
Questions and answers