VacPak-It VMC10DPU Manual

VacPak-It VMC10DPU Manual

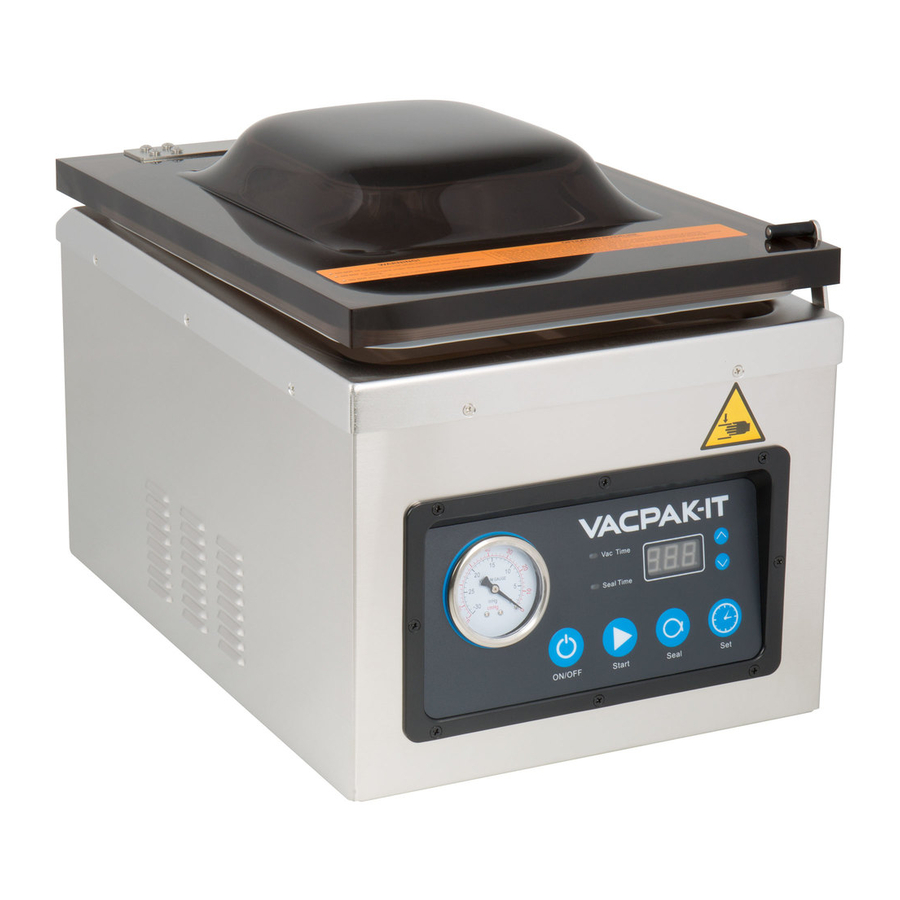
Chamber vacuum packaging machine. single 10 1/4 inch seal bar oil pump. single 10 1/4 inch seal bar dry pump. single 16 inch seal bar oil pump. double 16 inch seal bars oil pump

Advertisement

186VMC16
Single
16" Seal Bar
Oil Pump
186VMC32
Double
16" Seal Bars
Oil Pump
12/2018
186VMC10OP
Single
10¼" Seal Bar
Oil Pump
186VMC10DPU
Single
10¼" Seal Bar
Dry Pump

Advertisement

Table of Contents
loading

Summary of Contents for VacPak-It VMC10DPU

  • Page 1 186VMC10OP Single 10¼” Seal Bar Oil Pump 186VMC10DPU Single 10¼” Seal Bar Dry Pump 186VMC16 Single 16” Seal Bar Oil Pump 186VMC32 Double 16” Seal Bars Oil Pump 12/2018...
  • Page 2 Food Storage and Safety Information . . . . . . . . . . . . 3 Control Panel (VMC10 /DPU /OP) . . . . . . . . . . . . . . . . 4 Control Panel (VMC /16 /32) .
  • Page 3 Vacuum packaging with any model in the VACPAK-IT line will yield unbelievable results. These machines remove up to 95% of the air from the package. This will help keep food fresher up to 5 times longer than under normal storage methods. You can store dry foods like pasta, cereal and flour, fresh meats like pork, chicken and beef, vegetables like carrots, potatoes and squash, or even frozen liquids like soups and drink mixes.
  • Page 4 Vac Time Seal Time ON/OFF Start Seal 1 . Vacuum Gauge - Indicates the vacuum pressure level inside the chamber. 2 . “Seal Time” Light - Illuminates when adjusting seal time. It also illuminates during the sealing process. 3 . “Vac Time” Light - Illuminates when adjusting vacuum time.
  • Page 5 2 3 4 5 VACUUM SEALING COOLING Down Stop 1 . Vacuum Gauge - Indicates the vacuum pressure level inside the chamber. 2 . “Cooling” Light - Illuminates when adjusting the cooling time. It also illuminates during the cooling process. 3 .
  • Page 6: Initial Setup

    Adding Oil (Except VMC10DPU) 1. Remove the back panel by unscrewing all the corner screws. 2. Remove the oil fill bolt located on the vacuum pump using a thumbscrew cap. 3. Fill the pump with oil until it reaches the white line marked on the bottle.
  • Page 7 Adding Oil 1. Remove the round cover on side panel by unscrewing the 4 screws. 2. Remove the oil fill bolt located on the vacuum pump using a thumbscrew cap. 3. Fill the pump with oil until it reaches the white line marked on the bottle. 4.
  • Page 8 1. Select a suitable Vacuum chamber pouch for this machine. • VMC10DPU & VMC10OP units can accommodate up to a 10” x 15” pouch. • VMC16 & VMC32 units can accommodate up to a 16” x 18” pouch.
  • Page 9 Changing Oil (Except VMC10DPU) It is recommended to change the vacuum pump oil in your VACPAK-IT machine after the first 20 hours of use. Further oil changes should occur after every 50 hours of use. Required Supplies: • Machine Oil •...
  • Page 10 REMEDY ISSUE • Ensure the machine is properly plugged into a grounded outlet. • Check the power cord for tears, frays, or other damage. Unit won't turn on Do not use machine if the power cord is damaged. • Make sure the power switch is turned on. The LED screen will be illuminated when on.
  • Page 11 Time Certifications All equipment sold under the VACPAK-IT trademark and used for commercial purpose is warranted against defects in materials and workmanship. The warranty runs for 1 year from time of purchase and is for the benefit of the original purchaser only. All other warranties, Expressed or Implied, Statutory or otherwise, including Without Limitation and any implied warranty of Merchantability or Fitness for Purposes are excluded.

Table of Contents