Advertisement
Quick Links
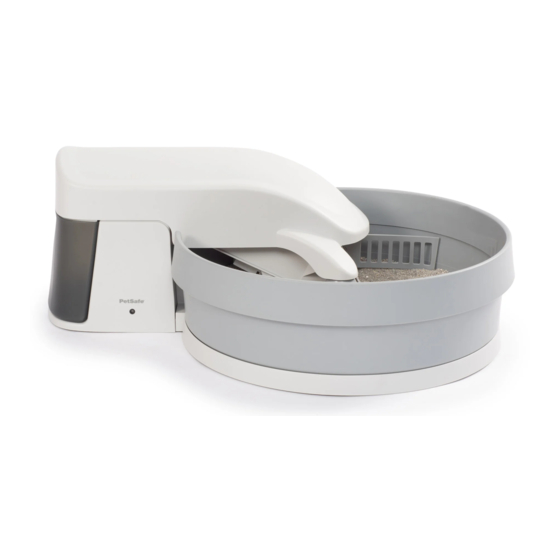
Thank you for choosing PetSafe
your pet's happiness and safety by providing you with the tools and techniques to successfully care for your pet. If you have any
questions, please contact the Customer Care Center at 1-800-732-2677 or visit our web site at www.petsafe.net.
Replacing the Conveyor Motor and Crank Disk
In this procedure, you replace both the conveyor motor and the crank disk that propels the motion of the conveyor rake fi ngers.
It is recommended that you perform the procedures in this document on a stable fl at surface that is large enough to securely
and safely hold the Simply Clean
components. We also recommend you remove the litter in the bowl as part of this procedure.
Requirements
To complete the procedures in this document, you need:
• A #1 Philips screwdriver
• A fl at head screwdriver (optional)
• A replacement conveyor motor kit
____________________________________________________________________________________________________________
Removing the Conveyor Motor
Cover the work surface with a large sheet, drop cloth, or
newspaper, and then:
1. Remove the conveyor cover and set it aside
(see Figure 1 below).
Figure 1: Removing the conveyor cover
2. Loosen the two thumbscrews that secure the
conveyor to the base (see Figure 2 below).
Figure 2: Loosening the thumbscrews
Replacing the Conveyor
For Simply Clean
®
. Our mission is to be the most trusted brand in the pet ownership experience. We want to ensure
®
Litter Box unit, and that provides suffi cient work area for you to work with the individual
Motor Assembly
®
Self-Cleaning Litter Box
3. Carefully lift up on the
conveyor, until it rests in
an upright position
(see Figure 3 below).
Figure 3: Conveyor in
an upright position
5. Disconnect the conveyor motor wire from the base.
Press in on the middle of the clip to release the locking
mechanism. If the clip does not easily release, use a fl at
head screwdriver to gently press in at the center of the clip.
Press in to release
Figure 5: Disconnecting the conveyor motor wire
4. Remove the bowl
(see Figure 4 below).
Set the bowl aside.
Figure 4: Removing
the bowl
Pull up to unlatch
Advertisement

Related Manuals for Petsafe Simply Clean


Summary of Contents for Petsafe Simply Clean
- Page 1 If you have any questions, please contact the Customer Care Center at 1-800-732-2677 or visit our web site at www.petsafe.net. Replacing the Conveyor Motor and Crank Disk In this procedure, you replace both the conveyor motor and the crank disk that propels the motion of the conveyor rake fi...
- Page 2 (see Figure 10 “B” and “C” above). Lift off motor Drive shaft ve shaft ft Crank disk inside surface Crank disk Figure 7: Detaching the motor from the conveyor Figure 10: Attaching the crank disk to the drive shaft www.petsafe.net...
- Page 3 16 below). Press down until the catch clicks into place. Motor posts Push down on clip Completely connected Figure 13: Aligning the motor assembly with the motor Figure 16: Attaching the conveyor motor posts on the conveyor wire to the base unit www.petsafe.net...
- Page 4 Customer Care Center at 1-800-732-2677 Monday – Friday: 8 am - 8 pm EST, or Saturday: 9 am - 5 pm EST. Radio Systems Corporation • 10427 Electric Avenue • Knoxville, TN 37932 • 1-800-732-2677 • www.petsafe.net • ©2008 Radio Systems Corporation • 400-1035...
Need help?
Do you have a question about the Simply Clean and is the answer not in the manual?
Questions and answers