Advertisement
Advertisement
Table of Contents

Related Manuals for PetSpy p-collar 320


Summary of Contents for PetSpy p-collar 320
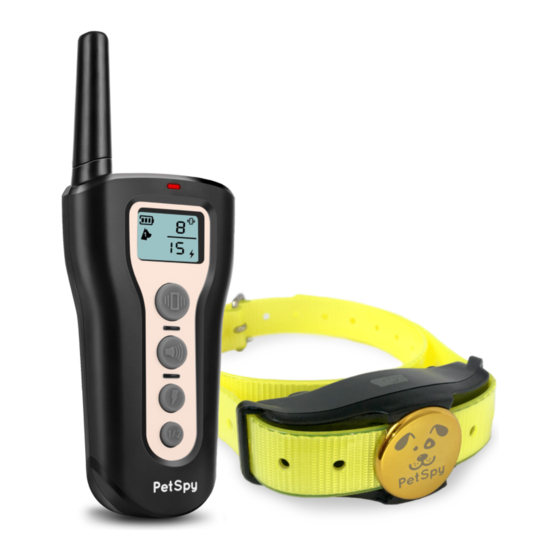
- Page 1 Remote Training Collar operating and training guide For 1 Dog p-collar 320 For 2 Dogs p-collar 320B PLEASE READ THIS ENTIRE GUIDE BEFORE BEGINNING B-320-TEX-011(1)
- Page 2 The warranty does not cover products with physical damage the collar is important. A collar worn for too or when product is lost. PetSpy does not offer warranty for products long or made too tight on the pet’s neck may cause skin damage.
-
Page 3: Table Of Contents
Table of Contents ash the dog’s neck area and the contacts of the collar weekly with a damp cloth. If a rash or sore is found, discontinue use of the collar until the skin has healed. Components............... If the condition persists beyond 4 ours, see your veterinarian. -
Page 4: Other Items You May Need
Main Features Vibration, Tone and Shock Dog 1 Receiver Collar Dog 2 Receiver Collar Test Light For 1 Dog 2-hour Rapid Charging Lithium Polymer Battery For 2 Dogs Battery Charger 1200ft 1200ft for Transmitter User Expandable to a Two-dog System for Receiver Collar USB Port... -
Page 5: Overview
Overview Operating Guide Step Antenna To turn the Transmitter on LED Indicator Light 1. Press any of to active the Transmitter. Intensity Level The backlight on. Adjustment LCD Display 2. Backlight will stay for about 3 econds. if no operation then, backlight off. - Page 6 How the Transmitter buttons work Step Dog 1/2 Button 1. Press once to switch between Dog 1 and Dog 2. 2. Press and hold until the Vibration digit flashes. Press “ + - “ to adjust Vibration Level from 1-8. 3.
-
Page 7: Collar Fitting
How to find the best Step Collar fitting Step Vibration/Shock Level The Receiver/Collar should be fitted so that the surgical stainless steel contact points press firmly against the The unit comes with Up and Down buttons to control the Vibration/Shock Level, with Level 1 being the dog’s skin. - Page 8 in i at a i i istan range.The range may vary 1200ft ans itt n i at un ti n an s ns ans itt n i at utt n un ti n utt n s ns l n t substantially.
- Page 9 Receiver Indicator Light – Function and Response The indicator light on the Transmitter or Receiver will not come on. The indicator light on the Transmitter or Receiver comes on Receiver Collar Function Green LED Response momentarily when any of the Mode Buttons is pushed. Power on Flashes once Battery Charging Procedure...
-
Page 10: How To Use The Test Light
Step How to pair the Remote Step How to use the Test Light Transmitter & Receiver Collar 1. Turn the Receiver Collar on. 2. Hold the Test Light Contacts to the Contact Points. If your Receiver Collar does not beep when the TONE 3. -
Page 11: Frequently Asked Questions
Training Guide Frequently Asked Questions General Tips While the Vibration/Shock is unpleasant, it is harmless to your Is the Vibration/Shock pet. Electronic training devices safe for my pet? Eliminate one misbehavior or teach one obedience require interaction and training from command at a time. -
Page 12: Troubleshooting
Troubleshooting Warranty and repair information • Make sure the Receiver Collar has 1-Year Limited Lifetime Warranty been turned on. The original purchaser for this unit is provided with 1-YEAR • If your range has reduced from the first WARRANTY. time you used the Remote Training The warranty begins from the date of purchase. - Page 13 replace defective units or provide refunds for compensation during the repair period. products purchased from us after 30 days from the date of A copy of the sales receipt showing the purchase date may purchase. be required before warranty work is initiated.Please include Issues of replacement and refunds on units purchased less a brief explanation outlining the problem and include your than 30 days from an authorized dealer must be addressed...
-
Page 14: Reference Si E For Difference Dogs
Reference Si e for Different Dogs that to which the receiver is connected. • Consult customer care, the dealer, or an experienced radio/ TV technician for help. (in) (in) (in) Chihuahua, . - . . -11. YorkshireTerrier Chihuahua, YorkshireTerrier . - .5 11.4-14.2 Poodle,Pomeranian Maltese Dog,...
Need help?
Do you have a question about the p-collar 320 and is the answer not in the manual?
Questions and answers