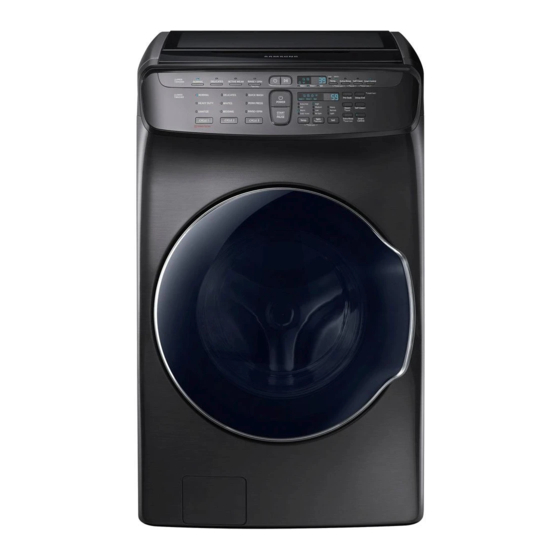
Samsung Flexwash WV60M9900A Series User Manual
Hide thumbs
Also See for Flexwash WV60M9900A Series:
- User manual (277 pages) ,
- User manual (276 pages) ,
- User manual (88 pages)
Summary of Contents for Samsung Flexwash WV60M9900A Series
-
Page 1: User Manual
flexwash™ User manual WV60M9900A* WV60M9900A-03768A-00_EN.indd 1 2017-01-13 4:35:31... -
Page 2: Installation
Unpack your washer and inspect it for shipping damage. Make sure you have received all the items shown below. If your washer was damaged during shipping, or you do not have all of the items, contact 1-800-SAMSUNG (1-800-726-7864). To prevent personal injury or strain, wear protective gloves whenever lifting or carrying the unit. - Page 3 What’s included Make sure all the parts are included in the product package. If you have a question about the washer or the parts, contact a local Samsung customer center or your retailer. 01 Lower detergent 02 Tub 03 Front door...
- Page 4 • The number (7 to 9) of bolt caps provided depends on the model. • The appearance of the washer and provided accessories may differ by model. • To purchase an accessory or lost part, contact a local Samsung service center or your retailer.
-
Page 5: Tools Required For Installation (Not Supplied)
Tools required for installation (not supplied) Measuring tape Philips screwdriver Level Adjustable pliers Installation requirements Electrical supply and grounding • To prevent unnecessary risk of fire, • AC 120 V / 60 Hz fuse or circuit breaker electrical shock, or personal injury, all is required. -
Page 6: Water Supply
Drain belts, the pump, and other components of Samsung recommends a standpipe 18 in the washer. (46 cm) high. The drain hose must be connected through the hose clip to the standpipe, and the standpipe must fully cover the drain hose. - Page 7 Alcove or closet installation Minimum clearance for stable operation: Sides 1 in. (25 mm) Rear 6 in. (152 mm) 21 in. (533 mm) Front 2 in. (51 mm) If both the washer and a dryer are installed in the same location, the front of the alcove or closet must have at least a 72 in²...
- Page 8 Installation Side by side installation 1 in. (25 mm) 34 in. (864 mm) 27 in. (686 mm) 2 in. (51 mm) 35 in. (890 mm) 6 in. (152 mm) *This clearance is not applicable to standalone washers. 61 in. (1550 mm) English WV60M9900A-03768A-00_EN.indd 24 2017-01-13...
- Page 9 Step-by-step installation STEP 1 Select a location Location requirements: • A solid, level surface without carpeting or flooring that may obstruct ventilation • No direct sunlight • Adequate room for ventilation and wiring • Ambient temperature always higher than the freezing point (32 ˚F/0 ˚C) •...


Need help?
Do you have a question about the Flexwash WV60M9900A Series and is the answer not in the manual?
Questions and answers