Advertisement
Quick Links
Advertisement

Related Manuals for Eureka Ergonomic ERK-EDK-L


Summary of Contents for Eureka Ergonomic ERK-EDK-L
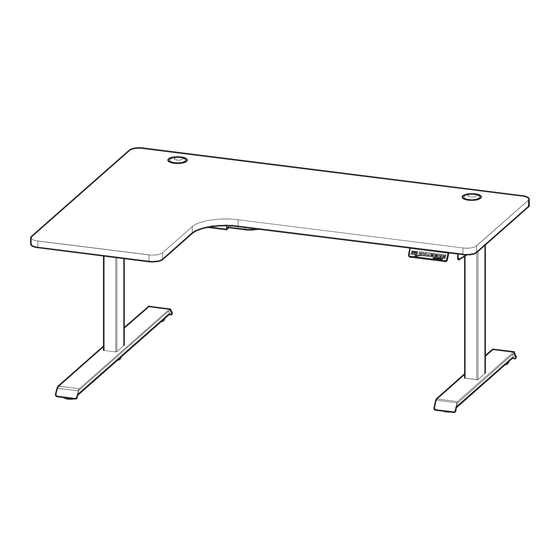
- Page 1 Directions For Assembly And Use 2-Leg Height Adjustable Standing Desk for L shape...
-
Page 3: Safety And Warnings
1. SAFETY AND WARNINGS When using an electrical furnishing, basic precautions should always be followed, including the following: Read all instructions before using the desk. FAILURE TO COMPLY WITH OR OBSERVE ALL INSTRUCTIONS AND WARNINGS REGARDING THE USE OF THIS PRODUCT MAY RESULT IN SERIOUS PROPERTY DAMAGE OR BODILY INJURY. DANGER - To reduce the risk of electric shock, always unplug this furnishing from the electrical outlet before cleaning, or before putting on or taking off parts. -
Page 4: Tools Required
TOOLS REQUIRED Philips screwdriver and/or power drill Tape measure 844-416-2090 844-416-2090 www.eurekaergonomic.com customerservice@eurekaergonomic.com... - Page 5 PARTS COMPONENTS × × × × × × × × × × × × × × × × × × ×...
- Page 7 × 8× DO NOT tighten the screws at this point . If you drop a screw inside the Crossbar End , simply tilt to retrieve the screw.
- Page 8 4× × If you are having difficulty inserting any of the screws from Step 3 , it is because some of the installed screws are too tight .
- Page 9 × 4× 4× ×...
- Page 10 Left...
- Page 11 Right...
- Page 12 The desk top size should be used is length :53.5'' -72'' width:25"-33"/39''-47'' Left 9× ×...
- Page 13 The desk top size should be used is length :53.5'' -72'' width:25"-33"/39''-47'' Right 9× ×...
- Page 14 We recommend that you pre-drill any holes needed for fasteners connecting the Control Box or Switch to the desktop (if your desktop is not pre-drilled ) . Never use countersunk screws . Left × 2× CLICK!
- Page 15 We recommend that you pre-drill any holes needed for fasteners connecting the Control Box or Switch to the desktop (if your desktop is not pre-drilled ) . Never use countersunk screws . Right × 2× CLICK! Do not overtighten screws in this step.Overtightening could cause damage to the components.
- Page 16 Make sure all cords are appropriate length to accommodate the change in height. Left × × CLICK! CLICK!
- Page 17 Make sure all cords are appropriate length to accommodate the change in height. Right × × CLICK! CLICK!
- Page 18 Ensure that the Machine Screws contacts the Center Rails by sliding the Center Rails as needed . Left × 8×...
- Page 19 Ensure that the Machine Screws contacts the Center Rails by sliding the Center Rails as needed . Right × 8×...
- Page 20 Make sure no obstacles are in the desk's path. Make sure the desktop is not touching any walls. Left STICK CLICK!
- Page 21 Make sure no obstacles are in the desk's path. Make sure the desktop is not touching any walls. Right STICK CLICK!
- Page 22 ×...
- Page 23 ×...
- Page 24 Following desk assembly, adjust the Leveling studs or casters on the feet so that the desk is level and does not shift its position. 5×...
- Page 25 Following desk assembly, adjust the Leveling studs or casters on the feet so that the desk is level and does not shift its position. 5×...
-
Page 26: Desk Placement
Left Right DESK PLACEMENT Following desk assembly, adjust the Leveling studs or casters (sold separately) on the feet so that the desk is level and does not shift its position. When moving the desk, if casters are not installed, use a two-person lift and lift the desk so that it can be moved without dragging. -
Page 27: Troubleshooting
TROUBLESHOOTING • Plug the power cord back in. • Press and hold the button on the Keypad until the desk reaches its lowest height. Release the button. • Press and hold the button again until the LED display reads “RST” or about 10 seconds on non-LED keypad models.
Need help?
Do you have a question about the ERK-EDK-L and is the answer not in the manual?
Questions and answers