Table of Contents
Advertisement
Quick Links
Advertisement
Table of Contents

Related Manuals for Hollis HD200 BCD


Summary of Contents for Hollis HD200 BCD
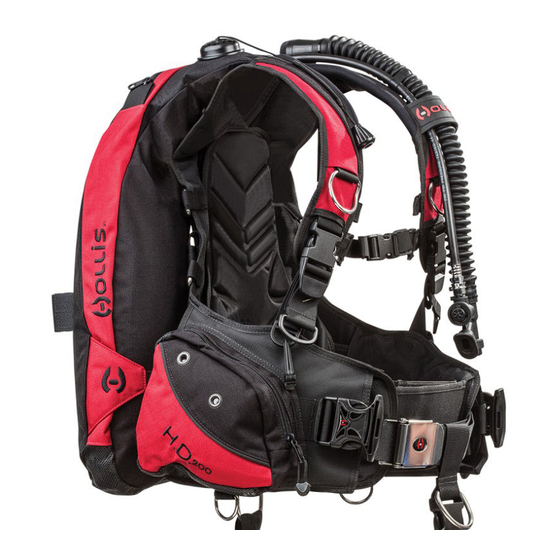
- Page 1 HD200 BCD USER GUIDE © Hollis (2014) Doc. 12-4178-r01 (8/15/14)
-
Page 2: Table Of Contents
HD200 BCD USER GUIDE Contents NOTICES................................3 DANGERS, WARNINGS, CAUTIONS, & NOTES....................3 WARNINGS................................4 INTRODUCTION..............................5 CARE AND MAINTENANCE..........................5 ADJUSTMENTS..............................6 INFLATOR AND DUMP VALVE USE........................10 INTEGRATED WEIGHT SYSTEM.........................11 DONNING AND FITING............................12 RECORDS................................13 INSPECTIONS AND SERVICE..........................13 NOTES.................................13 © Hollis (2014) Doc. 12-4178-r01 (8/15/14) -
Page 3: Notices
San Leandro, CA USA 94577 (510)729-5110 TRADEMARK, TRADE NAME, AND SERVICE MARK NOTICE HOLLIS, the HOLLIS logo type, and HD200 are registered and unregistered trademarks, trade names, and ser- vice marks of HOLLIS. All rights are reserved. PATENT NOTICE U.S. Patents have been issued, or applied for, to protect the following design features: Backpack Systems (U.S. -
Page 4: Warnings
- DO NOT inhale gases from within any Hollis BC. - If you do not fully understand how to use your Hollis BC, or if you have any questions regarding its functions, you should seek instruction in its use from your authorized Hollis dealer before you utilize this product. -
Page 5: Introduction
Care and maintenance Your Hollis BC is a reliable piece of equipment that was designed to withstand the rigors of diving. It will last for many years if cared for properly. Follow the procedures below to ensure a long life for your BC. You should have the entire BC inspected and serviced annually by an authorized Hollis dealer to ensure it is operating properly and no components are showing signs of wear. -
Page 6: Adjustments
HD200 BCD USER GUIDE adjustments The HD200 system does not require any assembly, but there are adjustments and items that can be removed or added to the HD200 to customize your harness. CUMMERBUND ASSEMBLY To access the cummerbund for adjustment, remove the top of the back pad that is attached to the harness with an elastic loop (Fig. - Page 7 HD200 BCD USER GUIDE WAIST BUCKLE Insert the waist buckle on the left side of the waist webbing. See pictures for recommended buckle weave. Weave (Fig. 9). When at the desired length pull the remaining webbing through the first slot and tighten (Fig.
- Page 8 HD200 BCD USER GUIDE ATTACHING A TANK The HD200 is only designed to handle a single tank and uses a single cam band against a contoured hard plastic backplate that holds the tank securely (Fig. 14). Use the attached adjustable guide strap to position the tank on the contoured backplate by placing it around the neck of the tank (Fig.
- Page 9 HD200 BCD USER GUIDE • Now weave the band through the bottom slot (Labeled 3) of the buckle so the band is against the tank (Fig. 18, 19). Pull the band tight to make sure there is no slack around the tank or in the buckle weave (Fig. 20).
-
Page 10: Inflator And Dump Valve Use
HD200 BCD USER GUIDE Inflator and dump valve use W LP Hose Connector Power Inflator Button Mouthpiece Deflate/(Manual Inflate) Button working pressures: min = 120 psi (8 Bar), nominal = 140 psi (9 Bar), max = 160 psi (11 Bar) NOTE: Install the inflator hose to your regulator per your regulator's instructions, or have an autho- rized technician attach the LP hose to the regulator first stage. -
Page 11: Integrated Weight System
HD200 BCD USER GUIDE Integrated weight system LOADING WEIGHT POUCHES INTO WEIGHT POCKETS Squeeze the tabs and pull the handle to remove the weight pouch from the pocket. Open the flap of the weight pouch. Insert the desired weight (up to 10 lbs/4.5 kg) into the pouch and secure the flap of the weight pouch with the self gripping fastener. -
Page 12: Donning And Fiting
Fine tune the fit as needed. NOTE: If you have any questions regarding your Hollis gear, visit your authorized Hollis retailer or con- tact Hollis Inc. and speak with one of our technical support representatives. -
Page 13: Records
HD200 BCD USER GUIDE Records HD200 SERIAL NUMBER: DATE OF PURCHASE: HOLLIS DEALER: DEALER PHONE NUMBER: Inspections and service DATE SERVICE PERFORMED DEALER/TECHNICIAN NOTES: San Leandro, CA USA 94577 (510)729-5110 www.hollisgear.com e-mail: info@hollisgear.com © Hollis (2014) Doc. 12-4178-r01 (8/15/14)
Need help?
Do you have a question about the HD200 BCD and is the answer not in the manual?
Questions and answers