Table of Contents

Related Manuals for Vivid EASYMOUNT


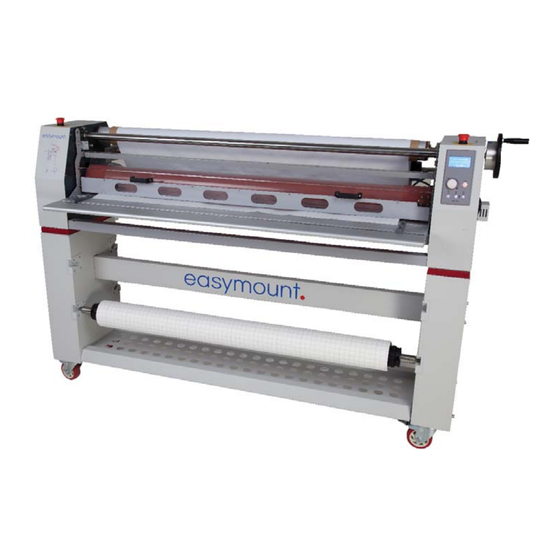
Summary of Contents for Vivid EASYMOUNT
- Page 1 Product instruction manual Easymount Wide Format Laminators The Easymount has been designed to be user friendly, however we strongly recommend you take a few minutes to read through this manual to ensure correct operation. Keep this manual safe for future reference.
- Page 2 Page 5 - Control panel and specifi cations The Easymount is great for mounting prints to boards and applying pressure sensitive Page 6 - Installation of laminating fi lms laminates as well as applying application tapes, double sided adhesives and vinyls.
-
Page 3: Safety Instructions
Please do not replace power cord or plugs yourself, do not put heavy objects on the Easymount Cold power lines as this may cause electric shocks Easymount Single Heated Roller (SH) • During use please take care that no clothes, neckties, hair, necklaces etc are near the... -
Page 4: Installation Of Laminating Films
Installation of Laminating Films Film Loading Pressure sensitive fi lm (loaded on the top mandrel) Pressure sensitive fi lm (loaded on the top mandrel) 1. Remove the top mandrel from the 2. Loosen the two fastening screws on 5. Re-load the mandrel on to the brackets 1. - Page 5 1. The single heated Easymount can 2. Set the temperature to approximately 3. Plug in the foot pedal be run either cold or warm to switch 40°C using the up or down buttons.
-
Page 6: Optional Extras
Mount Film Alternative Method Media Rewind Take Up 1. Position the mount fi lm centrally on 2. Pull the mount fi lm up and towards the 3. Stick it to the exposed pressure 1. To fi t remove blanking plates from rear 2. -
Page 7: Warranty & Incorrect Use
Warranty & Incorrect Use IMPORTANT INFORMATION Your laminator should reach you in perfect condition, however please retain all original packaging once you have unpacked your laminator in case you need to return it to us. If your laminator arrives damaged or faulty in anyway, this must be reported to your supplier immediately.
Need help?
Do you have a question about the EASYMOUNT and is the answer not in the manual?
Questions and answers